3. Enter a site name.
4. Click Create.
The Gateway/Site appears in the listing of devices on the Gateways screen.
5. Click Edit Gateway (pencil icon) next to your Gateway/Site name.
The Gateway detail window appears.
6. Copy the Site ID number located at the top of this window.
The Site ID number created by the web server is a required parameter in the configuration of the DXM. The Site ID is
the address the webserver uses to store the data pushed from the DXM.
7. Click Save.
5.2.3 Modifying the XML
Configuration File
Use the DXM Configuration Software to configure the operation of the DXM.
Launch the software. You can use one of these three screens to modify registers:
• Local Registers—Edits individual registers
• Modify Multiple Registers—Edits multiple registers at the same time
• Local Registers in Use—Edits individual registers
Refer to the DXM Configuration Software Instruction Manual (p/n 209933) for more details.
5.2.4
Configure the Cloud Data Services Settings
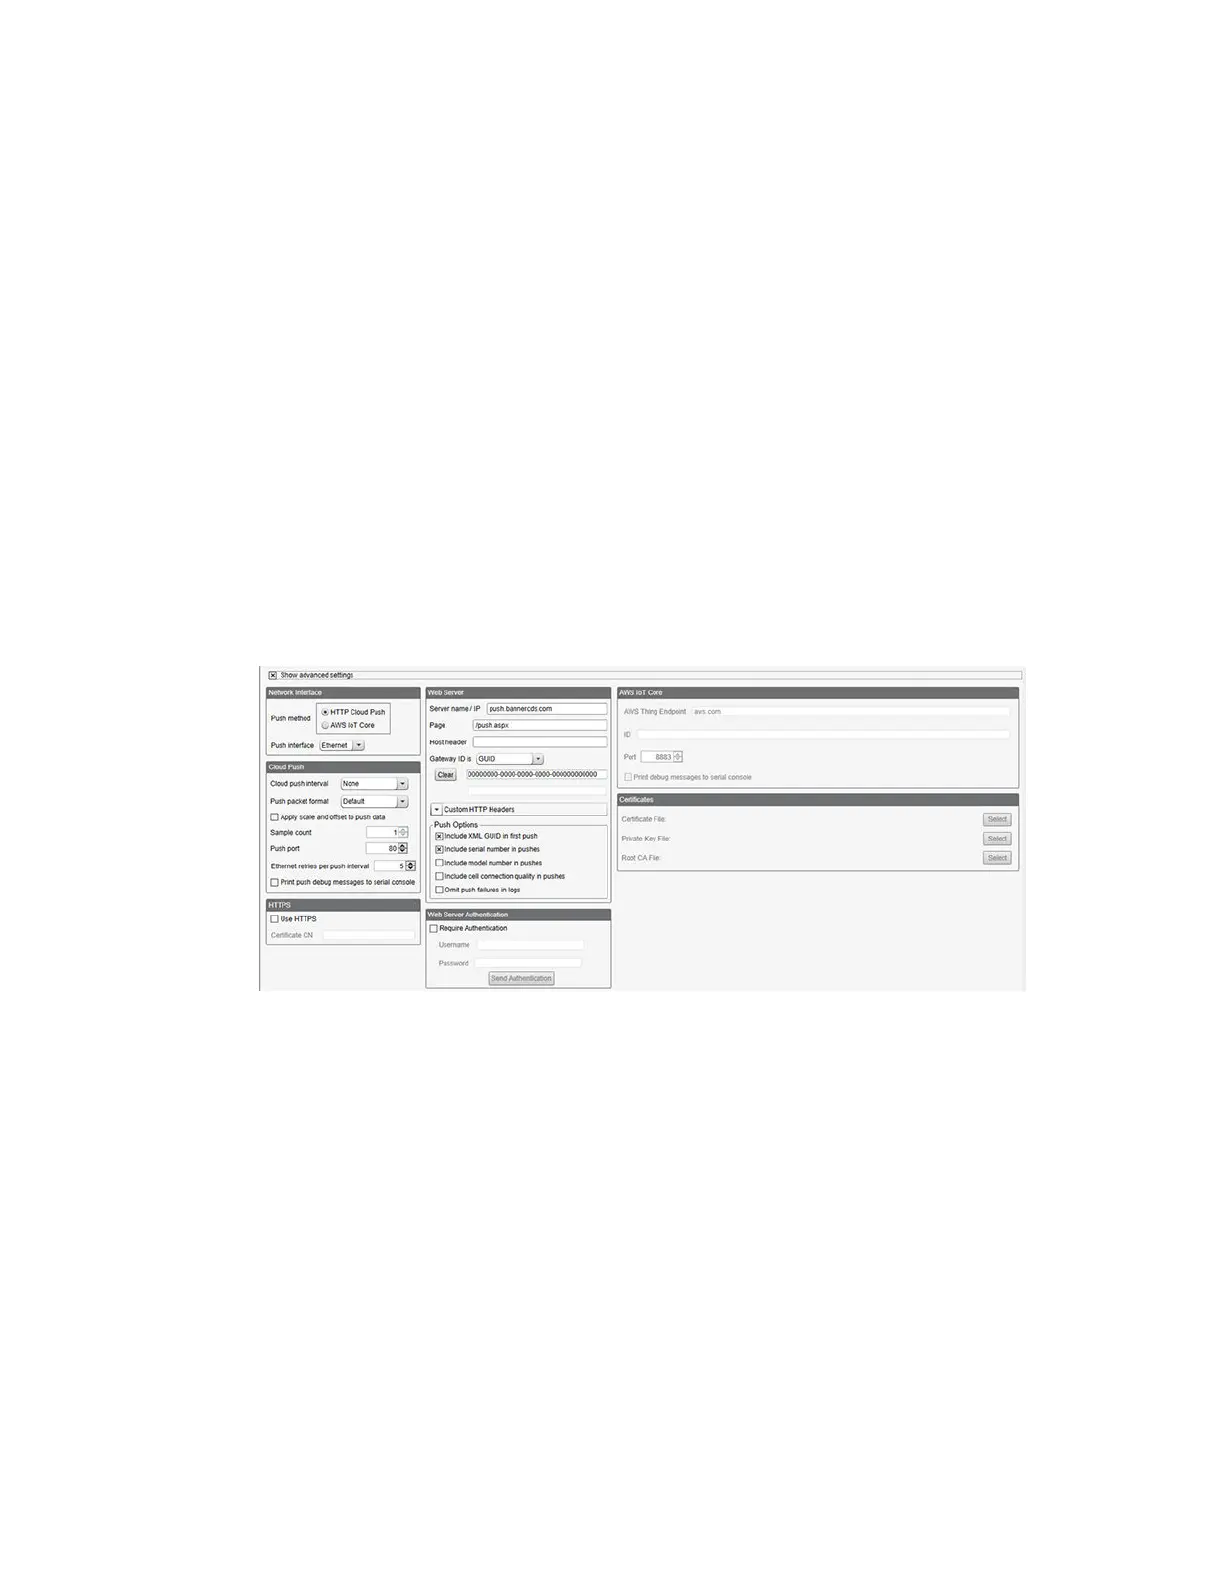
1. To configure the connection to the web server, go to the Settings > Cloud Services screen.
2. Copy and paste the Site ID.
The Site ID is that long string of numbers and letters from the Banner Cloud Data Services website.
3. Verify the Server Name/IP is set to push.bannercds.com and the Page is set to /push.aspx for sending to the
website.
4. Set the Cloud Push Interval to a value appropriate for your application.
The Cloud Push Interval determines how often the device pushes the data to the web. The faster the push interval,
the more data is sent to the site. Cellular plans can only push at an interval of 10 minutes or longer. The Sample
Count specifies how many times the data is gathered within the Cloud Push Interval.
For example, if the Cloud Push Interval is 15 minutes and the Sample Count is set to 3, then during each data push
(every 15 minutes), 3 samples are sent to the web. This is one sample every 5 minutes.
5. Set the Push Method to HTTP Cloud Push and the Push Interface to Cell.
6. On the Cellular screen, select the appropriate Cell Module.
• Select SXI-CATM1VZW-001 for kit model numbers ending in -V
• Select SXI-CATM1ATT-001 for kit model numbers ending in -A
The APN will automatically change accordingly.
7. Save the configuration file by going to File > Save.
File names must be no more than 30 characters long, and should not contain any spaces or special characters.
8. With a USB cable connected to the device, go to the Device > Connection Settings menu.
DXM Enclosure Kit (DEK) Series
www.bannerengineering.com - Tel: + 1 888 373 6767 17
 Loading...