Do you have a question about the Barco E2 Gen 2 and is the answer not in the manual?
Product manuals and documentation are available online at www.barco.com/td/R9009203.
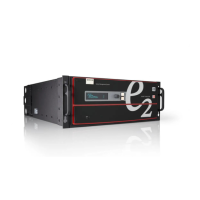
Details system setup for the E2 Gen 2 Screen Management System.
Steps for physically securing, connecting, powering, and verifying the E2 unit.
Procedures for factory reset, system backup, and system restore.
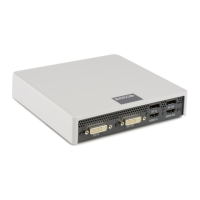
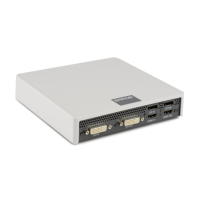
Details for Expansion Cards with CXP connectors.
Specifications for Tri-Combo Input/Output Cards with DP and HDMI.
Specifications for Quad Channel DisplayPort Input and Output Cards.
Specifications for HDMI 2.0 Input/Output Cards, including MVR.
Key information regarding card signals, LEDs, configuration, and power supplies.
Instructions for checking orientation, inserting, and securing link cables.
Detailed steps for connecting and configuring two E2 units via Link ports.
Flowchart outlining discovery, connection, system parameters, and adding inputs/outputs.
Flowchart detailing background selection, source creation, and layer management.
Process for viewing inputs, backgrounds, and destinations in Multiviewer Outputs.
How the software automatically discovers network-connected devices.
Steps to connect to a device via drag-and-drop or manual IP entry.
How to select Native Rate, Genlock Mode, and Preset Conflict Mode.
Defining input connectors as backgrounds and adjusting settings.
Defining input connectors as inputs and adjusting settings.
Defining output connectors as outputs and adjusting settings.
Defining MVR slot connectors as MVR outputs.
Adding output connectors to Screen Destinations and setting layers.
Adding output connectors to Aux Destinations and adjusting settings.
Selecting visual representations for backgrounds.
Selecting visual representations for inputs and stills.
Creating additional source files for inputs.
Dropping backgrounds onto screen destinations.
Assigning sources to layers and dropping them into destinations.
Dropping inputs or backgrounds to auxiliary destinations.
Setting up user keys for layers.
Creating new presets or managing existing ones.
Selecting MVR sources and configuring windows.
Adjusting size, position, and color parameters for multiviewer windows.
Selecting system-wide user preferences, like layer positioning.
Performing backup/restore operations and downloading software.
Viewing status and diagnostic information for cards and system.
| Genlock | Yes |
|---|---|
| Color Depth | 10-bit |
| Power Supply | 100-240V AC, 50/60Hz |
| Output Resolution | Up to 4K @ 60Hz |
| Maximum Resolution | 4096x2160 |
| Processing Capacity | 8 inputs |
| Processing Latency | Less than 1 frame |
| Network Connectivity | Ethernet |
| Control Interface | Web UI, API |
| Redundancy | Dual power supply |
| HDCP | HDCP 2.2 |
| Operating Temperature | 0 to 40 °C |
| Storage Temperature | -20 to 60 °C |
| Dimensions | 440 x 44 mm |
| Video Inputs | 4x HDMI, 4x DisplayPort, 4x SDI |
| Video Outputs | 4x HDMI, 4x DisplayPort, 4x SDI |