Itis recommend thatyourun a washcycle with the
di shwasher e mpt y an d the n re mov e th e plu g fro m the
socket, t urn off t he wa te r supp ly and l eave the door of
t he app l ia n c e s l ight ly open. T h is will hel p t h e doo r
sealsto last longer andpreventodours fromforming
within the appliance.
If th e appliance must be move d, t ry t o keep i t in the
vertical position. If absolutely necessary, it canbe
positi oned on its back.
Oneofthefactorsthatcauseodourstoforminthe
dishwasher is foo d th at re mains t rappe di n the seal s.
Periodic cle aning with a d amp spo nge will p rev ent t his
f r o m occurrin g.
Ensu re th e v oltag e a nd frequ en cy o f the p ower being cor respond s to
t hose on t he rating plate . On ly in sert the p lug i nto an elect rica l so cke t which is ea rthed
pr op erly. If th e el ectrical sock et t o which the a pplianc e mu st b e c onn ected is not
appropriate for theplug , replace the socket, rather than using a adaptors or the like as
they couldcause overheating andburns.
Plea se l ook at th e ra ting label to know the rat ing volt age and c on nect t he dishw asher to t he app ropr iate pow er s upply.
Use the r equ ired fuse 1 0 amp , tim e de la y f use or c ircui t breake r rec omm ended and provide sepa rate circ uit s erving
only this appl ia nce.
Posi tion the ap pli ance i n the d esired lo cati on. T he back sho uld r est ag ainst t he w all behin d i t, and the side s,
along the adj acent cabine ts o r wa lls. T he dishw asher i s equ ippe d wi th wat er supply a nd d rain hos es th at can
be pos itioned either to the righ t or the l eft s ides to facil it at e p ro per i nstall ati on.
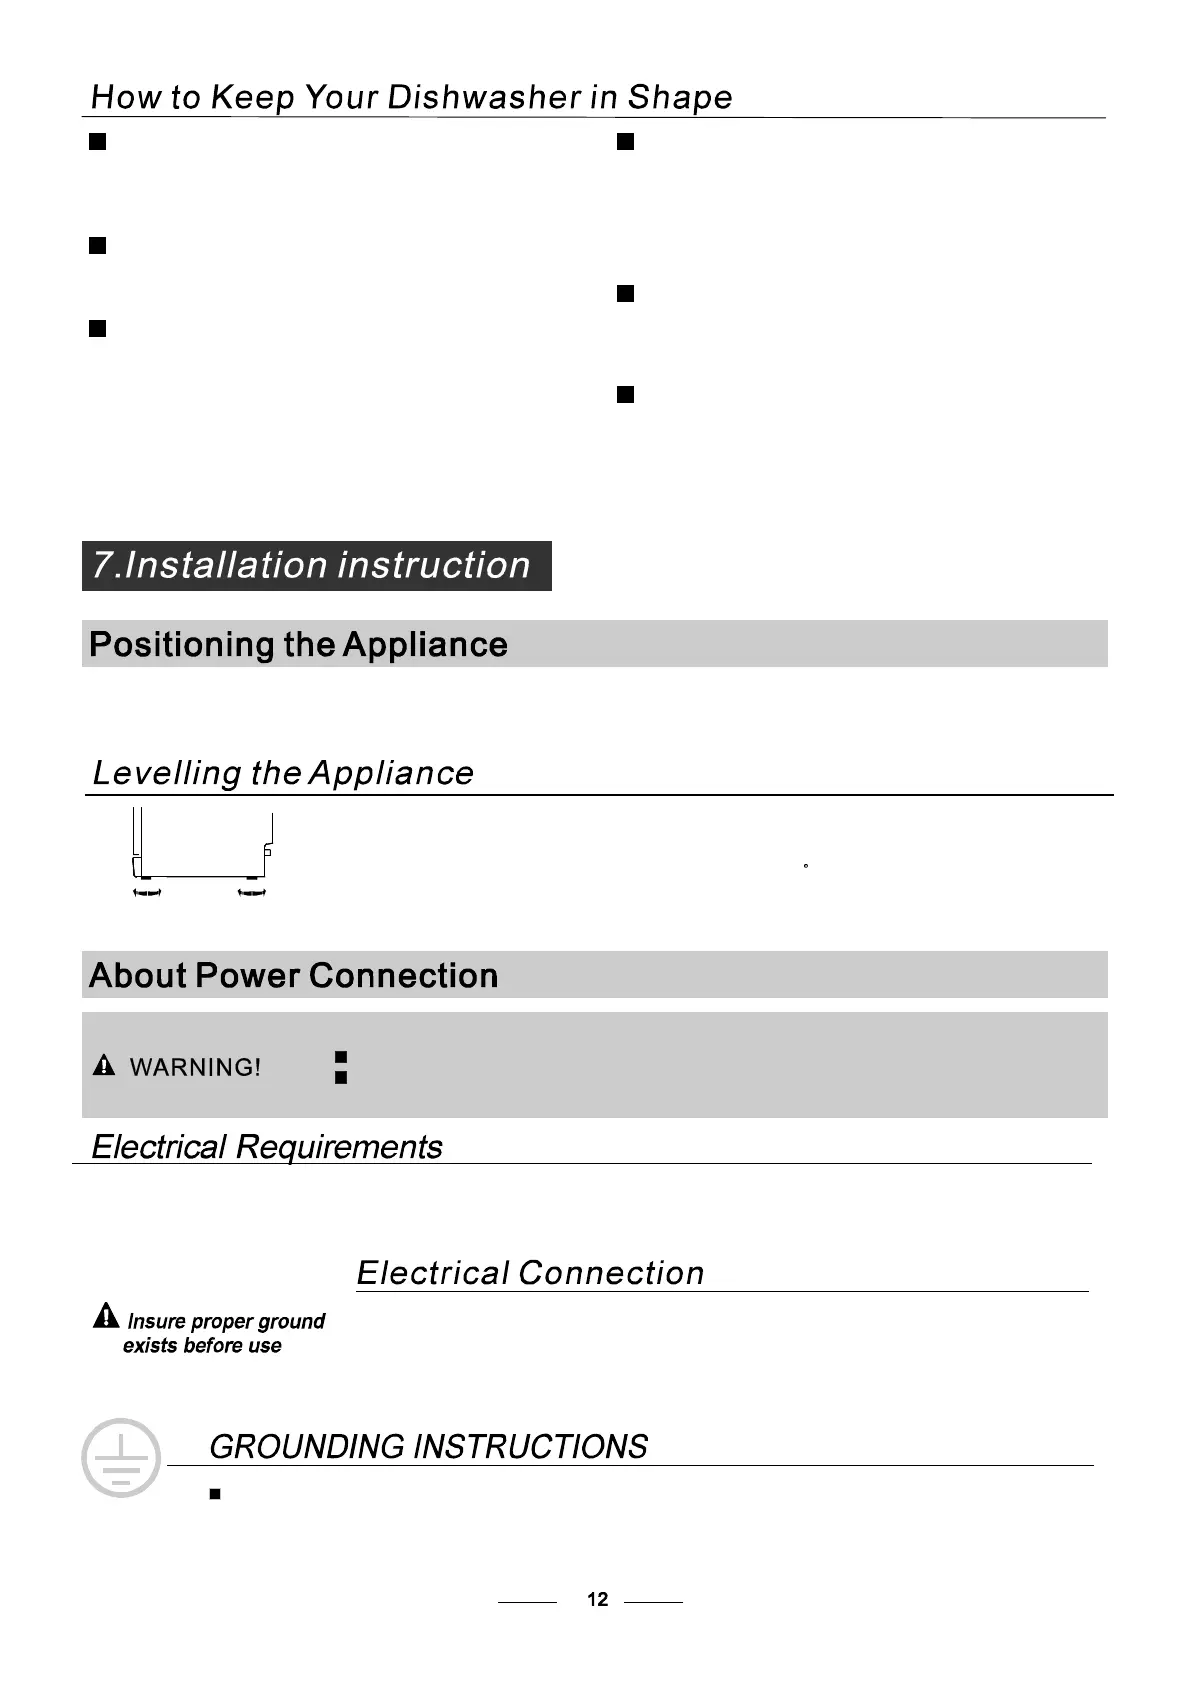
O nce th e applian ce is pos itione d for leve ll in g, t he height of the di shwashe r
m ay be alter ed v ia ad just ment o f the scre wing level of the fe et. In any case,
th e applia nce sho uld not be i nclined more than 2 .
For personal saf ety:
DO NOT USE AN EXTENSION CORD OR AN ADAPTER PLUG WITH THIS APPLIANCE.
DO NOT, UNDERANY CIRCUMSTANCES, CUT OR REMOVE THE EARTHING
CONNECTION FROM THE POWER CORD.
Befo re cleaning or p erforming mainten ance, always
remove th e p lug fr om t he socket.
Toclean theexterior andrubberparts ofthe dishwasher,
do not use solventsor abrasive cleaning products.
O nly u se a cloth w ith war m so apy wate r.
To rem ov e sp ots o r st ains f rom the sur f ace of the
in teri or, u se a clot h da mpe ned wit h wa t er an a little
v inega r, o r a c lean ing pro duct mad e sp eci fical ly f or
dishwashers.
Remove the Plug
No Solv ents or Ab ras ive C leani ng
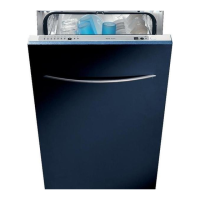
Mov ing the Ap plia nce
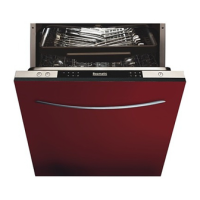
Seals
Aft er ever y wa sh, turn off t he wa ter supp ly to the
applia nce and leave th e doo r s light ly op en so t hat
m oisture a nd odou rs a re n ot t rapped in side.
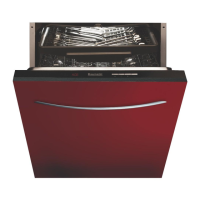
After Every Wash
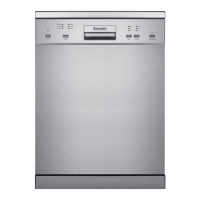
When not in Use for a LongTime
This appliance must be earthed. In the event of a malfunction or breakdown, earthing will reduce the risk of
electric shock by providing a path of least resistance for the electric current. This applia nce is equipped with a
cord having an equipment-earthing conductor and an earthing plug. The plug must be plugged into an
appropriate outlet that is installed and earthed in accordance with all local standards and requirements.
 Loading...