– 6 –
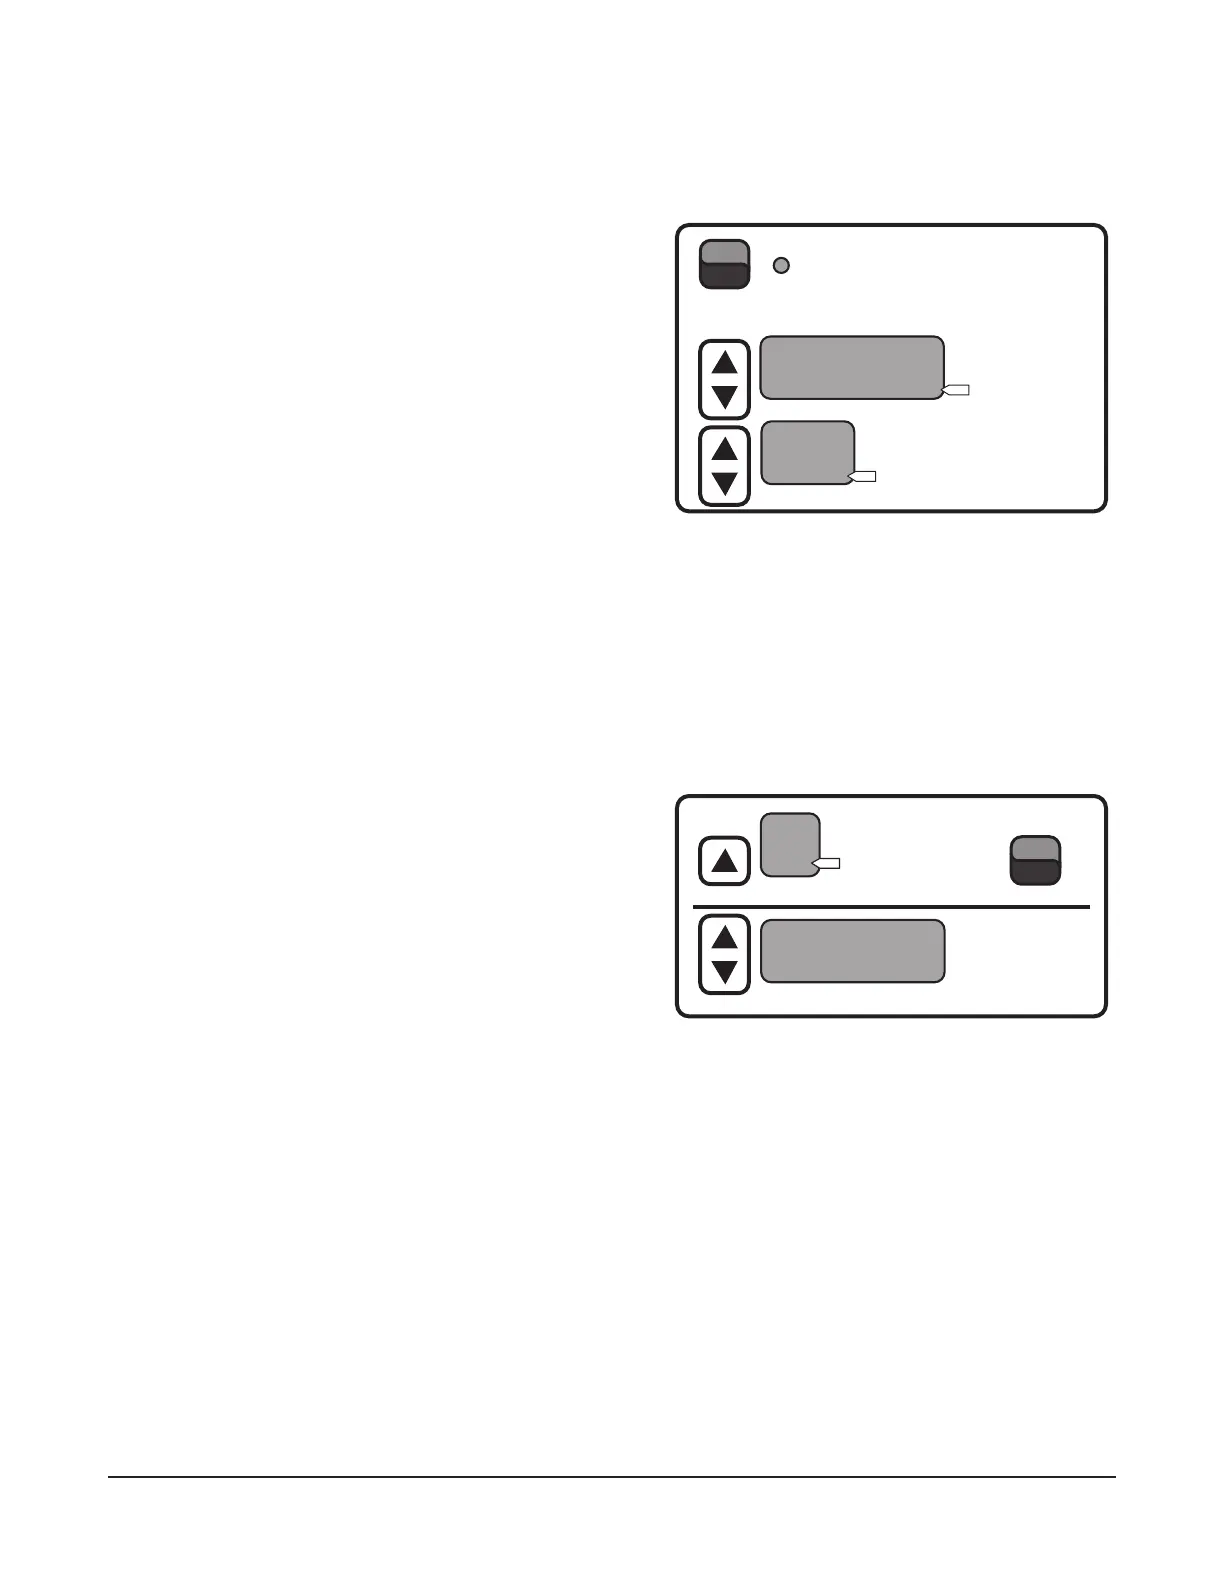
Proof
The proof feature allows thawed dough to rise by gradually increasing the temperature and humidity of
the dough.
1. Press the ON/OFF button to start the proof mode.
The ON/OFF Indicator Light is lit.
2. Enter the desired temperature by pressing the UP
or DOWN arrow next to the TEMP window. The
small ON dot located in the lower right corner of
the TEMP window will light if the actual temperature
is below the set temperature and the unit is calling
for heat.
3. Enter the desired humidity by pressing the UP or
DOWN arrow next to the %HUMIDITY window.
4. Enter the desired time. (See Entering Time below.)
NOTE: For best results, allow the proofer to reach set temperature and humidity before putting product
in. Proof at lower temperatures rather than higher temperatures.
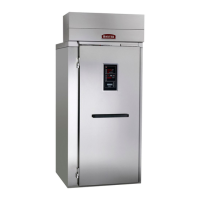
Entering Time
There are four individual timers that can be used for timed operations. Timers run independently and will
not start or stop an operation.
1. Press the UP arrow button next to the TIMER NUMBER window to select one of four timers. The
number will be displayed in the TIMER NUMBER window.
2. Enter the desired time by pressing the UP or DOWN
arrow next to the TIMERS window.
3. Press the START/STOP button to activate the timer.
The small ON dot located in the lower right corner
of the TIMER NUMBER window blinks to indicate
the timer is running.
4. When the timer expires, a beeper sounds and
the timer number ashes in the TIMER NUMBER
window. Press START/STOP to silence the beeper.
5. If more than one timer is needed, select another timer and enter the desired time. To begin the
timing countdown on the timer you want to run, select the timer and press the START/STOP button.
The START/STOP button only starts or stops the timing operation for the timer shown in the TIMER
NUMBER window.
6. When multiple timers are in use, the timer number will ash on the screen as each one times out.
7. Previous time settings remain in the timers until changed.
TEMP
%HUMIDITY
ON
ON
ON
OFF
TIMER
TIMERS
NUMBER
ON
START
STOP
TIMER
TIMERS
NUMBER
ON
START
STOP