EasyManua.ls Logo

BBQ GGPL-2100 User Manual

BBQ GGPL-2100
26 pages
To Next Page IconTo Next Page
Page #1 background imageLoading...
Page #1 background image
Questions, problems, missing parts? Before returning to your retailer, call our customer
service department at 1-866-869-5300, 8 a.m.-6 p.m., EST, Monday-Friday.
BBQ Grillware ® is a registered trademark
of LF, LLC. All Rights Reserved.
ITEM # 196124
MODEL # GGPL-2100
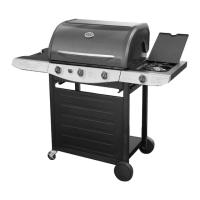
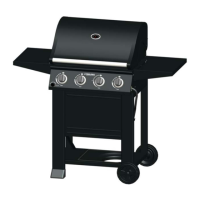
3-Burner LP Gas Grill
®
MH45812
3JYP
version 2.0

Questions and Answers:

BBQ GGPL-2100 Specifications

General IconGeneral
ModelGGPL-2100
TypeGas Grill
Fuel TypePropane
Number of Burners2
BTU Output20, 000 BTU
BurnersStainless Steel
IgnitionPiezo

Summary

Safety Alerts

DANGER: Gas Leak Procedures

Steps to take if you smell gas: shut off, extinguish flame, open lid, and call for help if odor persists.

Safety Information

Safety Information (Continued)

Assembly Instructions

Step 1: Attach Side Frames to Cart

Instructions for attaching the left and right side frames to the front cart panel.

Step 2: Install Base Panel

Instructions for installing the base panel into the cart assembly.

Assembly Instructions (Continued)

Step 3: Install Caster Wheel Assemblies

Instructions for inserting caster wheel assemblies into the left side frame.

Step 3 (Cont.): Secure Grill Housing Assembly

Instructions for securing the grill housing using washers and screws.

Step 6: Connect Ignition Wire and Control Panel Components

Instructions for connecting the electrode wire and installing the knob bezel.

Step 6 (Cont.): Install Right Side Control Panel and Mixing Tube

Instructions for attaching the right side control panel and connecting the side burner mixing tube.

Step 7: Install Control Knob

Instructions for installing the control knob onto the right side table assembly.

Step 9: Install Drip Pan and Grease Collector

Instructions for installing the drip pan and grease collection pan.

Step 4: Mount Wheel Assemblies

Instructions for installing wheel assemblies onto the right side frame.

Step 4 (Cont.): Install Left Side Control Panel

Instructions for installing the left side control panel to the grill housing.

Step 8: Install Heat Shields, Grates, and Racks

Instructions for placing heat shields, cooking grates, warming rack, and side burner rack.

Step 5: Attach Side Tables and Grill Housing

Instructions for placing side tables and inserting the grill housing assembly.

Operation Instructions

Operation Instructions (Continued)

Operation Instructions (Continued)

Care and Maintenance

Care and Maintenance (Continued)

Troubleshooting

Troubleshooting (Continued)

Replacement Parts List

Related product manuals