EasyManua.ls Logo

BBQ 60079 User Manual

BBQ 60079
9 pages
To Next Page IconTo Next Page
Page #1 background imageLoading...
Page #1 background image
Use and Care Guide
26" Magnum Kettle Grill
Sears item No° 60079
Kmart item No. 680-024627t3-1
This Grill is for Outdoor Use Only
SAVE THESE iNSTRUCTiONS!
Read and follow all Safety, Assembly,
and Use and Care Instructions in this
Guide before assembling and cooking
with this grill,
Failure to follow all instructions in this
Use and Care Guide may lead to fire or
explosion, which could result in property
damage, personal injury or death,
" Safety
Parts
Use and Care
Assembly
Assembly Questions?
Call 1-866-561-0731
Tools needed for assembly:
Screwdriver (not provided)
Open, end wrench (not provided)
Sears, Roebuck and Co., Hoffman Estates, IL 60179 U.S.A.
See our extensive assortment of outdoor living products on-line at
_,_¢_vosears.com and www. kmart.com
Question and Answer IconNeed help?

Do you have a question about the BBQ 60079 and is the answer not in the manual?

BBQ 60079 Specifications

General IconGeneral
BrandBBQ
Model60079
CategoryGrill
LanguageEnglish

Summary

Safety and Warnings

General Warning

Critical safety advisory regarding fire, explosion, property damage, injury, or death from improper use.

Safety Guidelines

Essential rules for safe grill operation, including placement, fuel, and supervision.

Parts and Hardware

Hardware List

List of all nuts, bolts, washers, and other hardware required for assembly.

Parts List

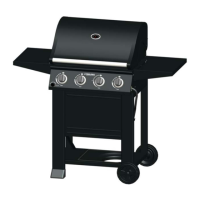
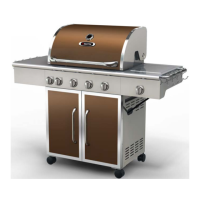
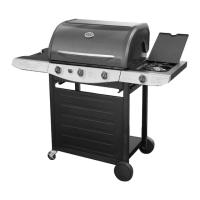
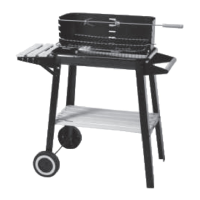
Comprehensive list of all grill components with corresponding part numbers and quantities.

Assembly Instructions

Step 1: Attach Lid Vent Assembly

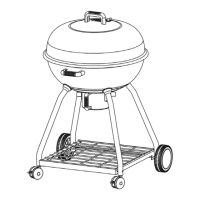
Instructions for attaching the lid vent assembly, lid handle, and bracket to the top lid.

Step 2: Attach Legs

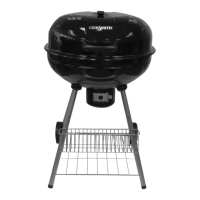
Procedure for attaching stationary and wheel legs to the bottom bowl using leg bolts.

Step 3: Attach Frame and Wheels

Connecting the frame to legs and attaching wheels, casters, and hub caps.

Step 4: Attach Handles and Shelf

Instructions for attaching the side handles to the bottom bowl and placing the wire shelf.

Step 5: Install Grids and Ash Catcher

Hooking grid height adjusters, inserting cooking/charcoal grids, and placing the ash catcher.

Step 6: Place Lid and Final Tightening

Placing the top lid onto the bottom bowl and performing final tightening of all fasteners.

Cooking and Maintenance Information

Safe Minimum Internal Temperatures

Recommended internal temperatures for various meats to ensure food safety.

Limited Warranty

Details of the 90-day warranty, including coverage and claim procedures.

Related product manuals