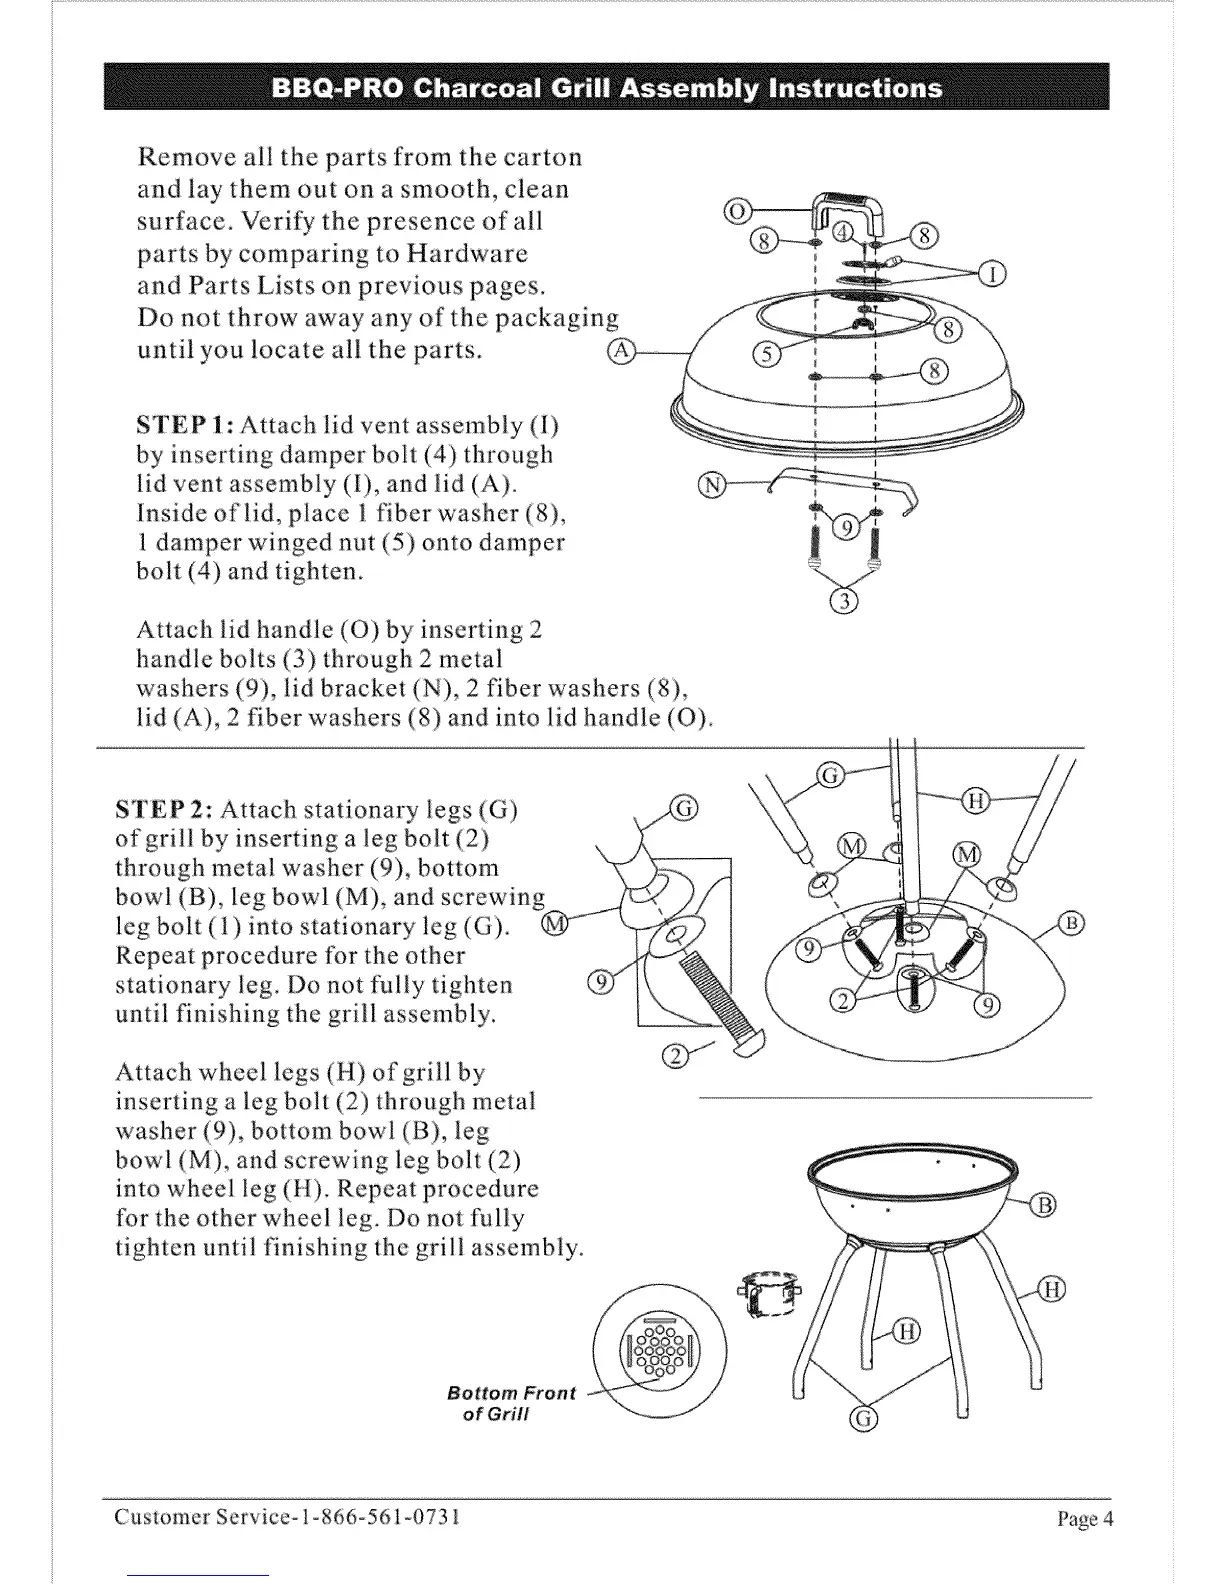
Remove all the parts from the carton
and lay them out on a smooth, clean
surface. Verify the presence of all
parts by comparing to Hardware
and Parts Lists on previous pages.
Do not throw away any of the packaging
until you locate all the parts.
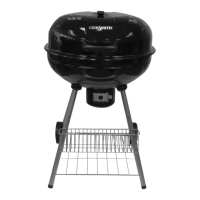
STEP 1: Attach lid vent assembly (1)
by inserting damper bolt (4) through
lid ,,pent assembly (I), and lid (A).
Inside of lid, place 1 t?ber washer (8),
1 damper winged nut (5:) onto damper
bolt (4) and tighten.
Attach lid handle (O) by inserting 2
handle bolts (3)through 2 metal
washers (9), lid bracket (N), 2 fiber washers (8),
lid (A), 2 fiber washers (8) and into lid handle (O).
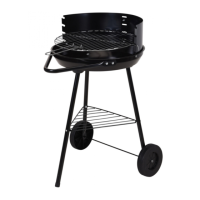
Attach whee! legs (H) of grill by
inserting a leg bolt (2) through metal
washer (9), bottom bowl (B), leg
bowl (M), and screwing leg bolt (2)
into wheel leg (H). Repeat procedure
_r the other wheel leg. Do not fully
tighten until finishing the grill assembly.
Bottom Front
of Grill
Customer Service,-1-866-561 °0731 Page 4