3
UNPACKINGTHEUNIT
1. Cut the straps and lift the cardboard box off the wooden skid base.
2. Remove the wheels.
3. Remove the packing material around the shredder hopper. Take the two handlebars, the bag of parts,
the instruction package and the wheels and axle from the hopper.
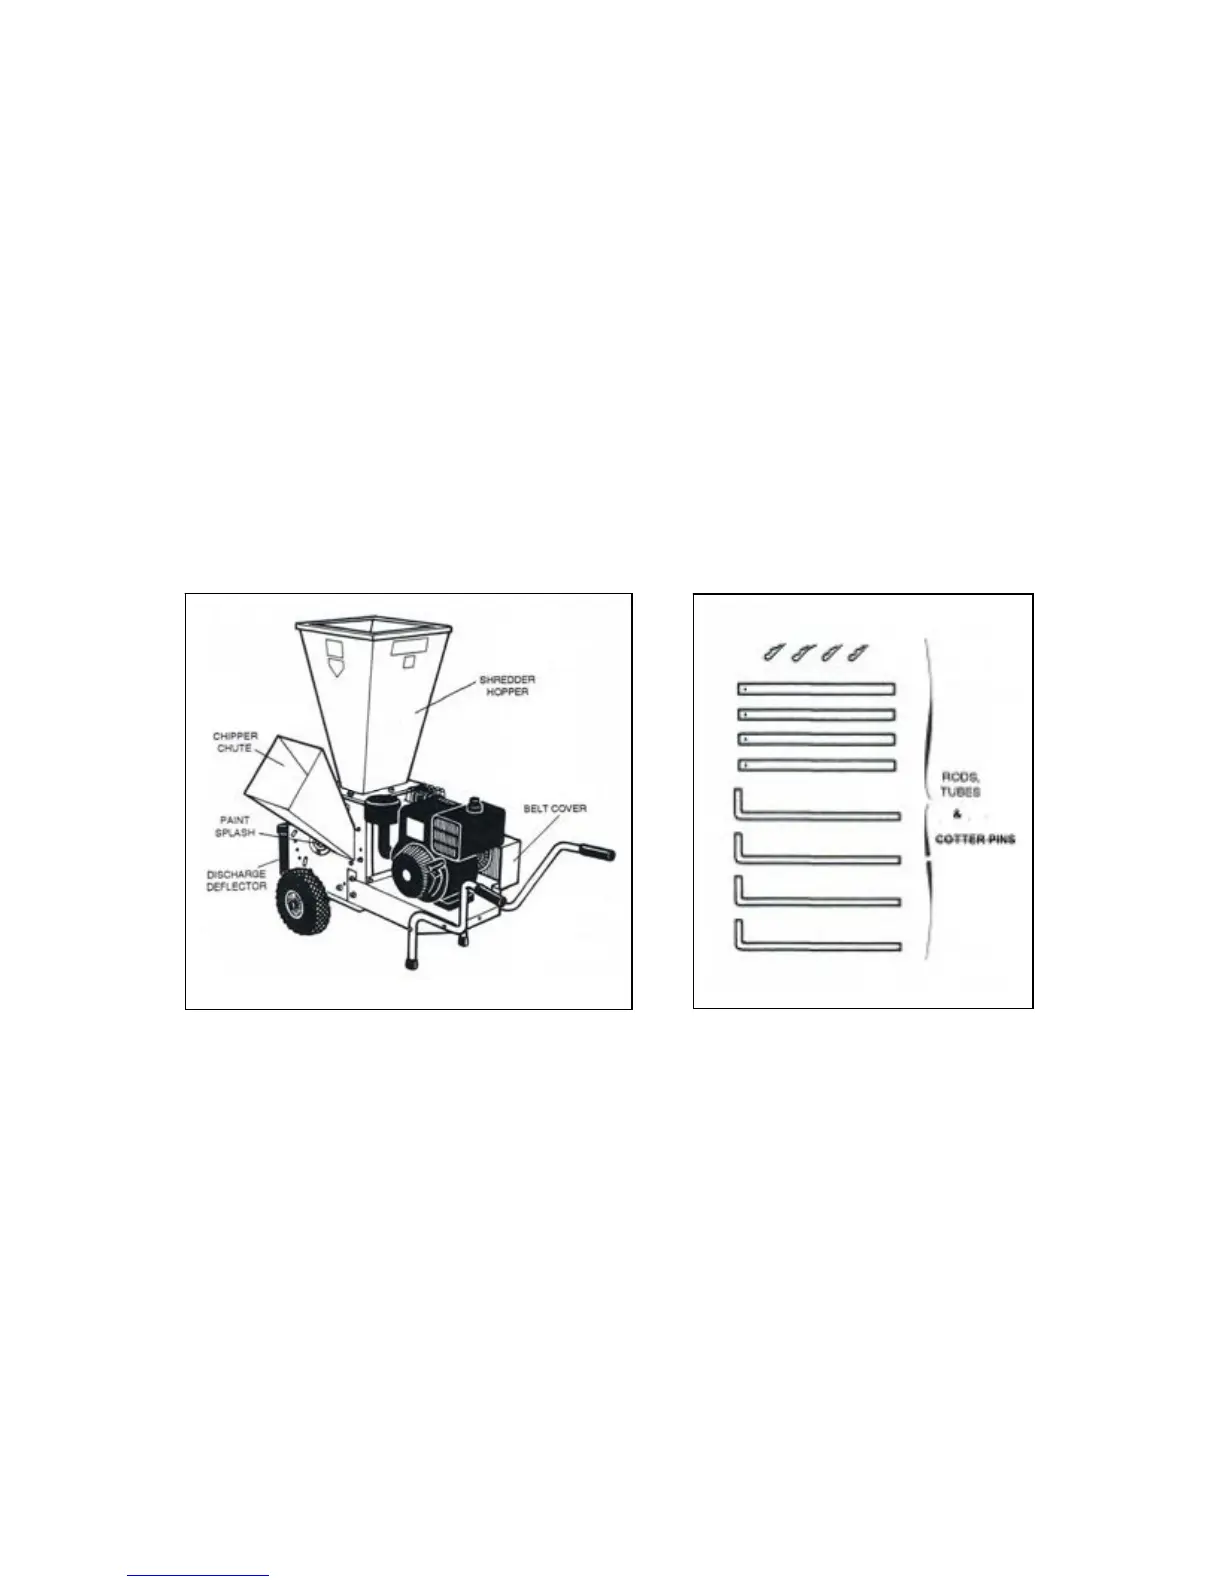
4. Remove the package containing three rods and hairpins and five tubes. These parts are for optional
use. They replace the curved discharge screen in the unit.
5. Free the unit from the wooden skid
by pulling out the two nails.
.
IMPORTANT
BEFORE ASSEMBLING THE UNIT, CHECK THE CONTENTS. NOTIFY THE SHIPPER OR DEALER IF
THERE ARE ANY PARTS MISSING OR DAMAGED PARTS.
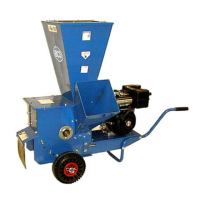
SHREDDER HOPPER
RODS, TUBES &
COTTER PINS
ASSEMBLINGTHEUNIT
1. Lift the front of the unit off the wooden skid and put a block under it. Slide the axle under the base and
put in position so that the holes on the axle are under the four holes in the base. Put a flat washer and
an M8 hex-lock nut on each screw. Tighten all four nuts with a #13 wrench.
2. Slide the wheels part of the way onto the axles and then remove the block. Lift the engine end and
walk the unit clear of the skid. Insert the cotter pins (from parts bag) on both sides of each wheel to
hold the wheels in position.
3. Put a block under the engine end and place the handle bars over the threaded holes on each side of
the base. Put washers on the M8 bolts and screw them into the base using a #13 wrench. Push the
rubber grips over the handlebar ends.