4
4. Mount the Shredder hopper onto the unit. Slip a flat washer onto each of eight M8 x 20mm bolts. Drop
the bolts through the eight holes in the hopper. Secure with a flat washer and M8 hex-lock nut on each
bolt.
5. Mount the Chipper chute on the three studs surrounding the intake, on side of unit, and secure with flat
washers and M8 hex-lock nuts.
CHIPPER/SHREDDEROPERATION
SETTINGUPFOROPERATION
1. The unit rests on rubber tires and bumpers, but should be further cushioned by setting it only on firm,
level ground. Do not place it on paved or gravel surfaces. The unit
may
be placed on a blanket or tarp
to catch the processed material.
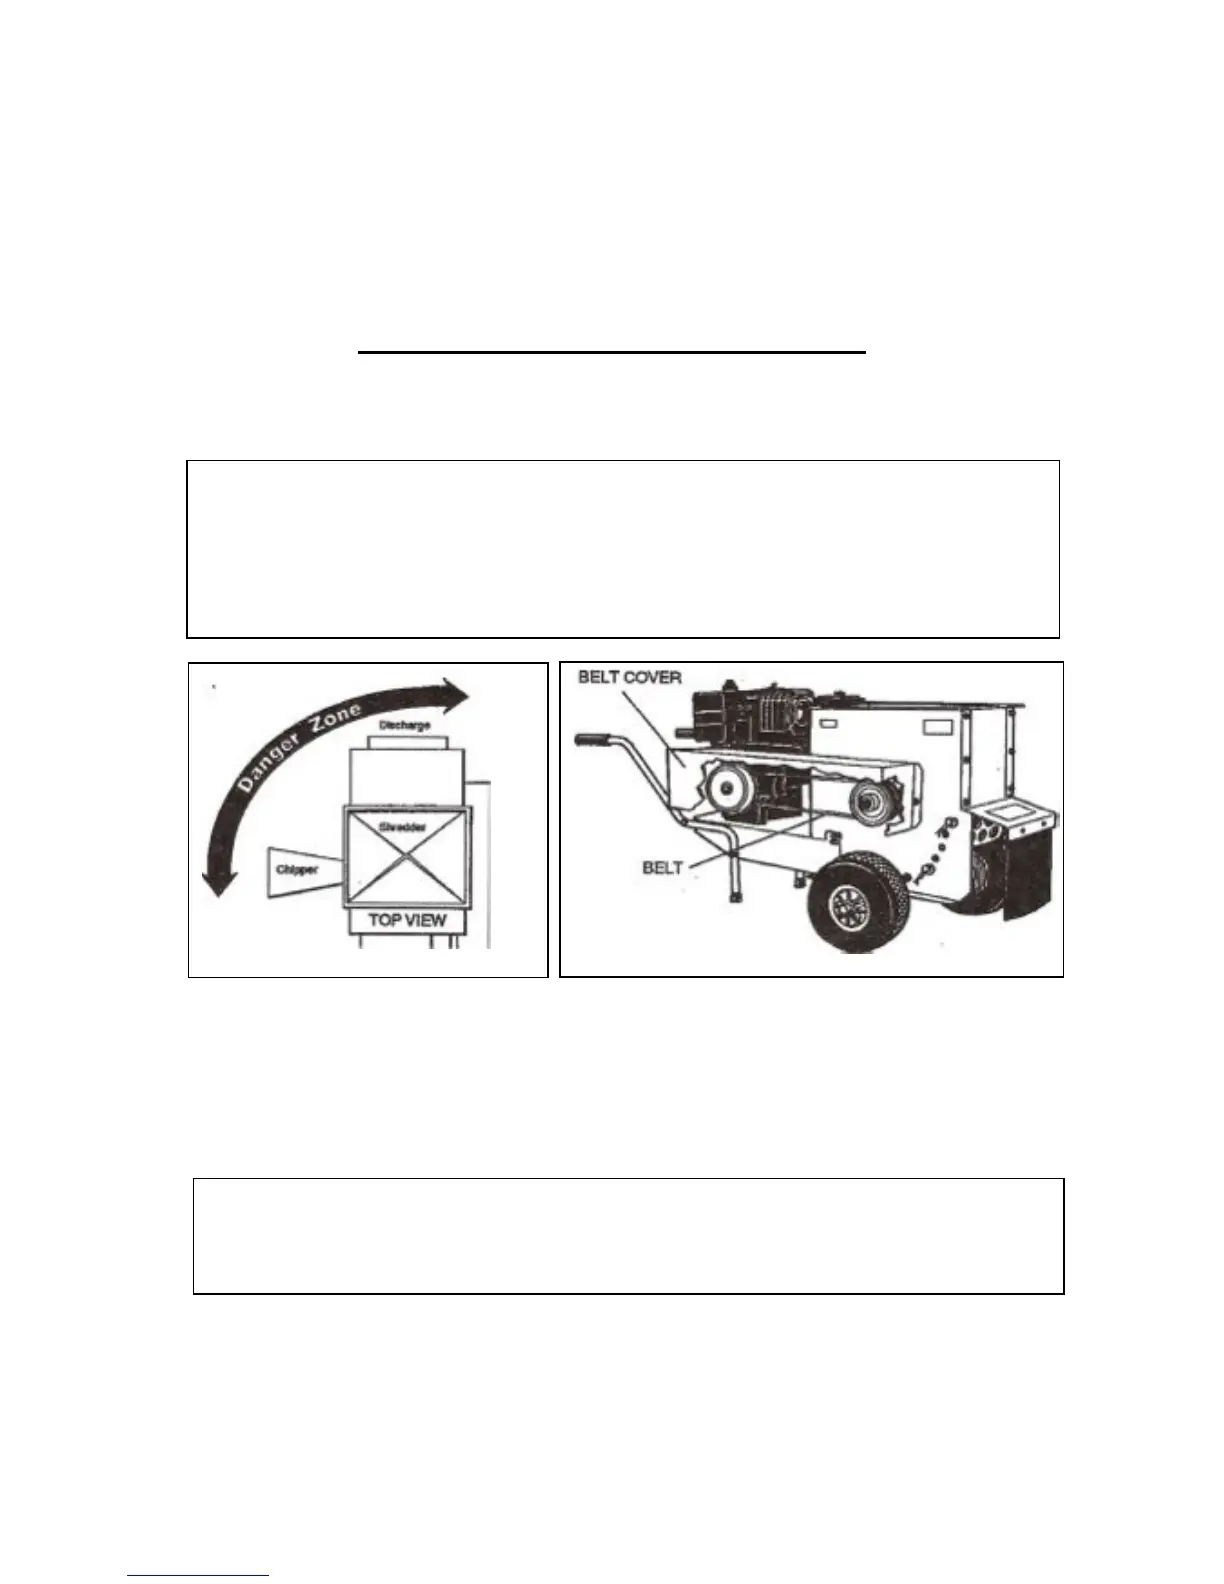
2. Inspect the hopper before starting the engine. Reach under the belt cover, grasp and pull the belt
from left to right to and check that the Chipper/Shredder shaft is turning freely.
3. ALWAYS OPERATE THE CHIPPER/ SHREDDER AT FULL THROTTLE.
4. Chipping and shredding may be done simultaneously.
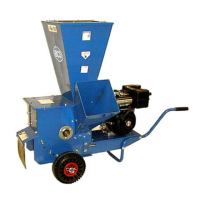
DANGER
Material can be thrown out from both feed and discharge openings.
1.
Wear safety goggles and a hat.
2.
Do not look into shredder hopper or place your head over it when the unit is running.
3.
Do not go on the discharge side of the unit or directly in front of the Chipper chute.
. WARNING
Inspect what you plan to feed into the hopper. Remove glass, metal, brick, stones, long or thick
branches, or anything else that could damage the machine or fly out at high speed.