Do you have a question about the BE QUIET! DARK ROCK PRO 3 and is the answer not in the manual?
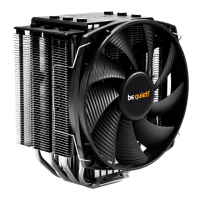
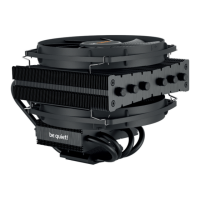
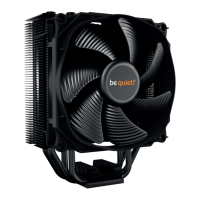
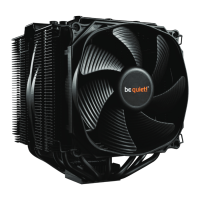
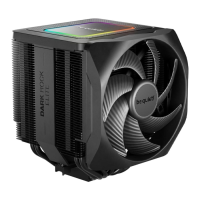
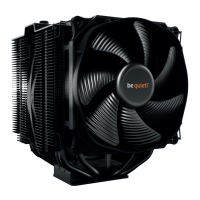
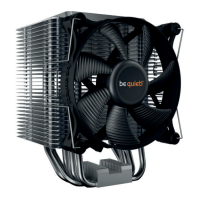
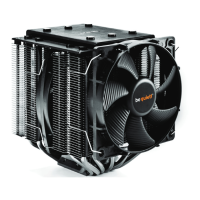
The main CPU cooler unit.
Components for securing the cooler to Intel motherboards.
Components for securing the cooler to AMD motherboards.
Includes nuts, screws, spacers, wrench, and thermal paste.
Attach the two Intel mounting brackets to the underside of the CPU cooler using M3x3 screws.
Prepare the CPU with thermal paste and position the cooler onto it.
Position the Intel backplate on the rear, insert screws, and secure with C-profile spacers.
Connect the fan to the CPU fan connector on the motherboard.
Prepare and attach short AMD mounting brackets to the CPU cooler.
Remove the preassembled AMD retention module from the motherboard.
Apply thermal paste and place the cooler onto the CPU.
Position the AMD backplate and secure it with screws and spacers.
Connect the fan to the CPU fan connector on the motherboard.
Prepare and attach short AMD mounting brackets to the CPU cooler.
Remove the preassembled AMD AM4 retention module from the motherboard.
Apply thermal paste and place the cooler onto the CPU.
Position the AMD backplate and secure it with screws and spacers.
Connect the fan to the CPU fan connector on the motherboard.
| Type | Cooler |
|---|---|
| Airflow | 113.8 m³/h |
| Bearing type | Fluid Dynamic Bearing (FDB) |
| Fan diameter | 120/135 mm |
| Maximum airflow | 67.8 cfm |
| Suitable location | Processor |
| Maximum air pressure | 2.1 mmH2O |
| Minimum air pressure | 1.23 mmH2O |
| Rotational speed (max) | 1700 RPM |
| Rotational speed (min) | 1400 RPM |
| Noise level (low speed) | 13.2 dB |
| Noise level (high speed) | 26.1 dB |
| Compatible processor series | - |
| Supported processor sockets | LGA 1150 (Socket H3), LGA 1151 (Socket H4), LGA 1155 (Socket H2), LGA 1156 (Socket H), LGA 1366 (Socket B), LGA 2011-v3 (Socket R), LGA 2066, LGA 775 (Socket T), Socket 754, Socket 939, Socket 940, Socket AM2, Socket AM2+, Socket AM3, Socket AM3+, Socket AM4, Socket FM1, Socket FM2, Socket FM2+ |
| Mean time between failures (MTBF) | 300000 h |
| Pulse-width modulation (PWM) support | Yes |
| Material | Aluminium, Copper, Nickel |
| Fins material | Aluminum |
| Product color | Black, Silver |
| Number of fans | 2 fan(s) |
| Number of fins | 90 |
| Number of heat pipes | 7 |
| Voltage | 12 V |
| Thermal Design Power (TDP) | 250 W |
| Power consumption (typical) | 2.4 W |
| Sustainability certificates | RoHS |
| Heatsink dimensions (W x D x H) | 133 x 123 x 163 mm |
| Package type | Box |
| Depth | 150 mm |
|---|---|
| Width | 137 mm |
| Height | 163 mm |
| Weight | 1197 g |
| Cable length | 0.25 m |
| Package depth | 210 mm |
| Package width | 180 mm |
| Package height | 205 mm |
| Package weight | 1620 g |
| Heat pipes diameter | 6 mm |