Informaon & Technical Data
Power Supply:95 ~240 VAC, 50~60Hz
Current Load: 16A 3000W(electric heang)
20A 4000W (electric heang)
Sensor: NTC3950, 10K
Accuracy: ±1°C
Set Temp. Range: 5-35°C
Room Temp. Range: 5-70°C
Display Temp. Range: 5 ~ 70°C
Ambient Temp.: 0~ 45°C
Ambient Humidity:
5 ~ 95 % RH (Non Condensing)
Storage Temp.:-5~ 45°C
Power Consumpon: <1. 5W
Timing Error: < 1%
Shell Material: PC +ABS ( Fireproof),PMMA
Installaon Box:
86 * 86mm Square or European 60mm Round Box
Wire Terminals: Wire 2 x 1.5 mm
2
or 1 x 2.5 mm
2
Protecon Class: IP20
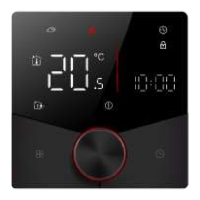
Buons: Knob + touch buon
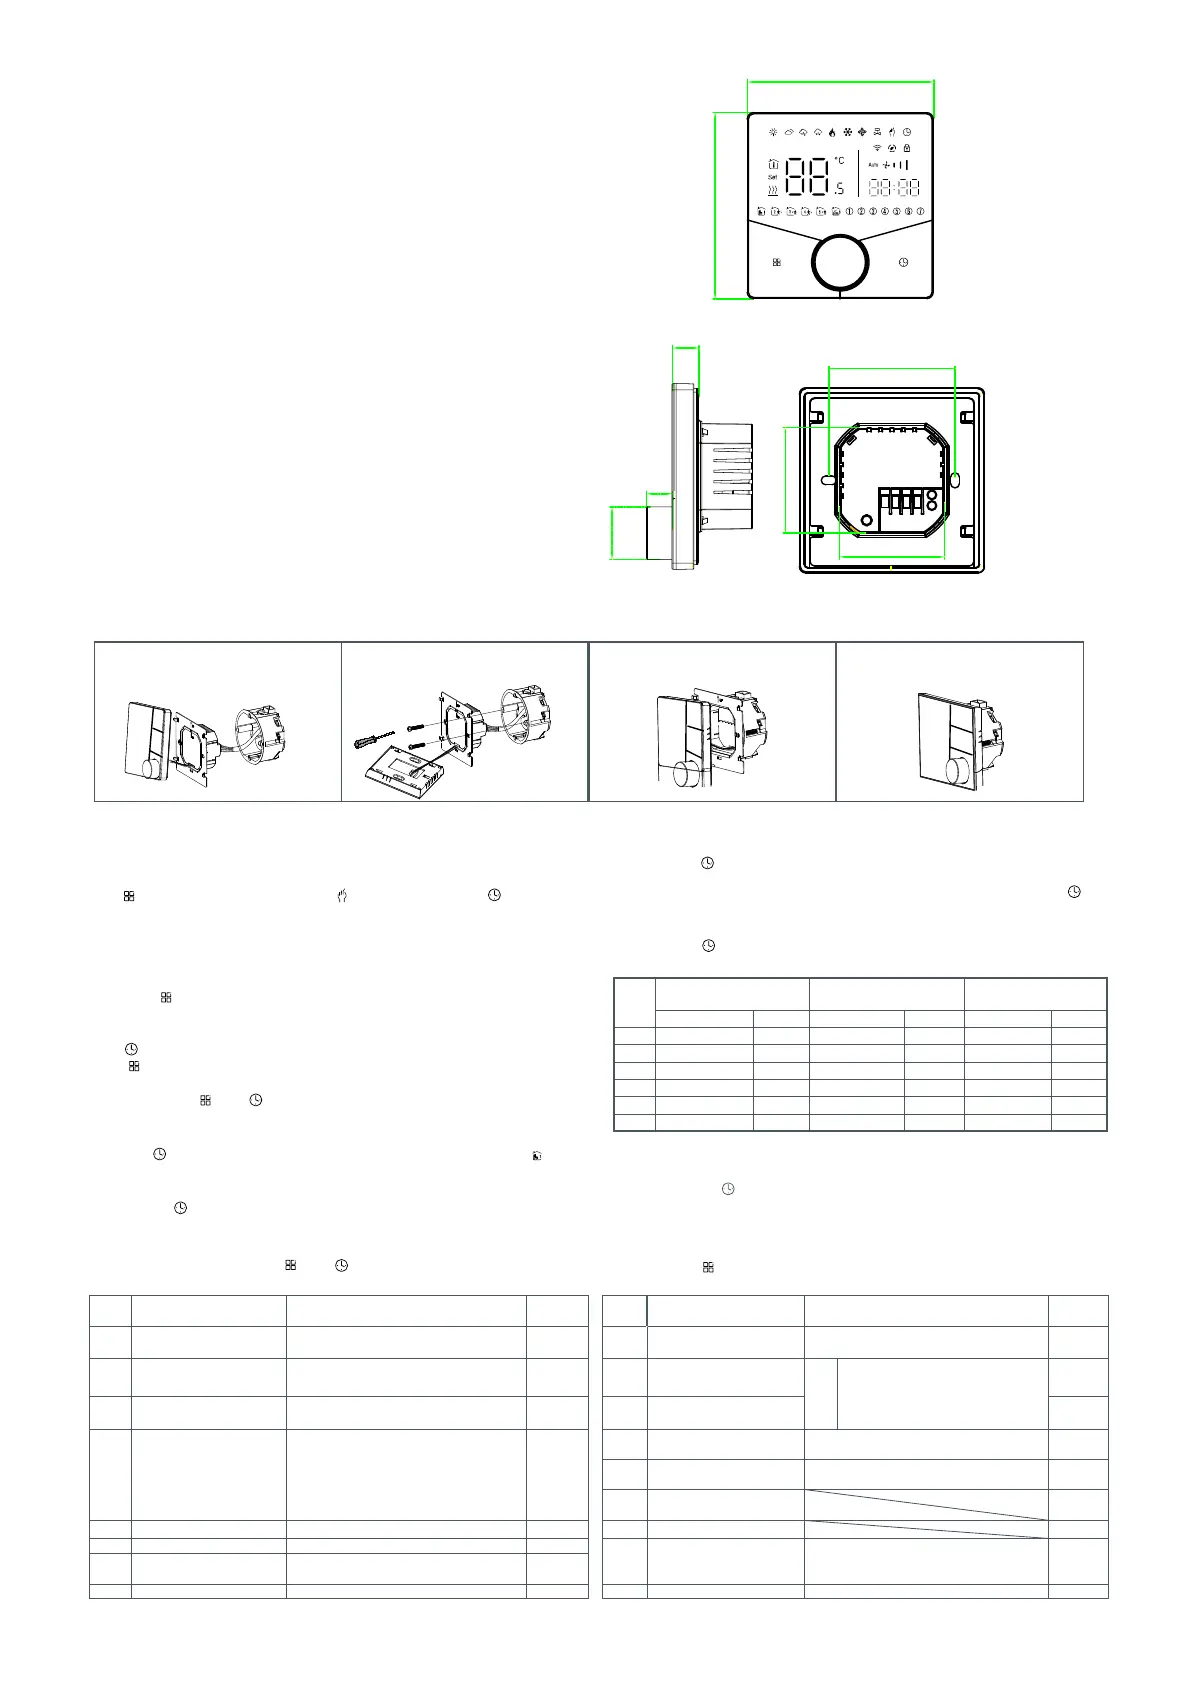
Your thermostat is suitable for installaon within a standard 86mm paress box or European 60mm paress box.
1. Accurately connect the power cable
to the power terminal box.
2. Fix the mounng plate on the cassee
with a screwdriver through two screws.
3. Hang the control panel onto the
mounng plate
4. Installaon completed
Installaon
Turning the knob to set the minutes;
Press the icon “ ” again, the hour of the me will flash, set the hour by turning
the knob;
Operaon
During Power On
1.Power On/off: Press the knob to turn the thermostat on/off.
2.Manual & Programmable
Touch to change between manual mode and programme mode .
In manual mode, will show on the display,
In programmable mode, will show on the display.
5.Locking your Thermostat
Press and hold the“ ”and“ ”for 5 seconds to lock/unlock your thermostat.
In item 3 of high senior opons, you can select full lock or half lock.
6.Adjusng/Seng the Programmable Schedules
Press icon“ ” four mes in a row. You can see " ① ② ③ ④ ⑤ " and“ ”, a
nd the minutes of me are flashing.
Press“ ”to set minute, hour and weekday. and adjust the values by turning the knob.
Press “ ”once more to confirm and exit.
4.Adjusng/Seng the Clock
3.Seng Temperature
In the programming mode, the temperature seng and me seng will be locked.
If the user wants to adjust, he must first adjust the thermostat to manual mode by
pressing the“ ”key.
In the manual mode, pthe desired temperature can be set by turning the knob.
Default sengs for program schedule
A separate schedule may be set for weekdays (Mon – Fri) and for weekends (Sat or Sun).
In the same way, complete the sengs of periods2, 3, 4,5and 6.Press the icon “ ”
once more to enter the Saturday schedule sengs (you will see the ⑥ of the screen).
Repeat the above process to set the period and temp. and ⑦ schedule.
Press the icon “ ” once more to confirm and exit.
Time
display
MON. -FRI.
(①②③④⑤ shows on scteen)
SAT.
(⑥ shows on scteen)
SUN.
(⑦ shows on scteen)
TIME TEMP. ON TIME TEMP. ON TIME TEMP.
eriod 1 6:00~8:00 20 6:00~8:00 20 6:00~8:00 20
eriod 2 8:00~11:30 15 8:00~11:30 20 8:00~11:30 20
eriod 3 11:30~13:30 15 11:30~13:00 20 11:30~13:00 20
eriod 4 13:30~17:00 15 13:30~17:00 20 13:30~17:00 20
eriod 5 17:00~22:00 22 17:00~22:00 20 17:00~22:00 20
eriod 6 22:00~6:00 15 22:00~6:00 15 22:00~6:00 15
7.Checking the Temperature of Floor Sensor
Press and hold the“ ” arrow for 5 seconds to display the temp. of floor sensor. If no
external sensor is connected, the thermostat will display "Er".Note: Do not use third-
party external sensors, the temperature will be incorrect.
Press the icon “ ” again, the temperature seng will flash, set the temperature
turning the knob;This completes the seng of periods1.
8.Seng the Funcons and Opons
During power off, Press and hold “ ”and “ ” for 8 sec. in the order to reach system funcon. Then press “ ” to scroll through the available funcons,and use turning the knob
to change the available opons. All sengs are confirmed automacally.
1 Temperature compensation -9 to 9 ℃ -3 9 High temp. protection setting. 25-70℃ 45
2 Deadzone Temp. 1-5℃ 01 10
Daytime display brightness
(6:00-22:00)
0-8
When set to 0, the device will run for 10
seconds after inactivity.
The screen will go completely off with no
display.
03
3 Button Locking
00:All buttons are locked except power button.
01:All buttons are locked.
01 11
Brightness display brightness
(22:00-06:00)
01
4 Sensor
typer
In: Internal Sensor(to control the temp.)
Ou: External Sensor (to control the temp.)
AL: Internal&External Sensor (Internal sensor to
control the temp., external sensor to limit the
temp.)
AL
12 Screen line standby brightness 1-5 1
13
Power collection x0002_working
voltage
0:24V,1:100V, 2:110V, 3:120V, 4:220V, 5:230V 4
14 Month Show only
5 5-15℃ 05 15 Days Show only
16 Reset
00: No factory reset;
01: Factory reset
00
7 Temp.
Code Function Setting and options Default Code Function Setting and options Default
display
00:Display set Temp. and Room Temp.
01:Only display set Temp.
00
8 Low temp. protection setting. 0-10℃ 00 17 Version number U2
_
Min.Set Temp.
Max.Set Temp.
88.0
88.0
60.0±2mm
50.0
50.0
12.4
Ø25.0
12.0
 Loading...