Do you have a question about the Behringer Eurolive B1500D-PRO and is the answer not in the manual?
Connect a single subwoofer and powered satellite speakers for mono operation.
Connect two subwoofers for stereo operation with satellite speakers.
Connect multiple subwoofers in series to expand system coverage.
Adjusts the output volume level of the subwoofer.
Adjusts the frequency for the bass boost feature.
Engages or disengages the bass boost function.
Sets the crossover frequency for the subwoofer output.
Inverts the phase for better sound system integration.
Indicates when an audio signal is present.
Indicates that the unit is powered on.
Position speakers and make necessary audio connections before powering on.
Set LEVEL, HIGH CUT, BOOST, and PHASE controls to initial positions.
Turn on the audio source and then the speaker system.
Fine-tune LEVEL, HIGH CUT, BOOST, and PHASE for optimal sound.
Register your new MUSIC Group equipment online for faster service.
Procedures for dealing with equipment malfunctions and seeking support.
Ensure correct mains voltage and fuse replacement for safe operation.
| Impedance | 10000 Ω |
|---|---|
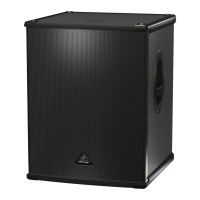
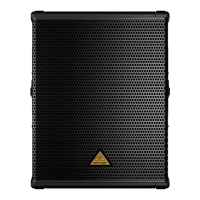
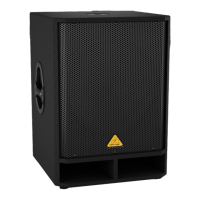
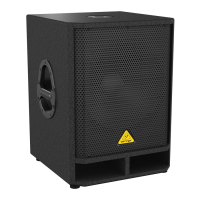
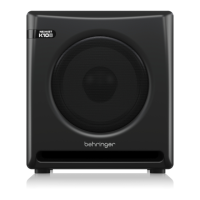
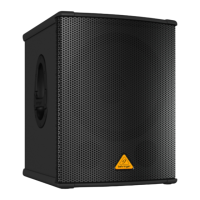
| Subwoofer type | Active subwoofer |
| Wireless subwoofer | No |
| Number of subwoofers | 1 |
| Subwoofer peak power | 1400 W |
| Subwoofer sensitivity | 4 dB |
| Subwoofer driver diameter | 381 mm |
| Subwoofer frequency range | 20 - 20000 Hz |
| Subwoofer driver diameter (imperial) | 15 \ |
| XLR in | Yes |
| AC input voltage | 230 V |
| Power source type | AC |
| AC input frequency | 50 Hz |
| Power consumption (typical) | 1200 W |
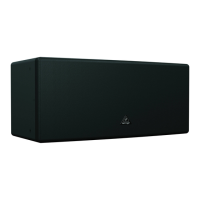
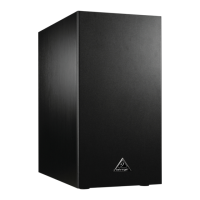
| Product color | Black |
| LED indicators | Power, Signal strength |
| Frequency range | 20 - 20000 |
| Voice coil type | Paper |
| Speaker enclosure | Closed |
| Subwoofer depth | 530 mm |
|---|---|
| Subwoofer width | 465 mm |
| Subwoofer height | 605 mm |
| Subwoofer weight | 42000 g |
| Subwoofer dimensions (WxHxD) | 465 x 605 x 530 mm |