18 NEUTRON User Manual
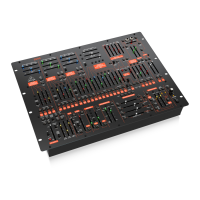
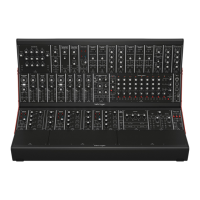
7. 3 Bucket Brigade Delay Calibration
The Neutron Delay stage is designed to give as much control and variety as
possible to the user. With that in mind, it may be necessary to tweak your
Neutron to sound the way you want it to.
First, decide how much feedback you want. Adding more feedback gives
the option of having the delay stage feedback on itself creating screaming
eects. This results in higher distortion through the circuit, which may be a
desirable eect.
Warning! When completing this procedure please keep the level down low as it
may get loud.
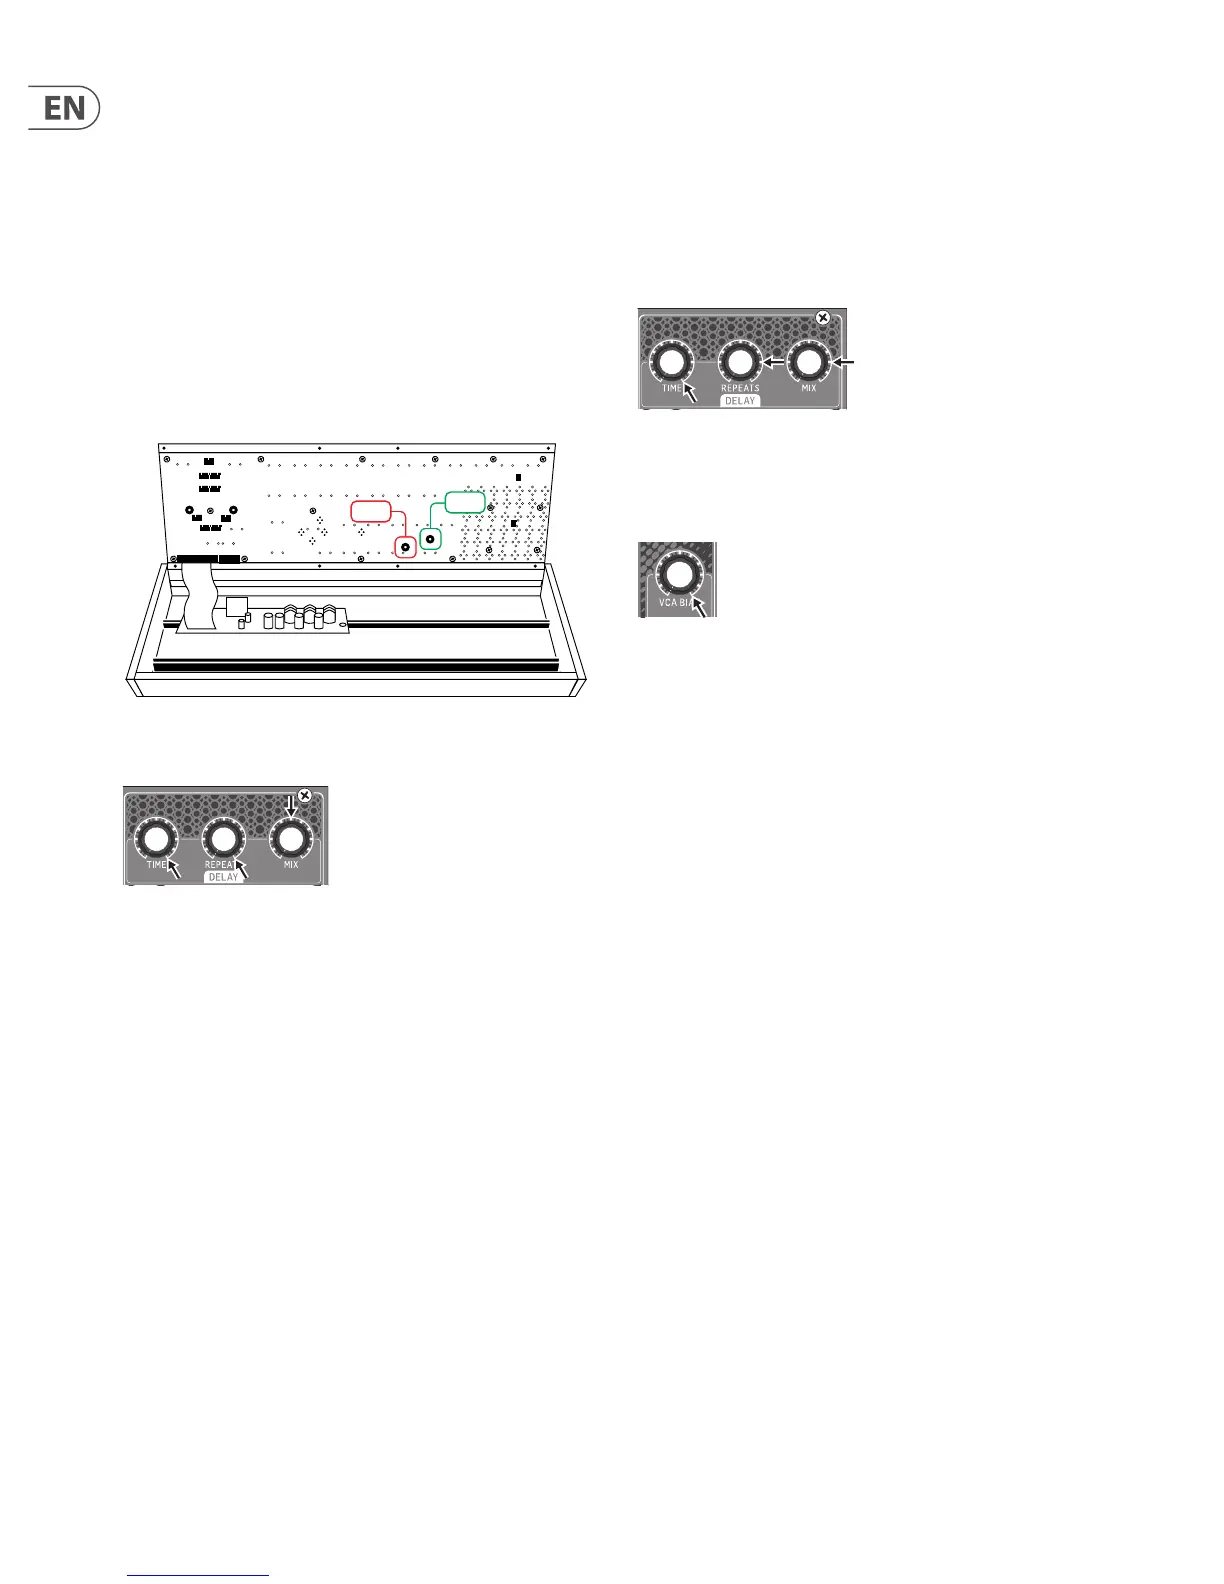
Open the Neutron by removing the top 8 screws. Lift the top panel carefully from
the lower edge to give access to trim pots VR37 and VR38. Take care not to put
strain on the ribbon connector.
1. Set the Delay Time and Repeats controls fully clockwise (turning to the right)
and set the Mix control to 12 o’clock.
2. Turn VR37 fully CW.
3. Turn the Time control fully counter clockwise to the left (faster repeats), the
circuit should feedback and scream at you.
4. With the delay feeding back on itself turn VR37 CCW until the repeats soften
but do not die o.
5. To test the setup:
- Turn the repeats fully CCW so that there are no repeats and the Time fully
clockwise for long repeats.
- Next, turn the repeats up full again.
- When the Time control is turned fully CCW the delay should start to
feedback again, if not dial VR37 CW a little further. Or alternatively, if it feeds
back too easily or if you don’t want this behavior at all, turn VR37 a little
more CCW to reduce the eect of the feedback.
If you would like clean repeats lower the amount of feedback so the delay does
not feedback on itself easily, or at all, and keep the level through the delay circuit
low. This can be achieved by using the Overdrive level to control the amount of
signal sent to the delay. This exibility lets you achieve clean and crisp repeats or
a delay that screams at you as you let it feedback on itself.
VR37
VR38
Clock Noise Calibration
Once the repeats calibration has been completed you may need to dial out some
clock noise from the delay output. This procedure has knock on eects to the
repeats calibration so once complete, you may need to repeat the previous stage
until you nd the right balance. The output level may need to be increased so
that clock noise can be heard; this will sound like a high frequency drone in the
background of any signals played through the delay.
1. Turn Time fully CW and both Repeats and Mix to 3 o’clock.
2. Set VCA Bias fully CW so a signal is fed through the system and heard at the
output. If you have no audio check that the VCF is not cutting o any audio
and that the Overdrive level is up. A low frequency sound may be best, one
so that you can easily distinguish the clock noise.
3. With a constant drone on the output turn VR38 until you can hear clock
noise, then move VR38 until the clock noise is at a minimum. Note, with long
repeats there will always be a bit of clock noise present.