12
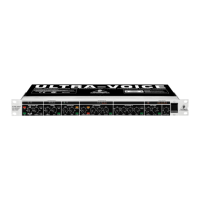
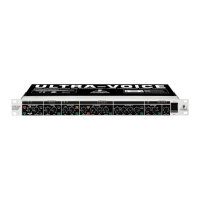
ULTRA-VOICE VX2000
3. RECORDING WITH THE ULTRA-VOICE
48
FUSE HOLDER / VOLTAGE SELECTOR. Please make sure that your local voltage matches the volt-
age indicated on the unit, before you attempt to connect and operate the VX2000. Blown fuses may only
be replaced by fuses of the same type and rating. Some models allow for inserting the fuse holder in two
different positions, in order to switch over from 230-V to 115-V operation, and vice versa. Please note
that for 115-V operation outside Europe, you need to use a fuse of a higher rating (see chapter 1.1
Before you begin).
3. RECORDING WITH THE ULTRA-VOICE
When youre recording with the ULTRA-VOICE you should try to achieve a natural sound image of high quality
in the first place. Any special sound of the program material can be realized later on during the
mixdown, without affecting the recorded signals.
1) Use the GAIN control of the discrete vintage input stage to set a gain level that suits the input material.
2) Be sure to take all measures that enable you to achieve the best sound possible: Check the microphone for
its optimum position and the room acoustics for compliance with the sound you wish to achieve. Start by
disabling all components of the ULTRA-VOICE in order to optimize the dry, i.e. unprocessed signal.
3) If required, use the opto compressor to smooth out the overall signal dynamics. Avoid overcompressing
the signal, you can compress it again after recording. Dont use the hard ratio function in the first place,
because it affects your signal audibly. If the singer doesnt keep a steady distance between mouth and
microphone, the vocals may suffer from considerably varying dynamics. In this case, you should choose a
higher compression setting. Set a relatively low threshold level on the opto compressor to ensure a
constant loudness level.
+ Make sure that singers keep a steady distance between mouth and microphone, so as to avoid
the need for excessive compression.
When youre recording backing vocals, the signals should be compressed heavily to produce a steady
loudness level during the entire recording.
4) Use the voice-optimized EQ to make up for deficiencies in the sound image, which cannot be eliminated
before. Dont use extreme settings, you can still add some equalization during the mixdown. The
voice-optimized EQ can be used to solve the following problems:
s If a vocal track lacks transparency in the bass range, you can use the WARMTH control to fade out
low-frequency signals. Set the control to full reduction, then use the TUNING control to identify the
disturbing frequency range, until the vocals are more balanced in sound. Start by soloing the
track, then check it together with the remaining signals. Adjust the WARMTH control until the
overall sound is perfect.
s If the vocals are too harsh, use the ABSENCE switch of the voice-optimized EQ to attenuate the
frequencies that are responsible for the harsh sound. Additionally, you can turn up the WARMTH
control a bit or use the BREATH or PRESENCE controls to filter the signals high-frequency range.
s If the vocals are drowned out in the overall mix, increase their PRESENCE to bring them more to
the front.
s If the overall signal lacks brilliance, you can enhance the treble range with the PRESENCE
or BREATH controls. Or use the opto compressors enhancer function to add some upper
harmonics.
5) If the vocal tracks contain unwanted frequencies, you can use the expander and opto de-esser to remove
them. The opto-de-esser also eliminates disturbing sibilance. First, you need to identify the frequency
range containing unwanted signals:
s Activate the voice-optimized EQ and turn up the BREATH control to raise the sibilant frequency
range. If you have already used the EQ, remember the original setting to be able to reproduce it
later on.
s Activate the opto de-esser; adjust a low threshold then turn the CUT FREQ control until the
sibilant sounds are audibly lowered in level.