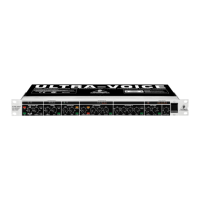
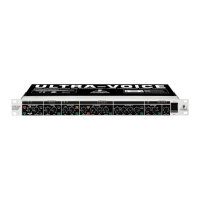
ULTRAVOICE VX2000
9
7. AUDIO CONNECTIONS
6) Use the tube emulation function to give your recording the
sound of a classic analog tape recorder.
7) Finally, the MASTER FADER allows you to control the output
volume of your ULTRAVOICE.
4. MIXDOWN WITH THE ULTRAVOICE
Feel free to use the ULTRAVOICE and its functions during the
mixdown. Often, extreme effect and filter settings are needed to
make a specific signal fit into the overall sound. Vocals featuring
high presence and a full sound in the mix have usually been
tweaked heavily before.
Normally, vocal tracks are enhanced with reverb during the
mixdown. If the reverb signal contains unwanted noise (e.g.
sibilance), you can use the opto de-esser to remove such
interference signals. Do as described below:
s Remove sibilance from vocal tracks as described above,
then use one of the main outputs (not the INSERT path,
which is pre-de-esser!) to drive the reverb unit. Be sure
to set the direct level on the reverb unit to zero to process
the wet signal only.
s Now, add the resulting reverb signal to the consoles
output signal taken from the RECORDING output of your
VX2000. This signal is pre-de-esser. In this way, unwanted
signals are removed from the reverb signal only, but not
from the wanted signal.
You can use the expander to eliminate interference from other
instruments recorded e.g. via the headphones of the singer.
Please note that any compression applied to this signal would be
counterproductive, because it would limit the signal during loud
passages and hence raise the unwanted interference in level.
Although the ULTRAVOICE has been primarily designed for
vocal recordings, you can also use it to record and mix down any
other signals.
5. THE ULTRAVOICE IN LIVE
APPLICATIONS
As in the studio, the ULTRAVOICE will be your useful sound
shaper and problem solver for live applications as well.
On small stages, the short distances between microphone and
monitor speaker can cause feedback. In this case, you should try
the VX2000s opto de-esser:
s Set the THRESHOLD control to a relatively low value.
s Use the CUT FREQ control to identify the frequency range
that causes the feedback.
s Now, turn up the THRESHOLD until the vocals are least
affected and feedback is suppressed effectively.
With high volume levels on stage, theres a lot of crosstalk, i.e.
the microphones pick up not only the wanted signals (e.g. vocals),
but also other signal sources around them. This can be much of
a problem, because you can no longer process the single signals
independently of each. Use the expander to isolate single signals
and remove crosstalk, which is lowered in volume, while the louder
wanted signal remains unaffected. For this application the gate
function proves quite handy to remove unwanted signals
completely. However, be sure to keep the wanted signal
unaffected, when the gate cuts off the signals once they have
dropped below the threshold. Thus, soft passages could be cut
off, even though they are supposed to fade out smoothly. The
gate threshold. Thus, soft passages could be cut off, even though
they are supposed to fade out smoothly. The gate can also be
used to process pulse-type sounds (e.g. snare drum, kick drum,
tom-toms, etc.), as these signals have relatively short attack and
release times.
6. INTEGRATION INTO A RECORDING
SYSTEM
As mentioned above, your ULTRAVOICE is equipped for direct
connection to recording media such as DAT recorders, analog
tape recorders or digital hard-disk-based computer systems. You
dont need to use a mixing console and can hence benefit from a
much clearer signal, because potential interference signals
produced by the console circuitry are excluded right from the start.
If you wish to integrate your VX2000 into a hard-disk recording
system, you will need an analog-to-digital converter which converts
the analog signal from the microphone preamplifier into digital.
Naturally, you can also use a conventional mixing console to
integrate the ULTRAVOICE into your studio environment. Like
any other preamplifier, it connects to the balanced microphone
or line inputs on the console and with its wealth of functions it is
a perfect tool for a great variety of applications.
7. AUDIO CONNECTIONS
7.1 Rack mounting
The BEHRINGER ULTRAVOICE VX2000 requires one height
unit (1 HU) for being installed into a 19" rack. Please allow at
least an extra 4" of space for the connectors on the rear panel.
Also, please make sure that sufficient ventilation of the unit is
provided for, and never put the rack mixer onto an amp or similar
equipment to avoid overheating.
Please use M6 machine screws and nuts to install your VX2000
into a rack.
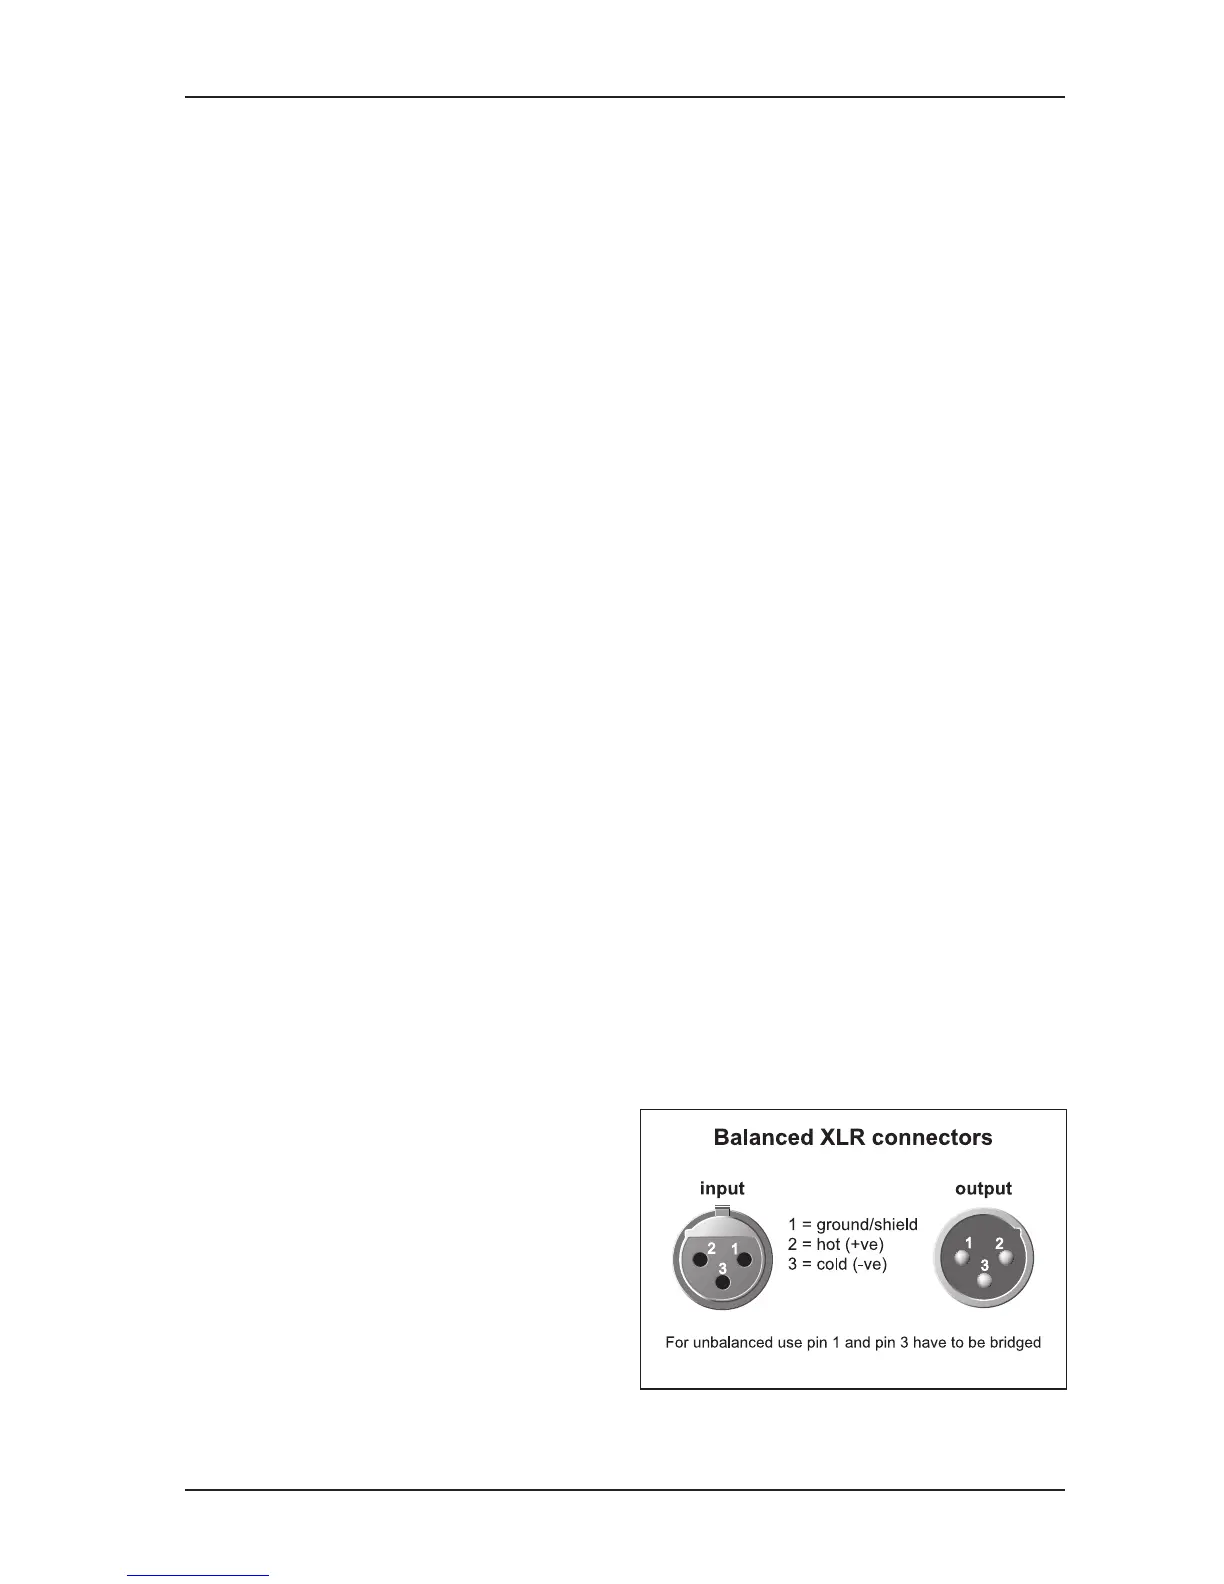
7.2 Audio connections
You will need many different cables for the various applications.
The following illustrations show how these cables should be laid
out. Please use exclusively high-grade cabels.
The audio connectors of your VX2000 are electronically
balanced and ensure automatic hum and noise reduction.
Of course, you can also connect equipment featuring un-
balanced outputs. To this end, use either mono jacks or connect
ring and sleeve of the stereo jack (bridge pin 1 and pin 3 when
using XLR connectors).
+ Please ensure that only qualified personnel install and
operate the VX2000. During installation and operation
the user must have sufficient electrical contact to earth.
Electrostatic charges might affect the operation of the
unit.
Fig. 7.1: XLR connector