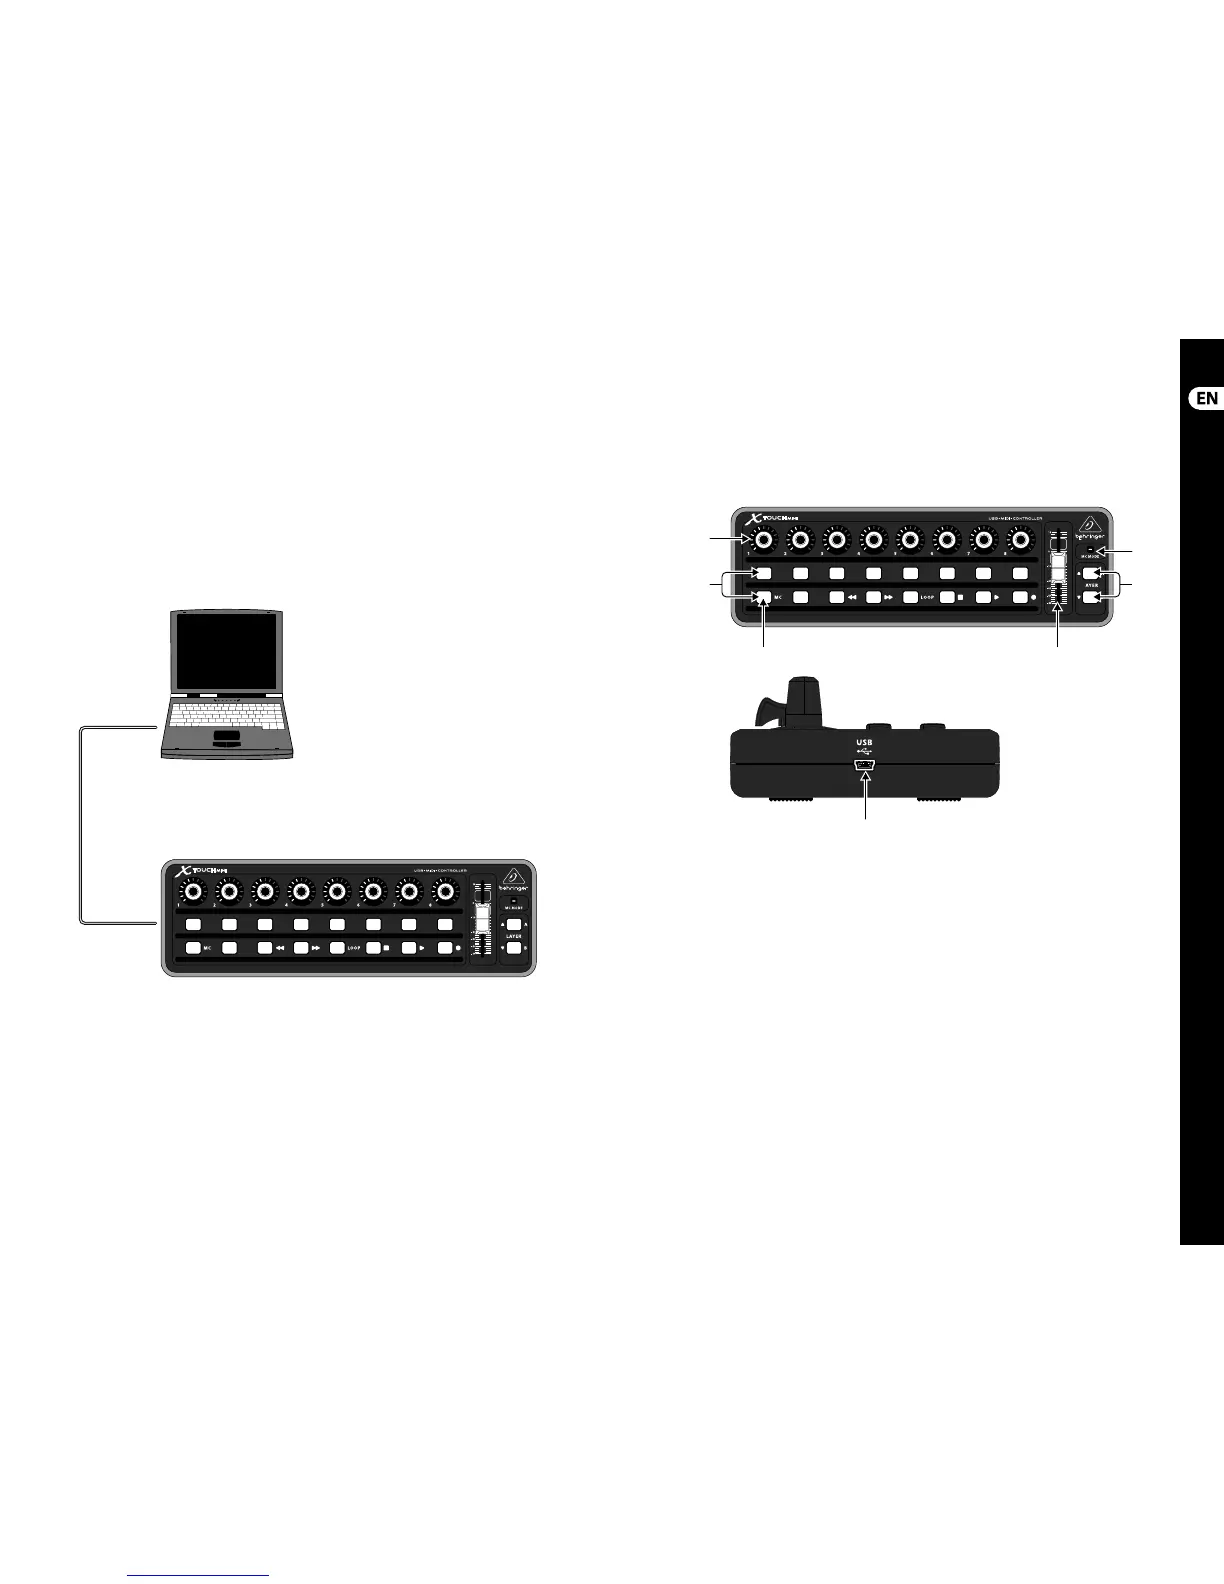
(EN) Step 1: Hook-Up
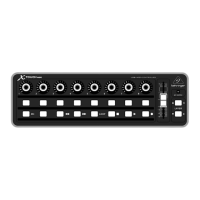
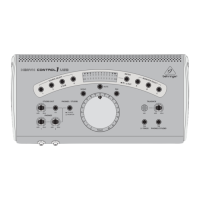
X-TOUCH MINI Hook-up X-TOUCH MINI Controls
(1) Push encoder knobs - there are 8 endless encoders,
eachwith a detent and push function (not illuminated),
anda 13-segment amber LED ring. These knobs are
typically used in Digital Audio Workstation (DAW)
applications for ne control of parameters such as Pan
control of Ch. 1
to 8, or individual level adjustments.
(2) Select buttons - there are 2 x 8 soft touch buttons
with amber backlit LEDs. These are typically used for
DAW mixer applications (e.g. Solo, Mute of Ch. 1 to 8),
DAW transport applications (e.g. play, rec, stop), lighting
applications (spotlight on/o ), and sample triggering
(notes on/o ).
(3) MC button - this standard select button can also be
used to switch the unit between Mackie Control mode
and standard mode as follows: Press and hold it down
while connecting the unit to a live computer’s USB port.
Releasethe MC button when the MC MODE LED on the
right lights continuously. The mode is remembered
after power-o and unplugging from the USB port.
Repeat this procedure to change the unit back to
standard mode.
(4) MC MODE LED - this amber L
ED lights when the unit is
operating in MC mode.
(5) Layer A and B buttons - these 2 soft touch buttons
with amber backlit LEDs, allow selection between
preset A or preset B in standard mode: Press “A” to
select “Preset A,” press “B” to select “Preset B.” I
n MC
mode, there are di erent assignments. See MIDI Map
on page 16.
(6) Fader - this standard non-motorized 60 mm fader
is typically used for the control of level functions in
DAW applications.
(7) USB Mini-B connector - this connects to a computer’s
USBA port for bus-powering and data transfer
(send/receive). Theunit is USB powered through this
connection. (Plug directly to the computer’s USB A port,
and not to a keyboard’s USB port.)
(EN) Step 2: Controls
Laptop
USB Mini-B
USB A
(1)
(4)
(6)
(7)
(3)
(2)
(5)
10 X-TOUCH MINI 11 Quick Start Guide