Do you have a question about the Beko DIT25401 and is the answer not in the manual?
Defines WARNING and CAUTION symbols and their implications for safety and potential damage.
Instructions for inspecting the dishwasher for damage after unpacking and before installation.
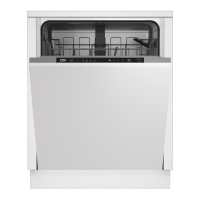
Lists all parts, manual bag, and accessory kits provided with the dishwasher for installation.
Details permissible water pressure, electrical connection requirements, total power, and heater power.
Specifies electrical requirements, including voltage, frequency, and dedicated circuit for safe operation.
Outlines the process of preparing the enclosure and installing mounting brackets for securing the dishwasher.
Step-by-step guide to adjusting the dishwasher's feet to ensure it is level and at the correct height.
Instructions for applying the side trim strips to the front edges of the cabinet walls.
Guidance on installing a water shut-off valve and preparing the supply line for connection.
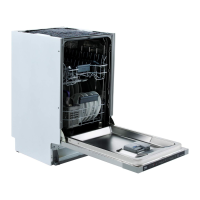
Details on connecting the drain hose to the plumbing, covering sink drains, air gaps, and disposals.
Procedure for applying steam protection foil to the countertop underside to prevent steam damage.
Comprehensive guide to connecting the drain hose, water supply, and electrical wiring safely and correctly.
Instructions for adjusting the dishwasher's feet to achieve level installation under the countertop.
Steps for assembling and adjusting the dishwasher's toe kick panel for proper fit.
Procedures for securing the dishwasher cabinet to the countertop using provided brackets and screws.
Instructions for preparing a wooden door, including measurements for height, width, and weight limits.
Steps for preparing the dishwasher's main door, likely involving attaching decorative panels or handles.
Guidance on attaching the prepared wooden door to the dishwasher's mounting points.
Securing the timber door to the dishwasher assembly using specific fasteners.
Final steps for fixing the timber door, ensuring secure attachment and alignment.
Adjusting the kick plate to prevent interference with the bottom of the door and for aesthetic finishing.
Final connection steps for water supply, drain hose, and electrical systems, including safety checks.
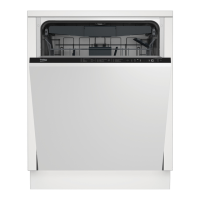
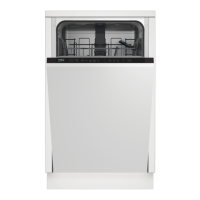
| Style | built in |
|---|---|
| Color | panel ready |
| Load Capacity | 14 place settings |
| Number of Cycles | 5 |
| Number of Options | 4 |
| Drying Type | static |
| Noise level | 48 db |
| Control Type | touchpad; electronic touch control |
| Delay Start | yes |
| Spray Arms | 3 |
| Water Filter | yes |
| Leak Protection | yes |
| Water Softener | no |
| Sanitize Settings | yes |
| Half Load | yes |
| Wi-Fi | no |
| Smart Home | no |
| Remote Control | no |
| Voltage | 120 volts |
| Current | 12 a |
| Depth | 21 5/8 inch |
|---|---|
| Height | 33 7/8 inch |
| Width | 23 9/16 inch |