USB downstream port
USB upstream
port
USB downstream
port
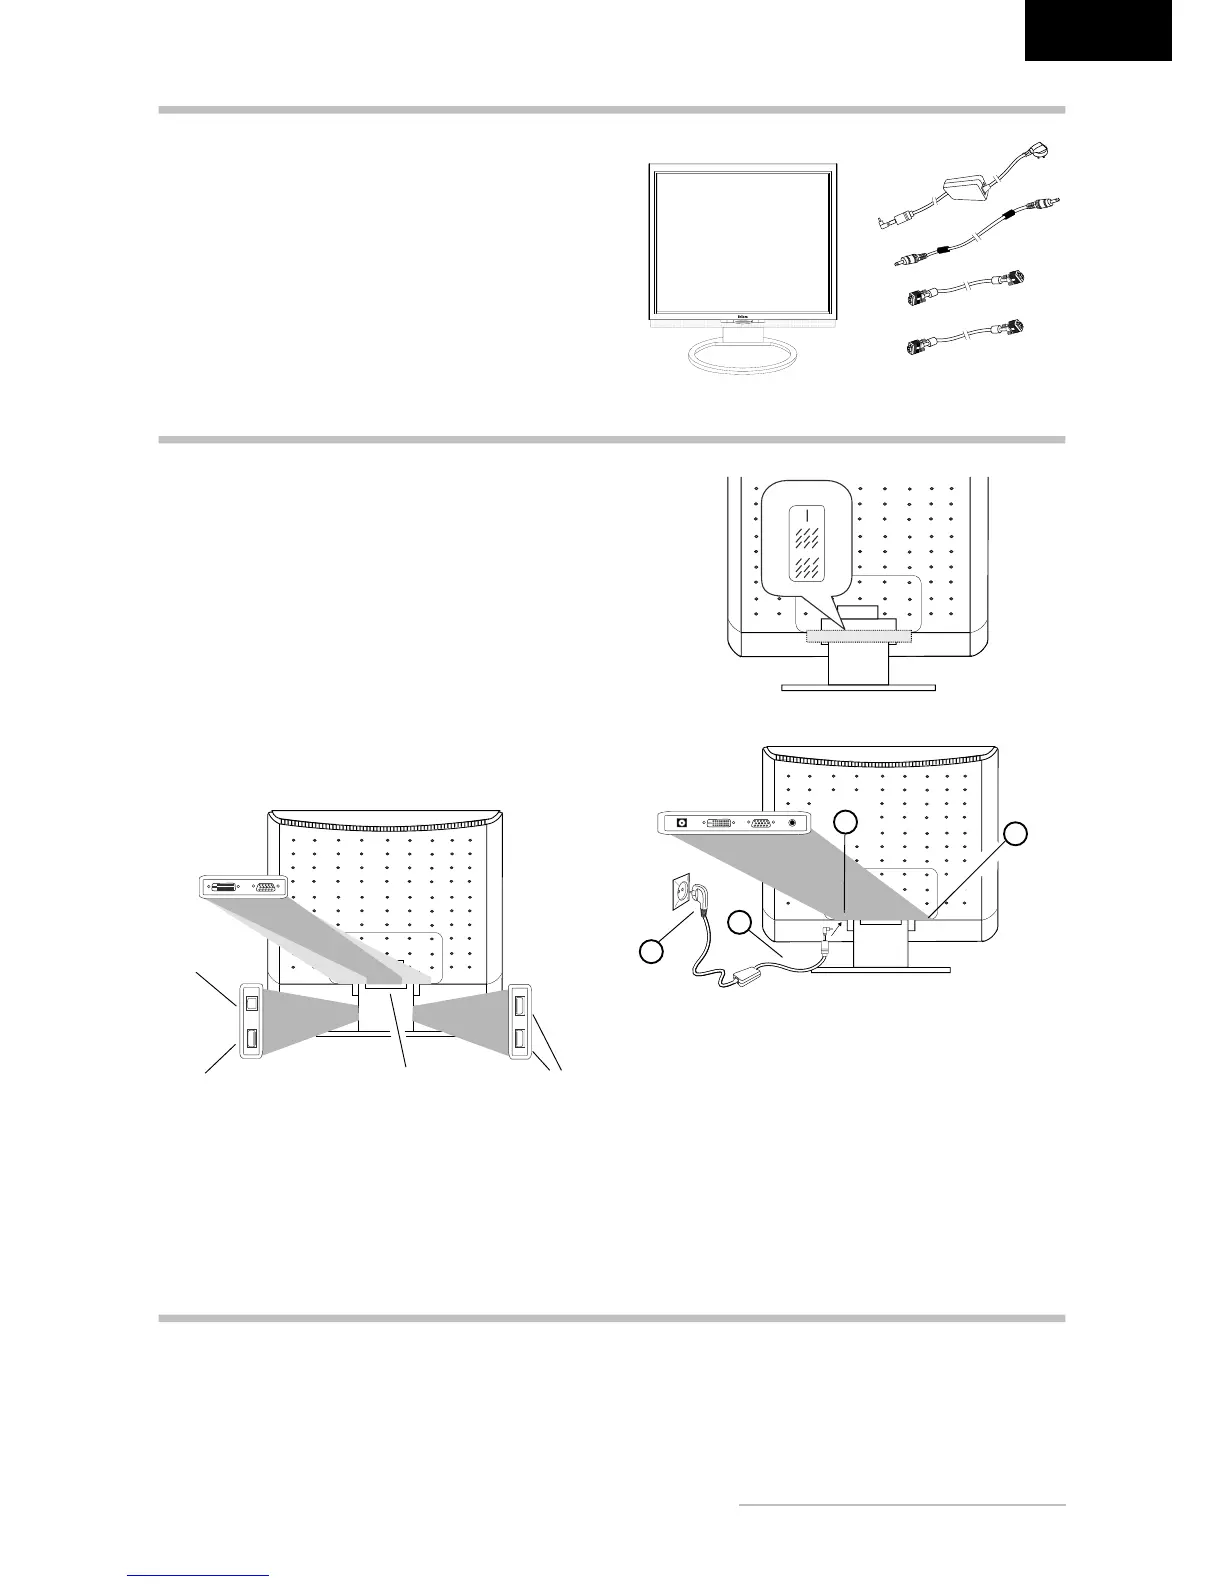
Carefully lift the monitor out of the packaging and make
sure that all components are included (see fig. 1).
Save the original box and packing material in case you
have to ship or transport the monitor.
To set up the device, you must fit the monitor base
together.
UNPACKING
Please note that the DC-IN, DVI, D-SUB and LINE-IN ports
are located under the monitor’s rear-side cover, which can
be easily removed.
To connect the monitor to your PC
...........................
1. Make sure that the PC and monitor are unplugged.
2. Connect the 15-pin signal cable to the monitor and the
PC (see fig. 2a).
3. If you have a graphic card with a digital DVI-D con
-
nector (24-pin socket), then connect one end of the
DVI-D cable (optional) to the DVI-D connector of your
monitor (see fig. 2b), the other end to the computer.
CONNECTING
Connecting the audio cable
......................................
If your computer is equipped with an audio output port,
then connect one end of the sound cable to the audio input
connector of the monitor (
in fig. 3) and the other end
to the Line-Out connector of the computer.
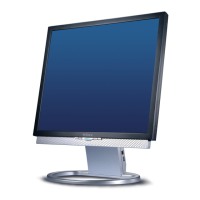
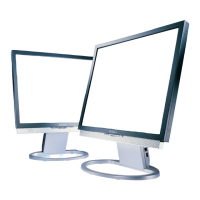
Figure 1.
LCD Monitor
Figure 3.
Connecting the monitor to the power source
Figure 2a.
Connecting the monitor to the PC
Figure 2b.
Connection via the DVI-D interface
1
3
2
4
To connect the monitor to the power source
..........
1. Connect the power cable (
in fig. 3) to the power
socket of the monitor (
in fig. 3).
2. Connect one end of the power supply cable (
in fig.
3) with the power supply and plug it into an electrical
outlet.
USB-Ports
....................................................................
The monitor features four USB ports (one upstream and
three downstream), which are located on either side of
the monitor stand (see figure 2a).
1. First start your PC and then turn on your Belinea moni
-
tor using the power switch (
in fig. 4). The power
indicator (
in fig. 4) should light up blue.
2.
Adjust the image to meet your requirements (see the
following sections “Basic Setup” and “Image settings
using the OSD menu”).
3.
If there is no image displayed on the monitor, consult
the section “Troubleshooting”.
STARTUP
Power cord,
Power adapter
Audio cable
VGA cable
DVI-D cable
(optional)