Before conversion, disconnect the
gas and electrical supplies.
After conversion, check gas soundness.
The conversion procedure must be
carried out by an authorised engineer
and in accordance with the
regulations in force. After conversion,
place the conversion label as detailed
in the conversion kit instructions.
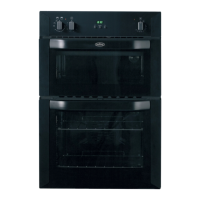
1. withdraw the appliance from
the housing unit
Consult the methods of fixing in the
installation instructions to verify the
method of fixing.
2. Remove the appliance facia
panel as follows:
1. Remove all control knobs.
2. Remove the 4 screws (2 each side)
which secure the facia panel to the
rear of the appliance front frame.
3. Pull the facia panel from the
appliance and disconnect the
wires from the ignition switch on
the left hand side.
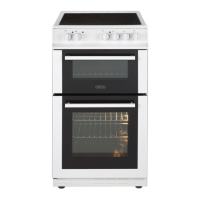
3. Thermostat & grill bypass screws
1. Remove the appliance facia panel.
2. Remove the appliance top/rear
panel.
3. Unscrew and remove the two
microswitch retaining plate screws
and remove the plate.
4. The thermostat and grill bypass
screws are now accessible using a
small screwdriver through the top
section of the front frame. Remove
the existing oven bypass screw.
5. Screw home fully the replacement
oven bypass screw.
6. Do not remove the existing grill
bypass screw. Ensure that the
screw is fully screwed in, then
unscrew or withdraw the screw
two complete turns.
7. Re-assemble carefully in reverse
order.
Note; Check the operation of the grill
burner at the fixed low rate position, to
ensure the burner flames are stable
when the gas supply to the appliance
has been restored.
Conversion Instructions (LPG - Natural Gas)
32
27353 00 - Belling GG720 14/6/07 14:59 Page 34