This appliance must be earthed. In theevent
of a malf unc tion or b rea kdown, ear thi ng w ill
reduce t he r isk o f ele ctric sho ck by pr oviding a
path of l east res istance for t he e lectric cur re nt.
This app lian ce is eq uipped w ith a cor d ha ving an
equipment-earthing conductor and an earthing
plug .T he plug m ust be p lugged int o an ap propriat e
outl et t hat i s inst alled an d ea rthe d in acco rda nce
with all local standa rds a nd requ ireme nts.
I mprop er con nec ti on o f the equ ip me nt -
gro und ing con duc tor ca n re sult i n th e r isk
of an el ec tric sho ck. C he ck wi th a qu alified
electrician or servicerepresentativ e if you
are i n doubt wh ethe r th e app li anc e is
pro perl y g rounde d. Do no t modif y the pl ug
providedwiththeappliance;Ifitisnotfit
for the outlet. Have a pro per outlet i nstalled
by a quali fied el ectrician.
Ensur e the volt age an d frequen cy of t he powe r be in g corr espond s to
thos e o n th e r ating pl at e. O nly in sert the p lug int o an elect ric al s ocket
whi ch is earthe d p roperly. If the e lectrical socket t o which the appl ia nce
must be conn ect ed is not ap propr ia te fo r t he p lu g , repla ce the sock et,
rathe r t han using a adapt or s or th e li ke as th ey coul d cause overh eat ing and bu rns.
Plea se look at t he ra ting labe l to kn ow th e rat ing v olta ge a nd c onnect t he dishw ash er to t he app ropriate power s upp ly.
Use the r equired fuse 10 amp, tim e delay fuse or c ircui t bre aker rec ommended and pro vide sepa rate circ uit s erv ing
only thi s appl ianc e.
WARNING!
For pe rsonal saf ety:
DO NOT USEAN EXTENSION CORD OR ANADAPTER PLUG WITH THISAPPLIANCE.
DO NOT, UNDERANY CIRCUMSTANCES, CUT OR REMOVE THE EARTHING
CONNECTION FROM THE POWER CORD.
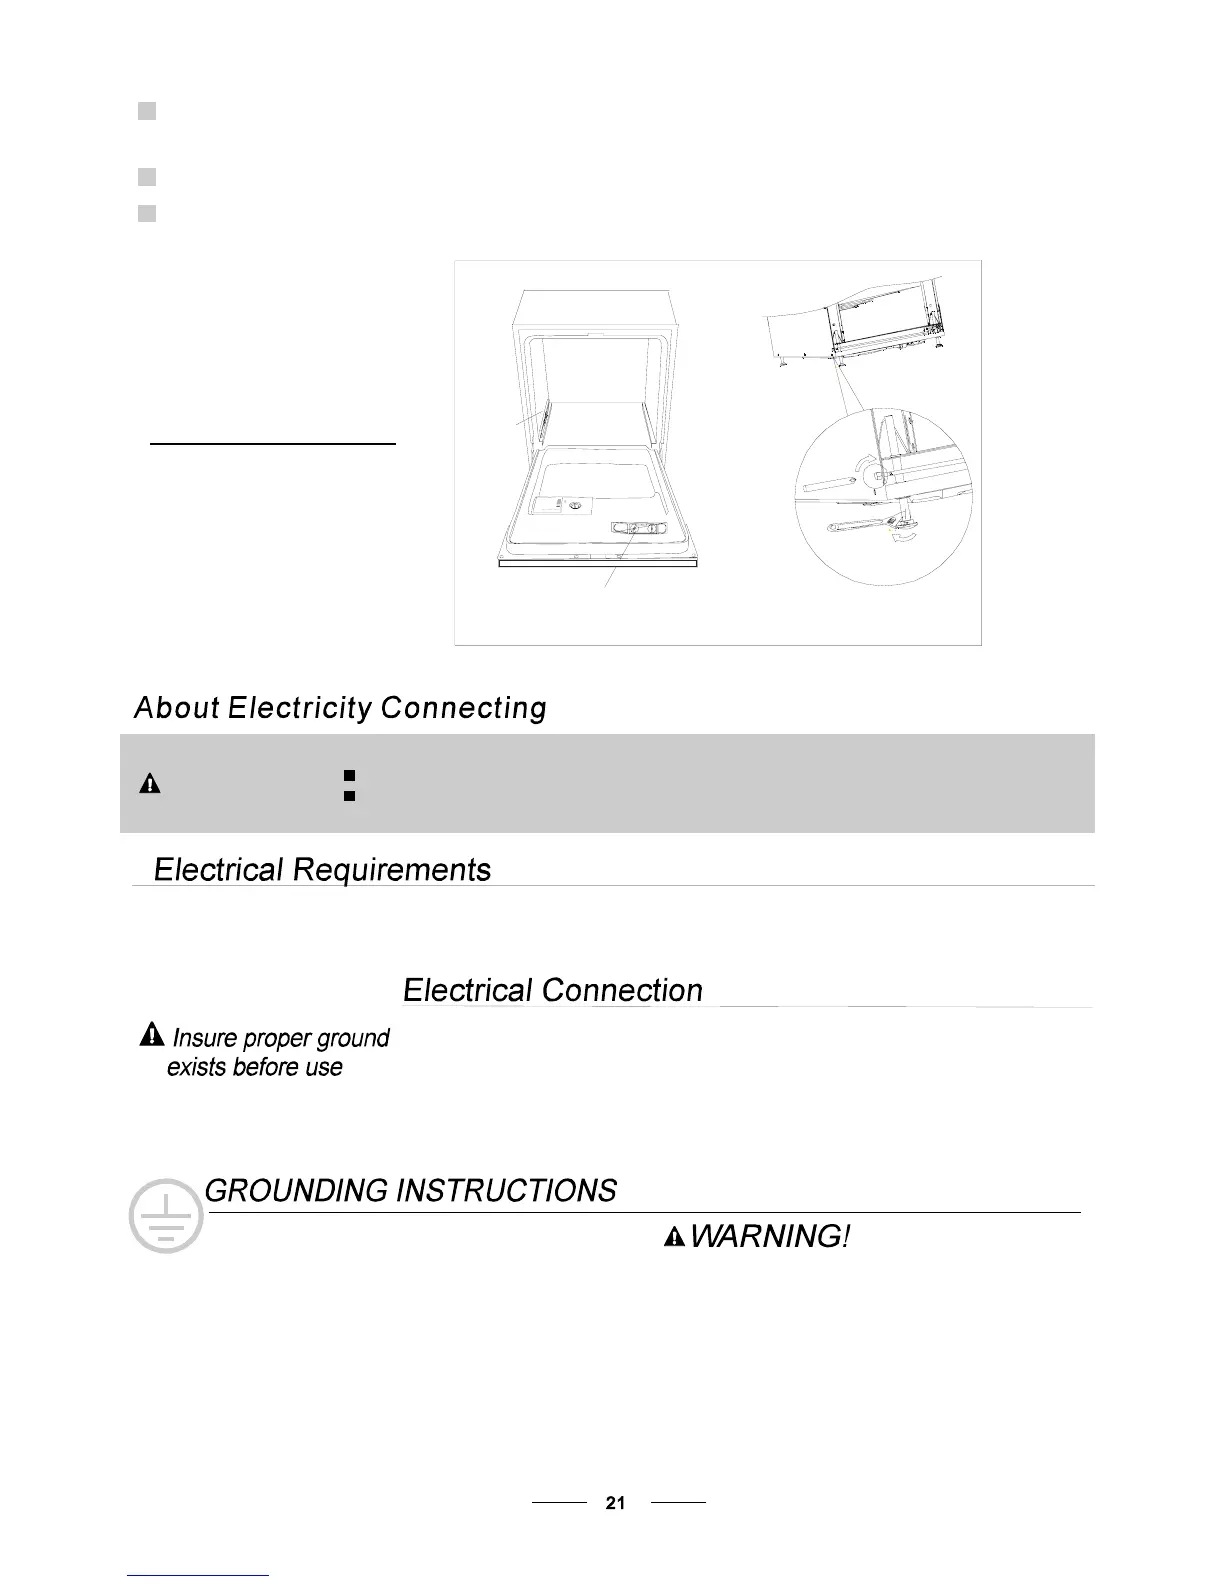
Di shwa she r m ust be lev el fo r pr oper d ish ra ck oper ati on a nd wa sh p erfo rman ce.
Place level on door and rack track inside the tub as shown to check that the
dishwasher is level.
level the dishwasher by adjusting the four leveling legs individually.
When level the dishwasher, please pay attention not to let the dishwasher tip over.
1
2
3
Ill ustr ation o f feet adjus tment
【】Figure 8
Check level
side to side
Level
to Back
Front
Check
NOTE:
The maximum adjustment
height of the feet is 60 mm.