5073-039
20V MAX BRUSHLESS GRASS TRIMMER
18
INSTALLING THE REPLACEMENT SPOOL
Remove all packaging from the replacement spool.
1. Pull the loose ends of the
trimmer lines out of the
retaining slots in the spool.
NOTE: Be sure to feed the
lines into the notches on each
side of the outer face of the
spool to prevent them from
unwinding. Ensure you remove
both lines from the notches
before feeding the lines into the
eyelets on the spool housing.
2. Unwind approximately 5" (12.7 cm) of the line from the spool before
threading the loose end of trimmer lines through the respective eyelets
in the spool housing.
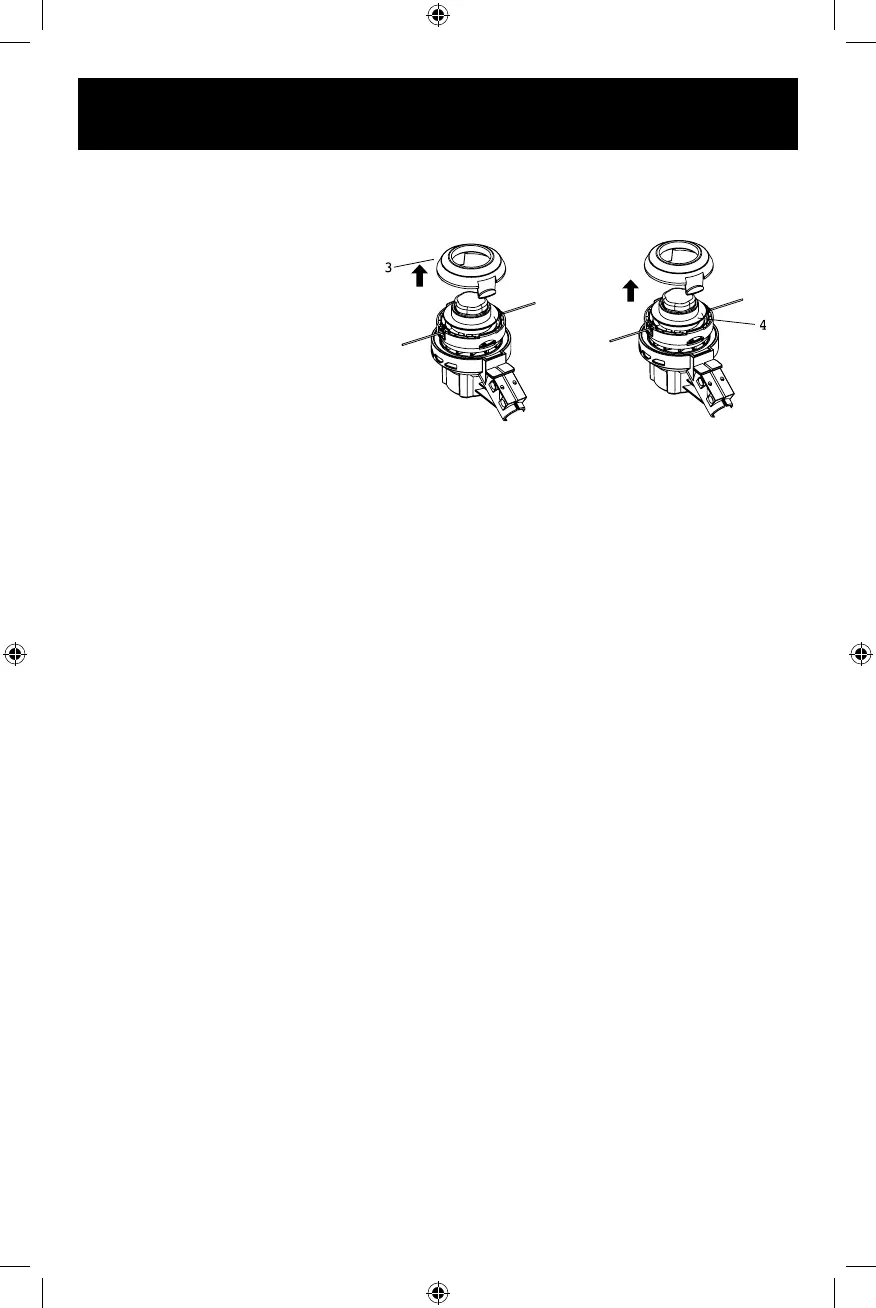
3. While holding pull slightly on the loose lines, slide the spool onto the housing
spindle as far as it will go.
4. Once the replacement spool is fully inserted into the spool housing, replace the
spool cap by inserting the locking buttons into the spool housing.
5. Press the spool cap fully into the spool housing until the locking buttons “click”
into the matching holes in the spool housing.
6. Bump line out as necessary.
MANUAL INSTALLING AND WINDING NEW LINE ON SPOOL
1. Remove all packaging from the replacement spool. NOTE: There may be shrink
wrap holding the trimmer line in place on the replacement spool. This must be
removed, but be sure to hold the line in place with your ngers to prevent it from
unwinding from the spool.
2. Press the two release tabs on the spool base and remove the spool retainer
by pulling it straight out (FIG 14).
3. Remove the spool. Use a clean cloth to clean the inner surfaces of the spool
retainer and spool base.
4. Check the spool retainer, spool, and spool base for worm parts.
5. Take approximately 15'(4.5 m) of 0.08"(2.0 mm) diameter cutting line. Fold the
line in half and then adjust it so that one end is 4 1/2"(11 cm) longer than the
other (FIG 15).
6. Hold the folded end of the cutting line onto either of the slots in the spool.
7. Wind the line, in two even and tight layers, onto the spool. Wind the line in the
direction indicated on the spool.
8. Place the ends of the line in the two opposite notches in the spool, with
approximately 5"(12.5 cm) protruding from each side (FIG 16).
FIG. 12 FIG. 13
5073-039f EnProdManual P.indd 185073-039f EnProdManual P.indd 18 2020-12-17 1:59 PM2020-12-17 1:59 PM