p.21
Step 5: Reassemble the torch in the order
it was taken apart (minus the brass teeth),
and make sure to line up the pin inside of
the torch with the first ceramic section
that was removed.
Step 6: Tighten up all of the parts by
screwing on the rear clasp last, then
return the 3 phillips head screws to their
original positions at the head of the torch.
Step 7: Set aside the remote on/off
pendant as we will be using the Dragon
software to control the machine.
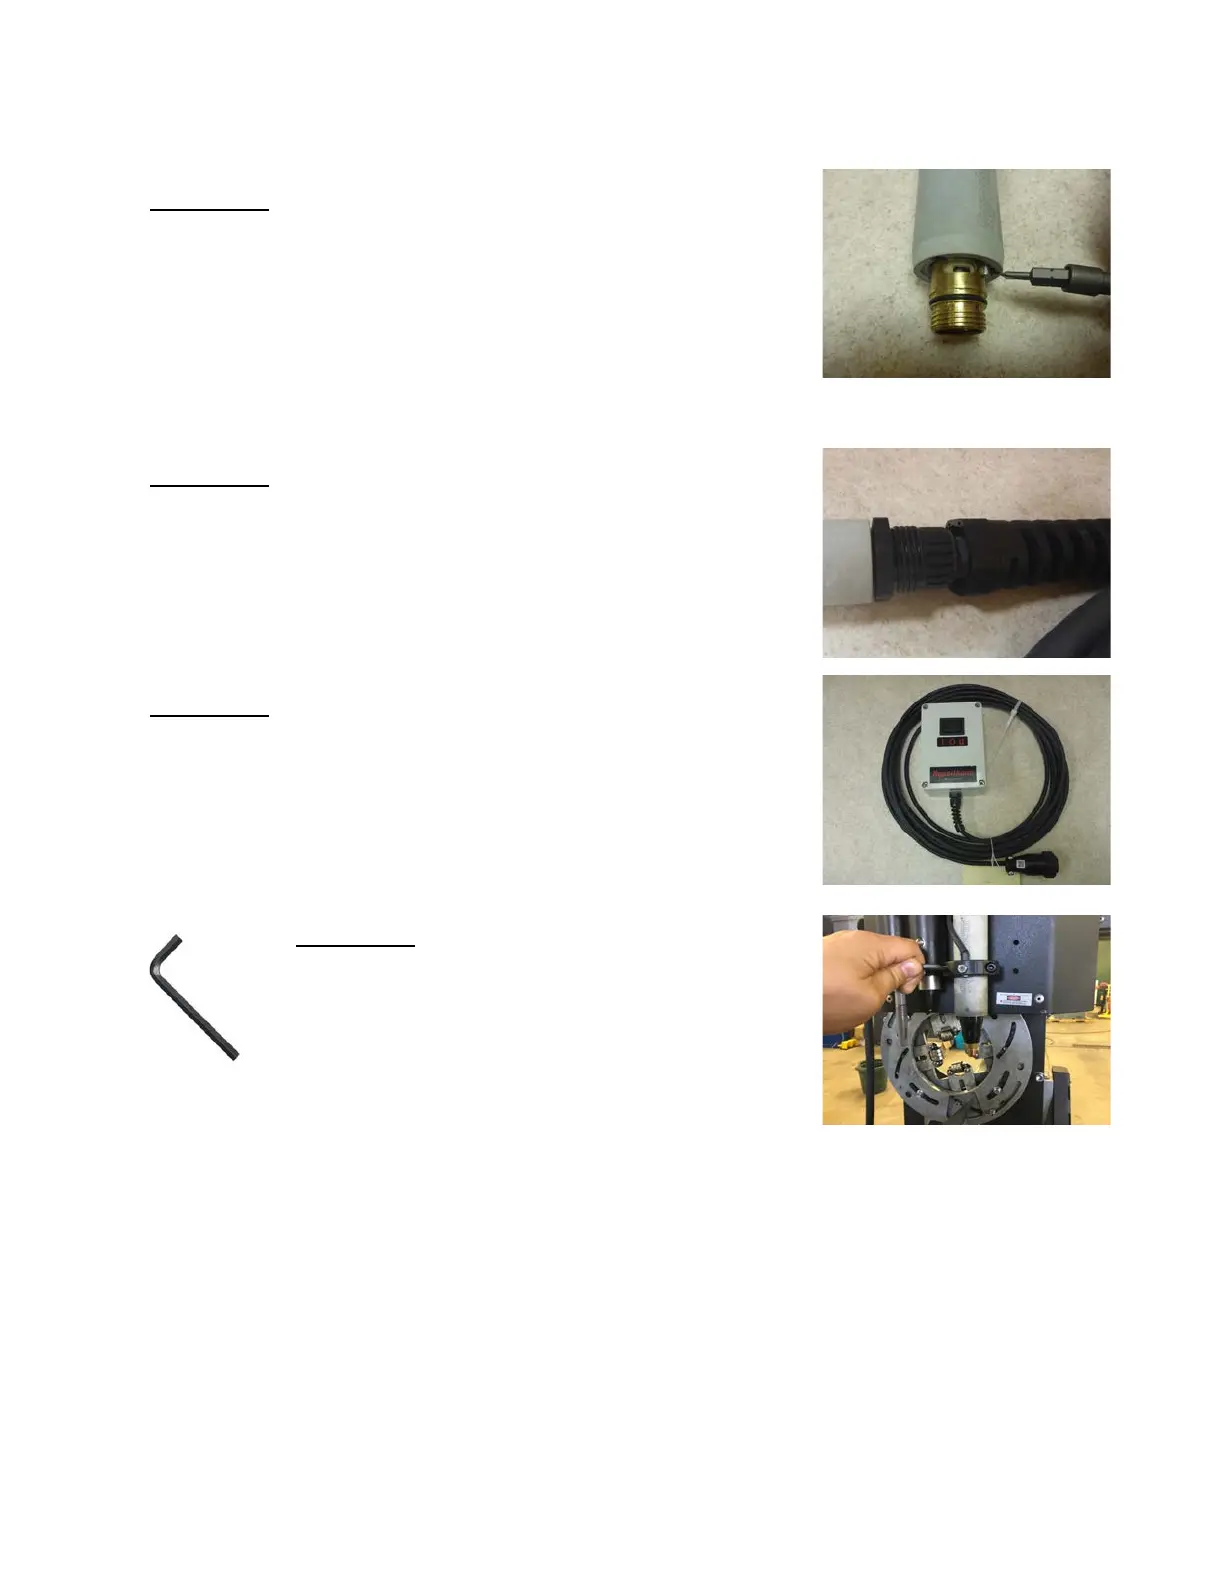
Step 8: Install the torch head
into the adjustable mounting
brackets on the face of the tool
head plate. Note: The height of
the torch tip should lie within the
stroke of the engraver tip next to it. This is to ensure
that the torch will not crash into large diameter tubing
while the engraver is in use. The mounting brackets will
then be tightened with a 3/16 inch hex wrench.