p.9
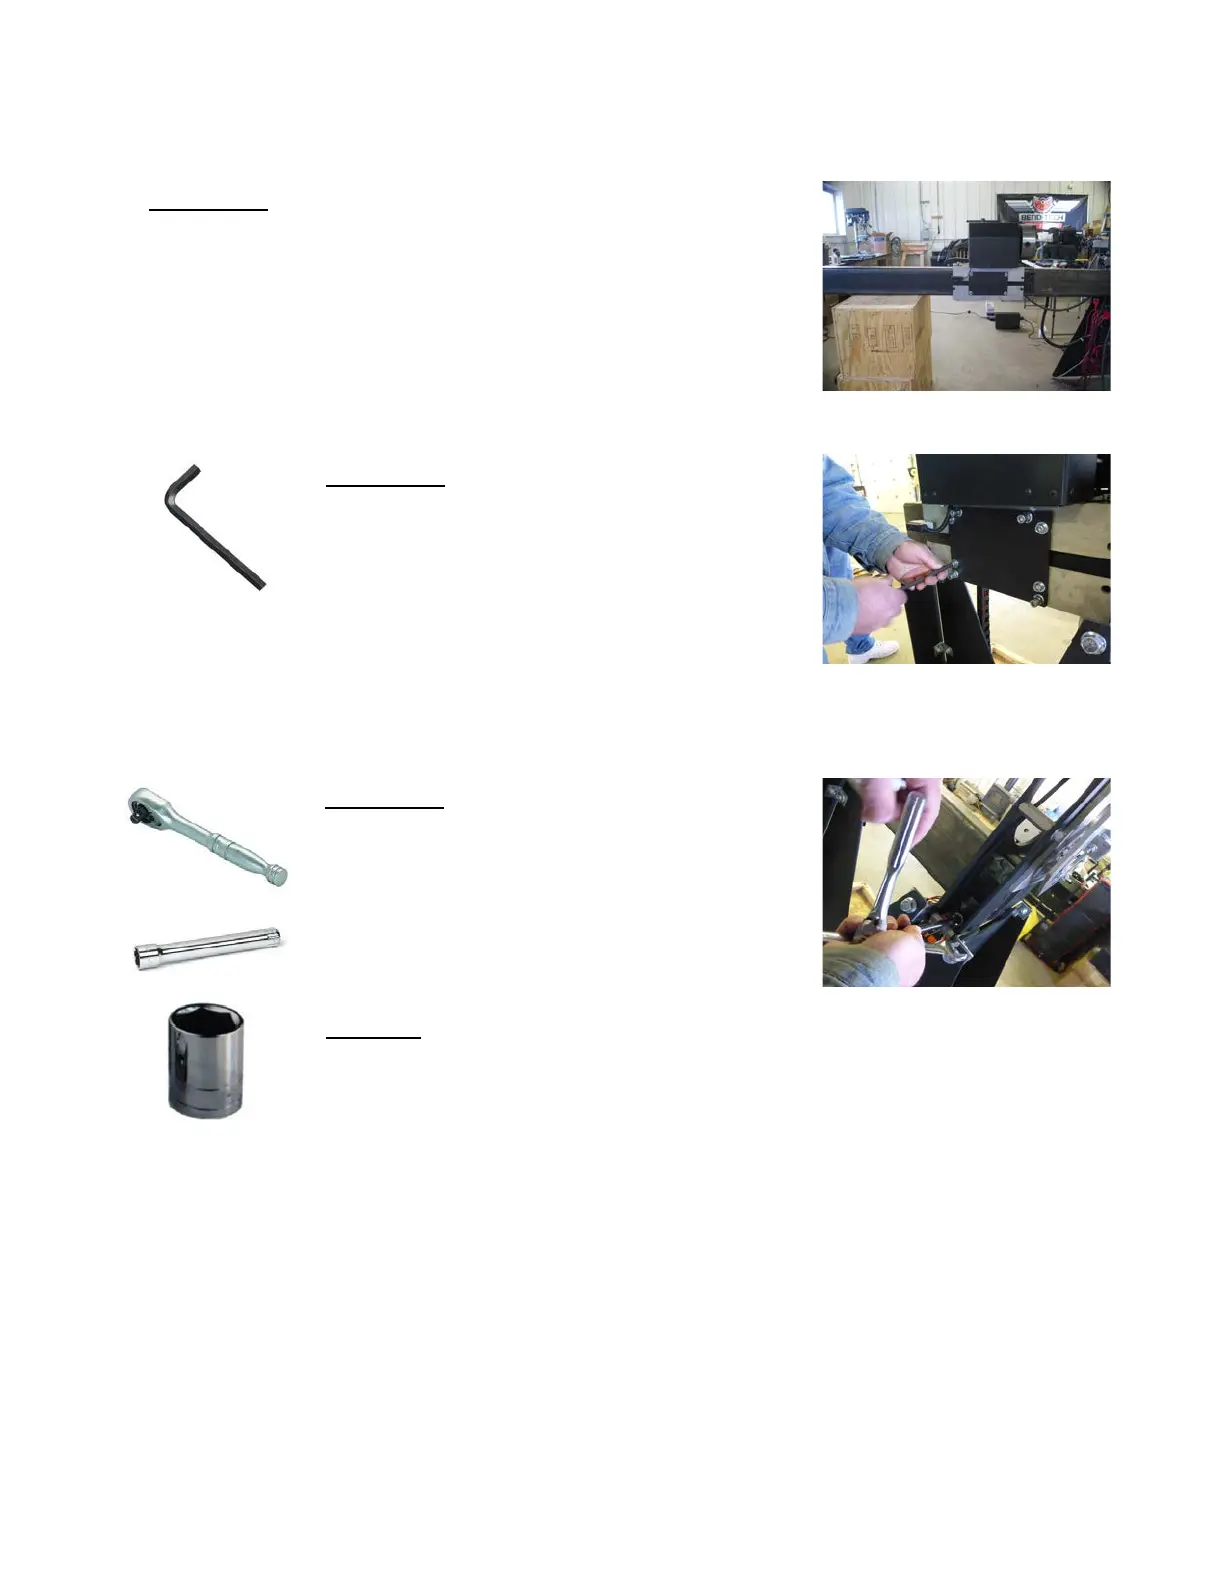
Step 3: With the help of another person,
slowly slide the chuck onto the new rail
making sure to support the new rail from
the tail end. The tail should not wobble or
raise up off the ground during this step.
Step 4: If you have loosened
the bottom plate on the chuck
as mentioned in the previous
tip, use the 5/16 inch hex
wrench to tighten the bottom
bolts now.
Step 5: Using the ratchet, 8
inch socket extension and 3/4
inch socket, remove the bolts
on both sides of the machine
where the stock rail meets the
inside of the face plate. Do this to prepare it for
removal and replacement. You may also need a
3/4 inch wrench to secure the nuts from inside
the rail as you remove the bolts. Be sure to support the
stock rail as it will become loose.