10
If – after completing the routine operation and leakage
tests – it has been determined that one or more components
of the air dryer requires replacement or maintenance, refer
to the Maintenance Kit listing shown in this manual or the
Bendix
®
Quick Reference Catalog for the appropriate kit(s).
The Quick Reference Catalog (BW1114) can be ordered
and viewed on line at bendix.com.
Note: Kits are not available for servicing components inside
the air dryer purge volume.
DO NOT ATTEMPT TO REMOVE THE CLAMP BAND
THAT RETAINS THE TWO HOUSINGS TOGETHER.
SERIOUS INJURY OR DEATH MAY OCCUR IF THESE
INSTRUCTIONS ARE NOT FOLLOWED COMPLETELY.
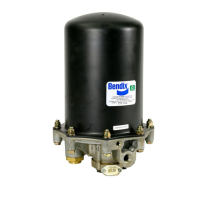
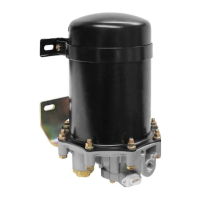
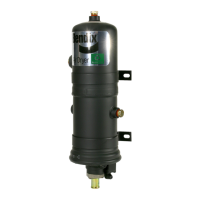
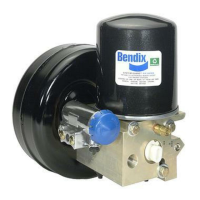
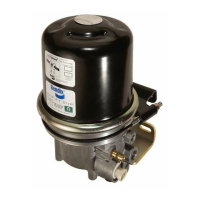
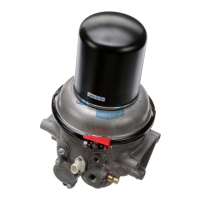
BENDIX
®
AD-9si
®
AIR DRYER REMOVAL
This air dryer removal process is presented in the event it
becomes necessary to replace the entire air dryer. Normal
service and parts replacement does not require removal
of the air dryer from the vehicle.
1. Park the vehicle on a level surface and prevent
movement by means other than the brakes.
2. Drain all reservoirs to 0 psi.
3. Identify and disconnect the three air lines from the air
dryer housing.
4. Unplug the vehicle wiring harness from the heater and
thermostat assembly connector.
5. Remove the three mounting bolts that secure the air
dryer to the vehicle.
BENDIX AD-9si AIR DRYER INSTALLATION
1. Install the Bendix
®
AD-9si
®
air dryer on the vehicle using
the three existing 1/2"-13 UNC bolts. Torque the bolts
to 720-912 in-lbs. If replacement bolts are necessary,
use grade 5 or above and ensure they are the same
length as those originally used to install the dryer. If
the original air dryer is being reinstalled make sure the
threads in the air dryer housing are in good condition.
2. Reconnect the three air lines to the proper ports on the
air dryer – identied during step 3 of the Bendix AD-9si
removal.
3. Reconnect the vehicle wiring harness to the AD-9si
air dryer heater and thermostat assembly connector
by plugging it into the air dryer connector until its lock
tab snaps in place.
4. Before placing the vehicle back into service, test the
air dryer operation as indicated in Testing The Bendix
AD-9si
Air Dryer section that follows.
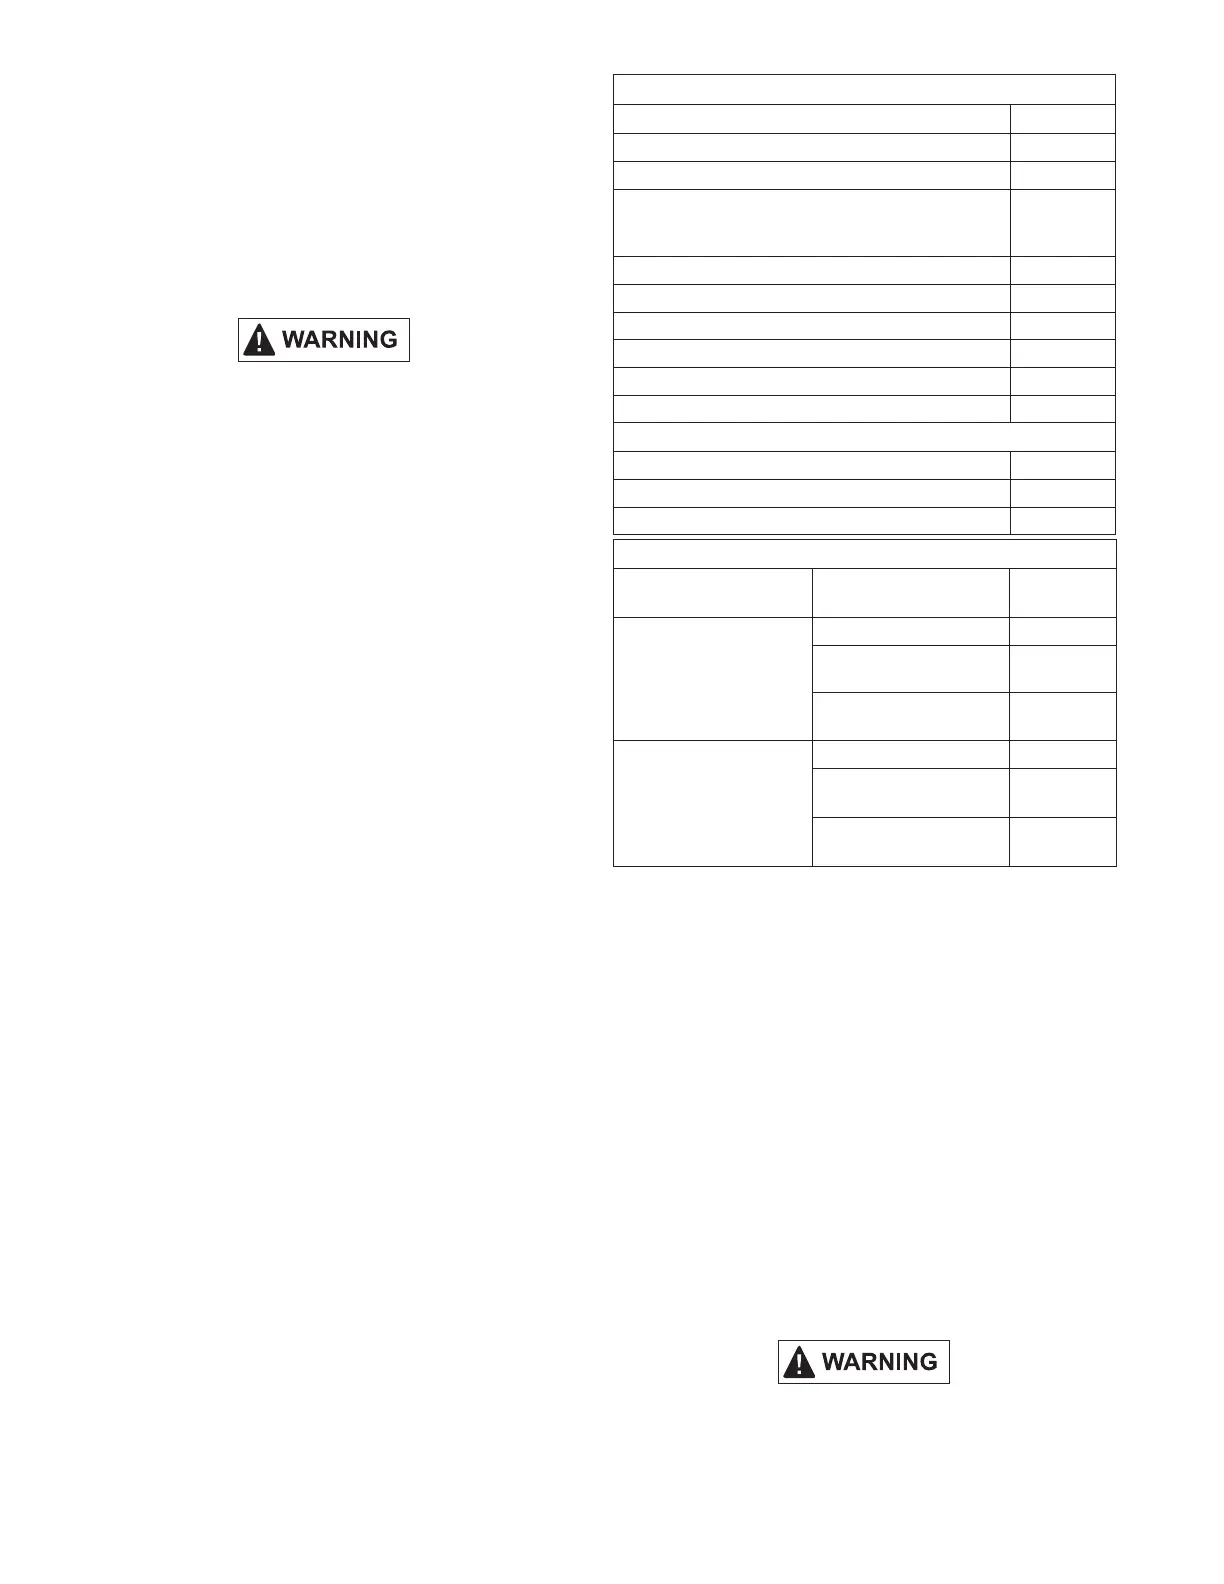
Bendix
®
AD-9si
®
Maintenance Kits
Kit Description Piece No.
Delivery Check Valve Replacement Kit K092011
Desiccant Cartridge Replacement Kit (Standard) 5008414
Desiccant Cartridge Replacement Kit - Bendix
®
AD-9si
®
PuraGuard
®
air dryer (can be used to replace the standard
cartridge)
5008414PG
Governor Kit K092010
Heater & Thermostat Replacement (12 volt) 109578
Heater & Thermostat Replacement (24 volt) 109579
Safety Valve Replacement 800155
Silencer Kit (not shown) K021189
Wiring Harness & Splice Kit (not shown) 109871N
Extended Purge Kits (not shown)
93 in
3
Reservoir w/ 3/8"-16 U-bolts 5012561N
93 in
3
Reservoir w/ 1/2"-13 U-bolts 5005309N
288 in
3
Reservoir w/ 3/8"-16 U-bolts 5008972
Purge Valve Assembly
Type Configuration
Service Kit
Pc. No.
Purge Valve Assembly for
climate conditions above
-40°C (-40°F)
AD-9si Air Dryer K022105
AD-9si Air Dryer
(Soft Seat Version)
K031560
AD-9si Air Dryer
(Discharge Line Unloader)
K031562
Arctic Purge Valve Assembly
for climate conditions of
-40°C to -50°C
(-40°F to -58°F)
AD-9si Air Dryer K031559
AD-9si Air Dryer
(Soft Seat Version)
K031561
AD-9si Air Dryer
(Discharge Line Unloader)
K031563
TESTING THE BENDIX AD-9si AIR DRYER
Before placing the vehicle into service, perform the
following tests:
1. Close all reservoir drain valves.
2. Build up system pressure to governor cut-out and note
that the Bendix AD-9si air dryer purges (with an audible
burst of air), followed immediately by approximately 40
seconds of air owing out of the purge valve.
3. Apply and release the service brakes several times to
reduce system air pressure to governor cut-in. Note
that the system once again builds to full pressure and
is followed by a purge at the air dryer exhaust.
4. It is recommended that the total air system be tested
for leakage to ensure that the AD-9si air dryer will not
cycle excessively.
It is important to read and adhere to the following
instructions, to ensure the brake system operates
safely after bypassing the air dryer.
 Loading...