19 Positioning your projector
Using the Auto Screen Fit function
The Auto Screen Fit function automatically adjusts the focus, zoom, and aspect ratio of the
projected image to fit the screen.
1. Measure the projection distance. Ensure that the distance between the projector and the
screen is slightly longer than the intended projection distance.
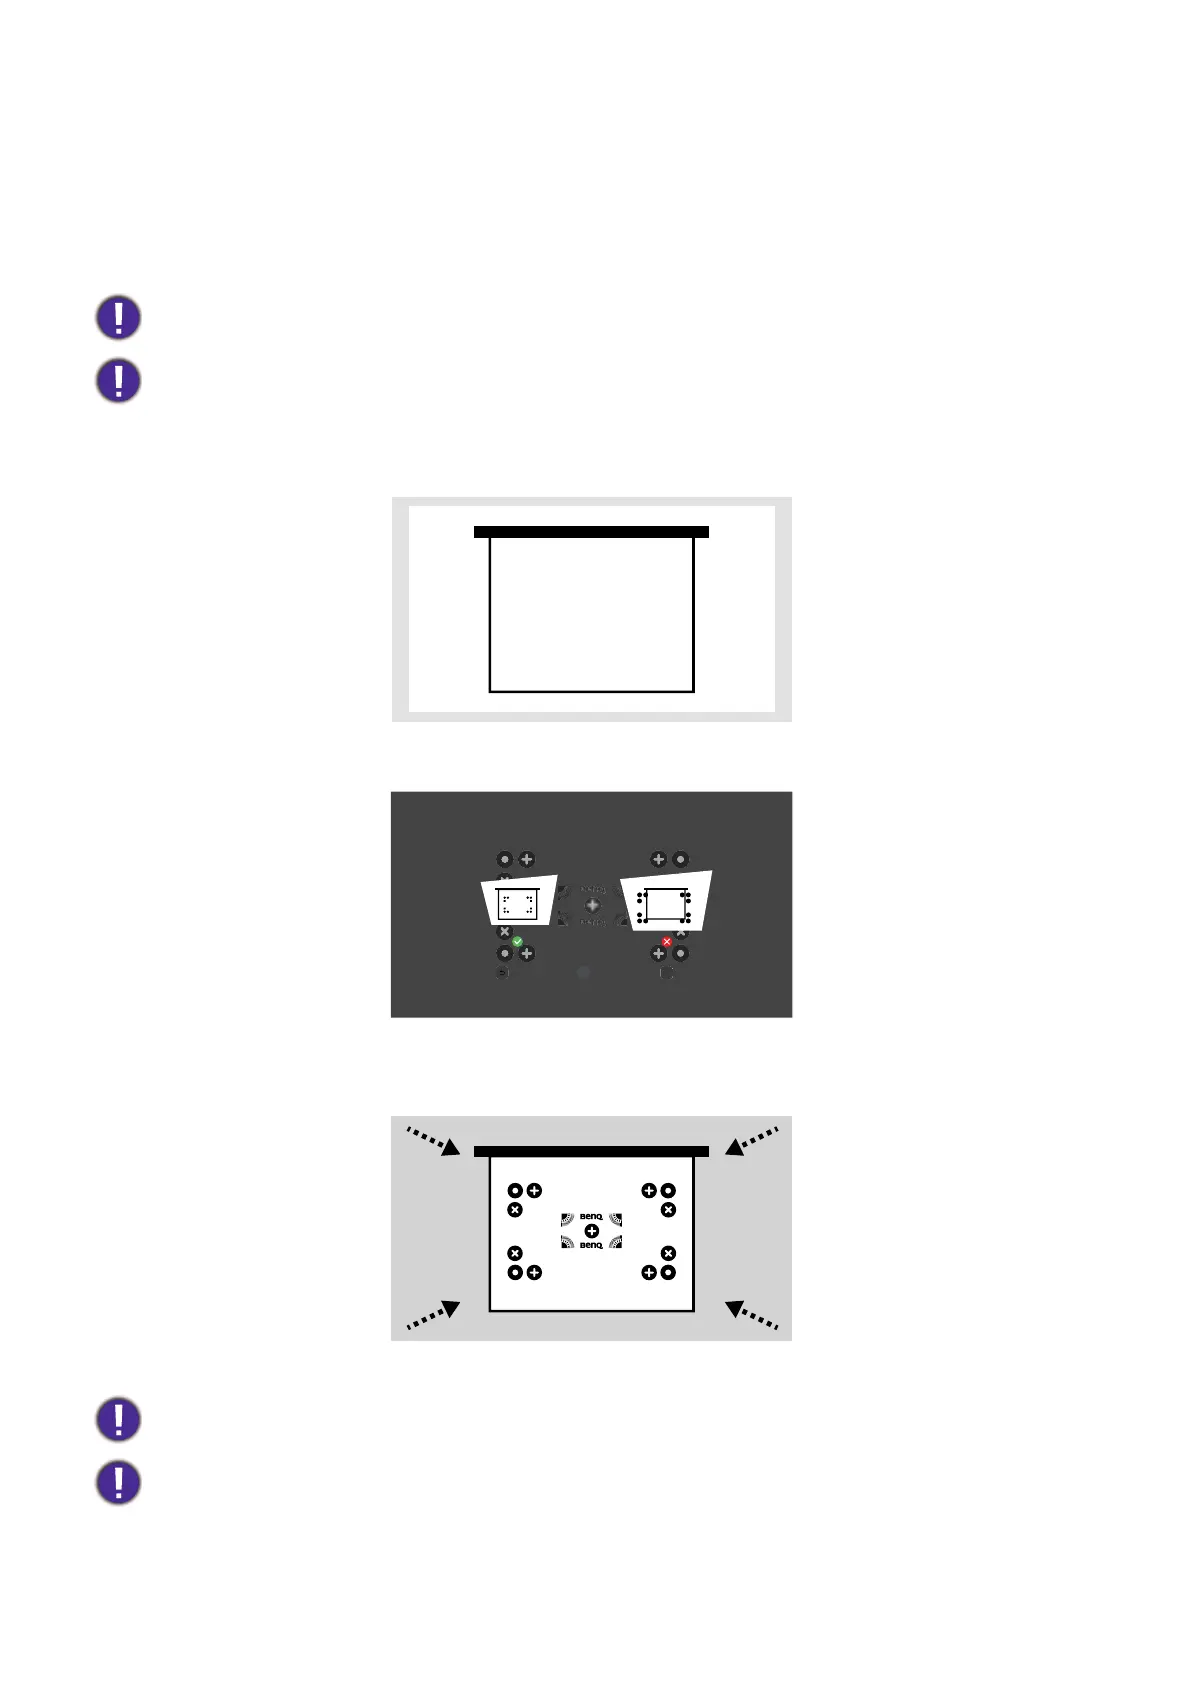
2. Turn on the projector, adjust the blank image until it overflows all four borders of the
screen.
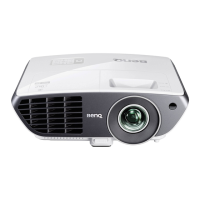
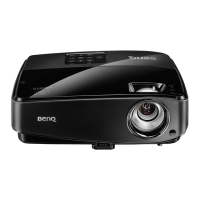
3. Adjust the projection distance, angle, or zoom until the adjustment markers are within the
border of the screen.
4. Press the Auto Screen Fit key on your remote control. The projector detects the size and
ratio of the screen, and fits the focused image to the screen. Follow the on-screen
instruction to complete the adjustment.
When the projection distance is greater than 3 meters, ensure that the screen border is at least 6 cm thick
for Auto Screen Fit to function properly.
When using the auto screen fit function on a 16:9 or 16:10 screen within 2.2 meters, ensure that the
projection angle does not exceed 10 degrees. For 4:3 and 1:1 screens under the same circumstance,
ensure that the projection angle does not exceed 20 degrees.
The image pattern shown here is for illustration only. Please refer to your projector for the actual image
pattern
.
Use the Focus function to fine-tune the image after preforming Auto Screen Fit.


 To Next Page