16 Positioning your projector
Adjusting the projected image
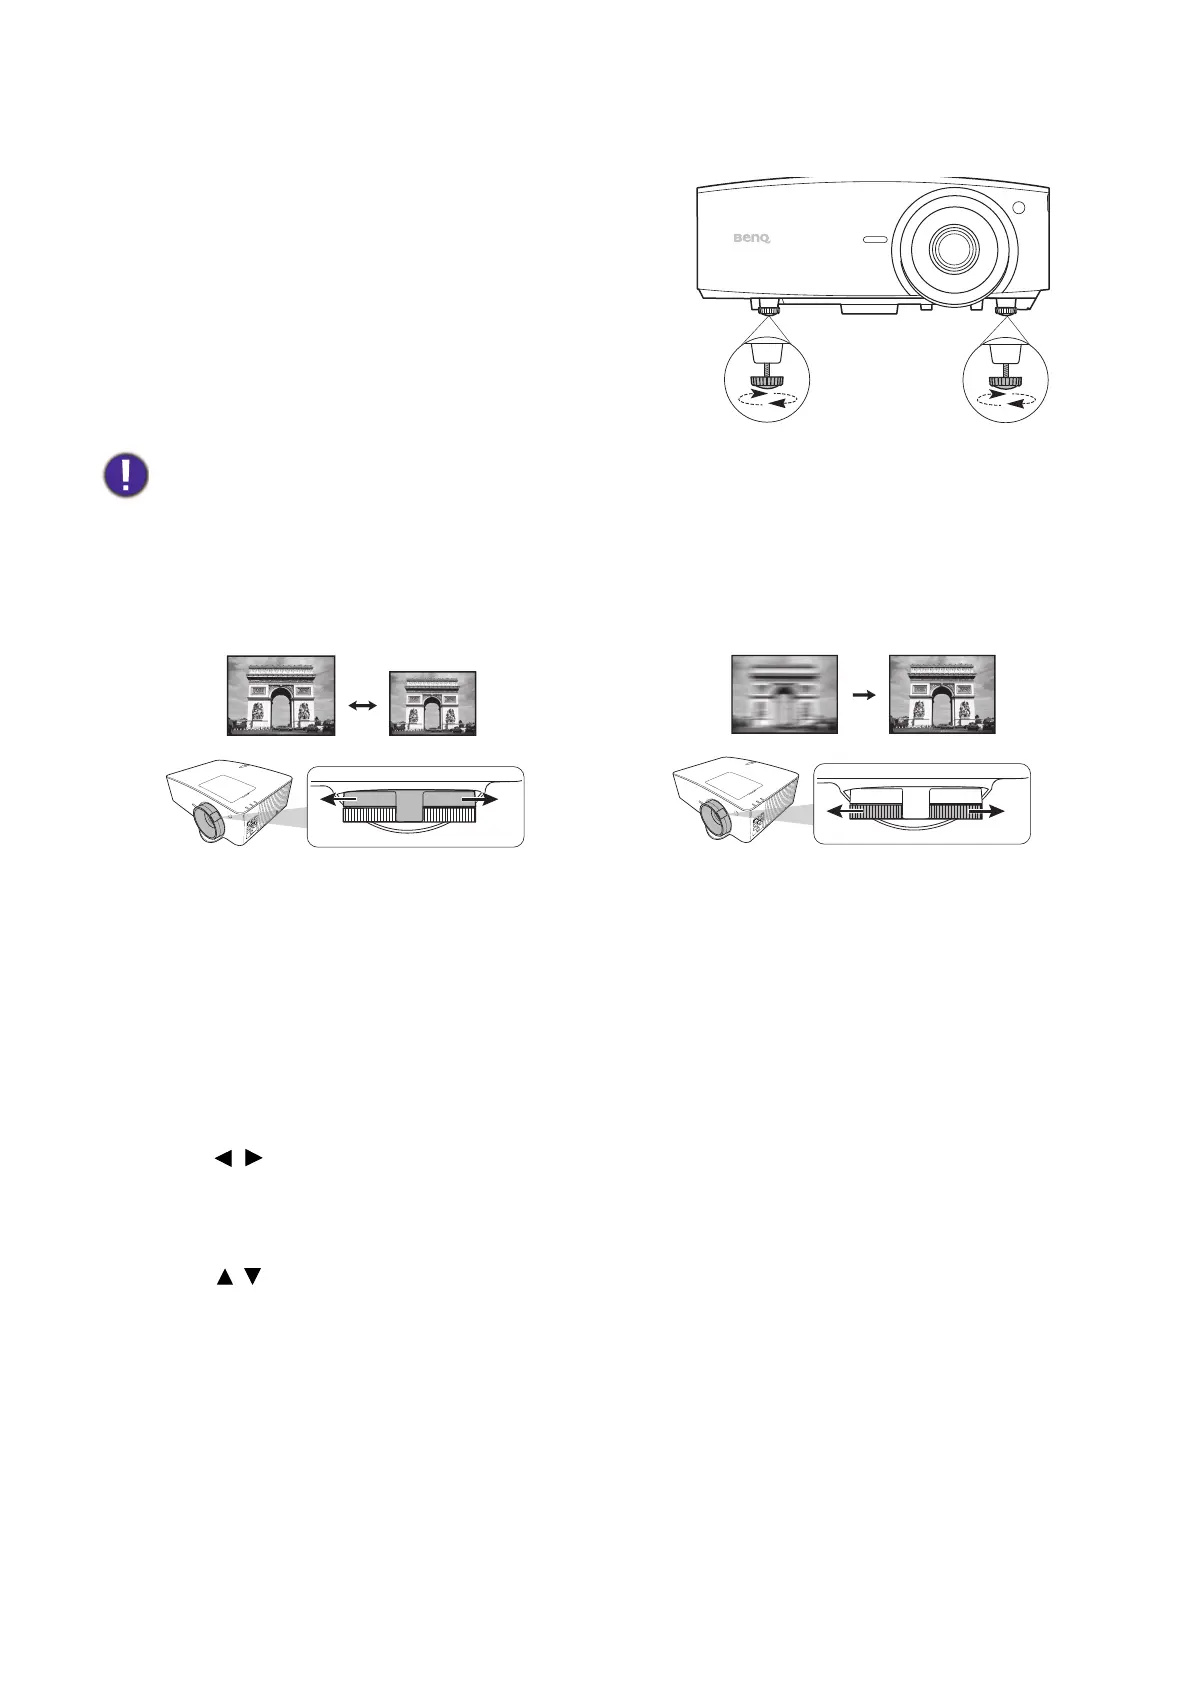
Adjusting the projection angle
If the projector is not placed on a flat surface or the screen
and the projector are not perpendicular to each other, the
projected image becomes trapezoidal. You can adjust the
adjuster feet to fine-tune the horizontal angle.
To retract the feet, screw the adjuster feet in a reverse
direction.
Fine-tuning the image size and clarity
Correcting keystone
Keystoning refers to the situation where the projected image becomes a trapezoid due to angled
projection.
Do not look into the lens while the light source is on. The strong light from the light source may cause damage to
your eyes.
• Adjust the projected image to the size that you
need using the zoom ring.
• Sharpen the image by rotating the focus ring.
To correct the distorted image:
1. Display the 3D Keystone correction from the following menus.
• The Installation menu of the Advanced menu system
2. After the 3D Keystone correction page appears:
• Press / to select V, H, or R.
Selecting V corrects the vertical sides keystone.
Selecting H corrects the horizontal sides keystone.
Selecting R rotates the projected image clockwise or counterclockwise.
• Press / to adjust its value.
• To automatically correct the vertical sides of the distorted image, press OK for 2 seconds, or
enable Auto Vertical Keystone on the Installation menu.



 To Next Page