II
II
I ITALIANO
INTRODUZIONE
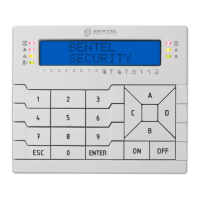
La tastiera ALISON-S è utilizzabile nelle centrali Omnia, Academy40, Kyo16D, Kyo4-8-32 e Kyo100.
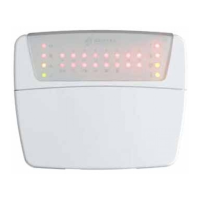
Questa tastiera presenta 3 led per segnalazioni varie.
INSTALLAZIONE
Per l’installazione della Tastiera procedere come descritto di seguito (vedere Fig. 1)
1. Aprire lo sportello 14.
2. Svitare le viti 15.
3. Togliere il coperchio 16.
4. Separare la Scheda Elettronica 11 dal fondo 12.
5. Se previsto, installare il Deviatore Antistrappo 2 come mostrato nel dettaglio ingrandito di Fig. 1.
, Il Deviatore Antistrappo è opzionale (art. ASNC).
Il Deviatore Antistrappo deve essere installato per ottenere la certificazione IMQ-
SISTEMI DI SICUREZZA al II Livello di Prestazione.
6. Passare il cavo per i collegamenti attraverso l’apertura 13.
7. Fissare il Fondo 12 alla parete o alla scatola predisposta tramite le opportune asole.
8. Se è stato installato il Deviatore Antistrappo 2, fissare il Tassello Antistrappo 1.
, ATTENZIONE - Il Deviatore Antistrappo è inefficace se la Tastiera viene fissata ad una scatola.
9. Riagganciare la Scheda Elettronica 11 al Fondo 12.
10. Se installato, collegare il cavetto del Deviatore Antistrappo 2 al connettore 5.
11. Impostare il LIVELLO BPI come descritto nel paragrafo omonimo.
12. Eseguire i COLLEGAMENTI sulla morsettiera 10 come descritto nel paragrafo omonimo.
13. Impostare l’INDIRIZZO come descritto nel paragrafo omonimo.
14. Riagganciare il Coperchio 16 al Fondo 12.
15. Avvitare le viti 15.
Per una descrizione dettagliata delle spie presenti sul pannello della tastiera, fare riferimento al
manuale della centrale cui la tastiera stessa verrà collegata.
LIVELLO BPI
Il Livello BPI della Tastiera deve essere uguale a quello della centrale alla quale sarà collegata
(leggere le istruzioni della centrale per conoscere il suo Livello BPI).
Il Livello BPI della Tastiera si imposta tramite i ponticelli 3 e 9 come mostrato nella Tabella di Fig. 2.
INDIRIZZO
Ogni Tastiera collegata alla Centrale deve avere un indirizzo diverso. Per impostare l’indirizzo della
tastiera seguire la procedura descritta di seguito.
, La centrale Kyo100 gestisce fino a 16 indirizzi. Tutte le altre centrali gestiscono solo i primi
8 indirizzi. Per impostazione predefinita (di fabbrica) alla prima accensione la tastiera è
indirizzata con il valore ‘01’.
)Nella procedura descritta di seguito si tenga presente che in ogni momento il re-inserimento del
ponticello 9 o la ri-chiusura del microswitch antisabotaggio determinano l’uscita dalla fase di
Tastiera di Controllo LCD
LCD Control Keypad
Clavier de Control LCD
Teclado de Control LCD
ALISON/S