22
Bentone
!
When servicing/replacing components that affect combustion, an analysis and soot test must
be carried out on the installation.
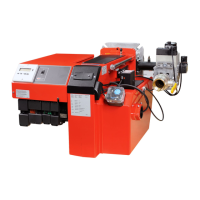
5.5 Servicing the air intake and intake
cone
1. Switch off mains power and disconnect the Europlug from the burner.
2. Remove the burner from the boiler by loosening the screw (A).
3. Loosen the housing screw (B) and remove the front cover (C).
4. Loosen the motor and oil pipes.
5. Remove the air intake.
6. Check the functionality and appearance of the various components in
the air regulator. Clean and replace components as necessary.
7. Assemble the burner. Make sure to refit in the same position as before
disassembly.
8. Insert the burner into the boiler and connect the Europlug.
9. Switch on mains power, start the burner and check the combustion.
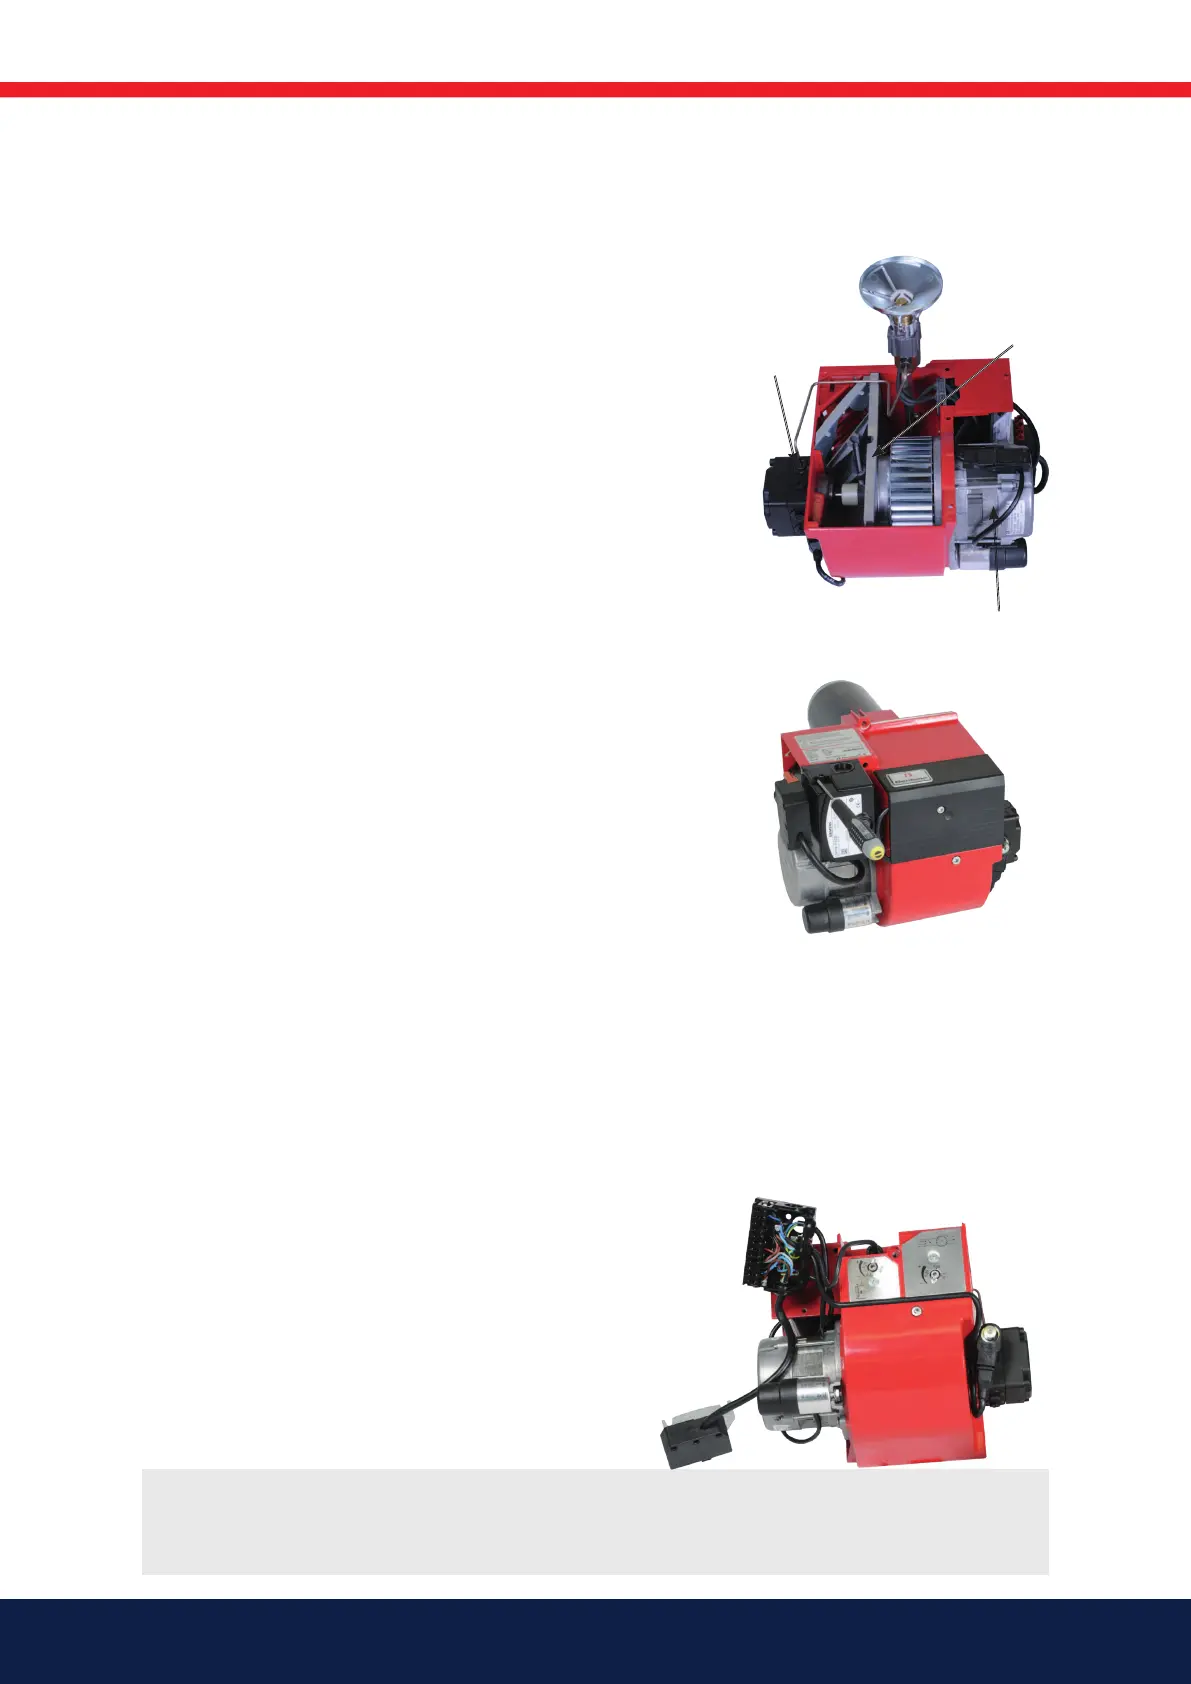
5.6 Replacing the entire electrical
package
1. Switch off mains power and disconnect the Europlug from the burner.
2. Remove the burner from the boiler by loosening the screw (A).
3. Remove the cover.
4. Disconnect the electrical connector to the motor.
5. Disconnect the electrical connector to the transformer.
6. Disconnect the electrical connector to the pump.
7. Remove the photoresistor.
8. Remove the burner control and loosen the two bottom screws in the
relay socket.
9. The Europlug plate is firmly attached under the relay socket.
10. Fit the new electrical package (do not forget the Europlug).
11. Refit the photoresistor.
12. Connect the motor cable, transformer cable and pump cable.
13. Turn on the burner control.
14. Refit the cover.
15. Connect the Europlug and turn on the mains power.
16. Start the burner and check the combustion.
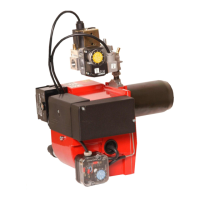
Motor
Oil pipe
Air intake
 Loading...