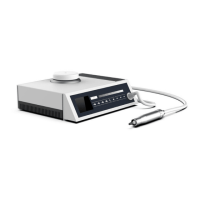
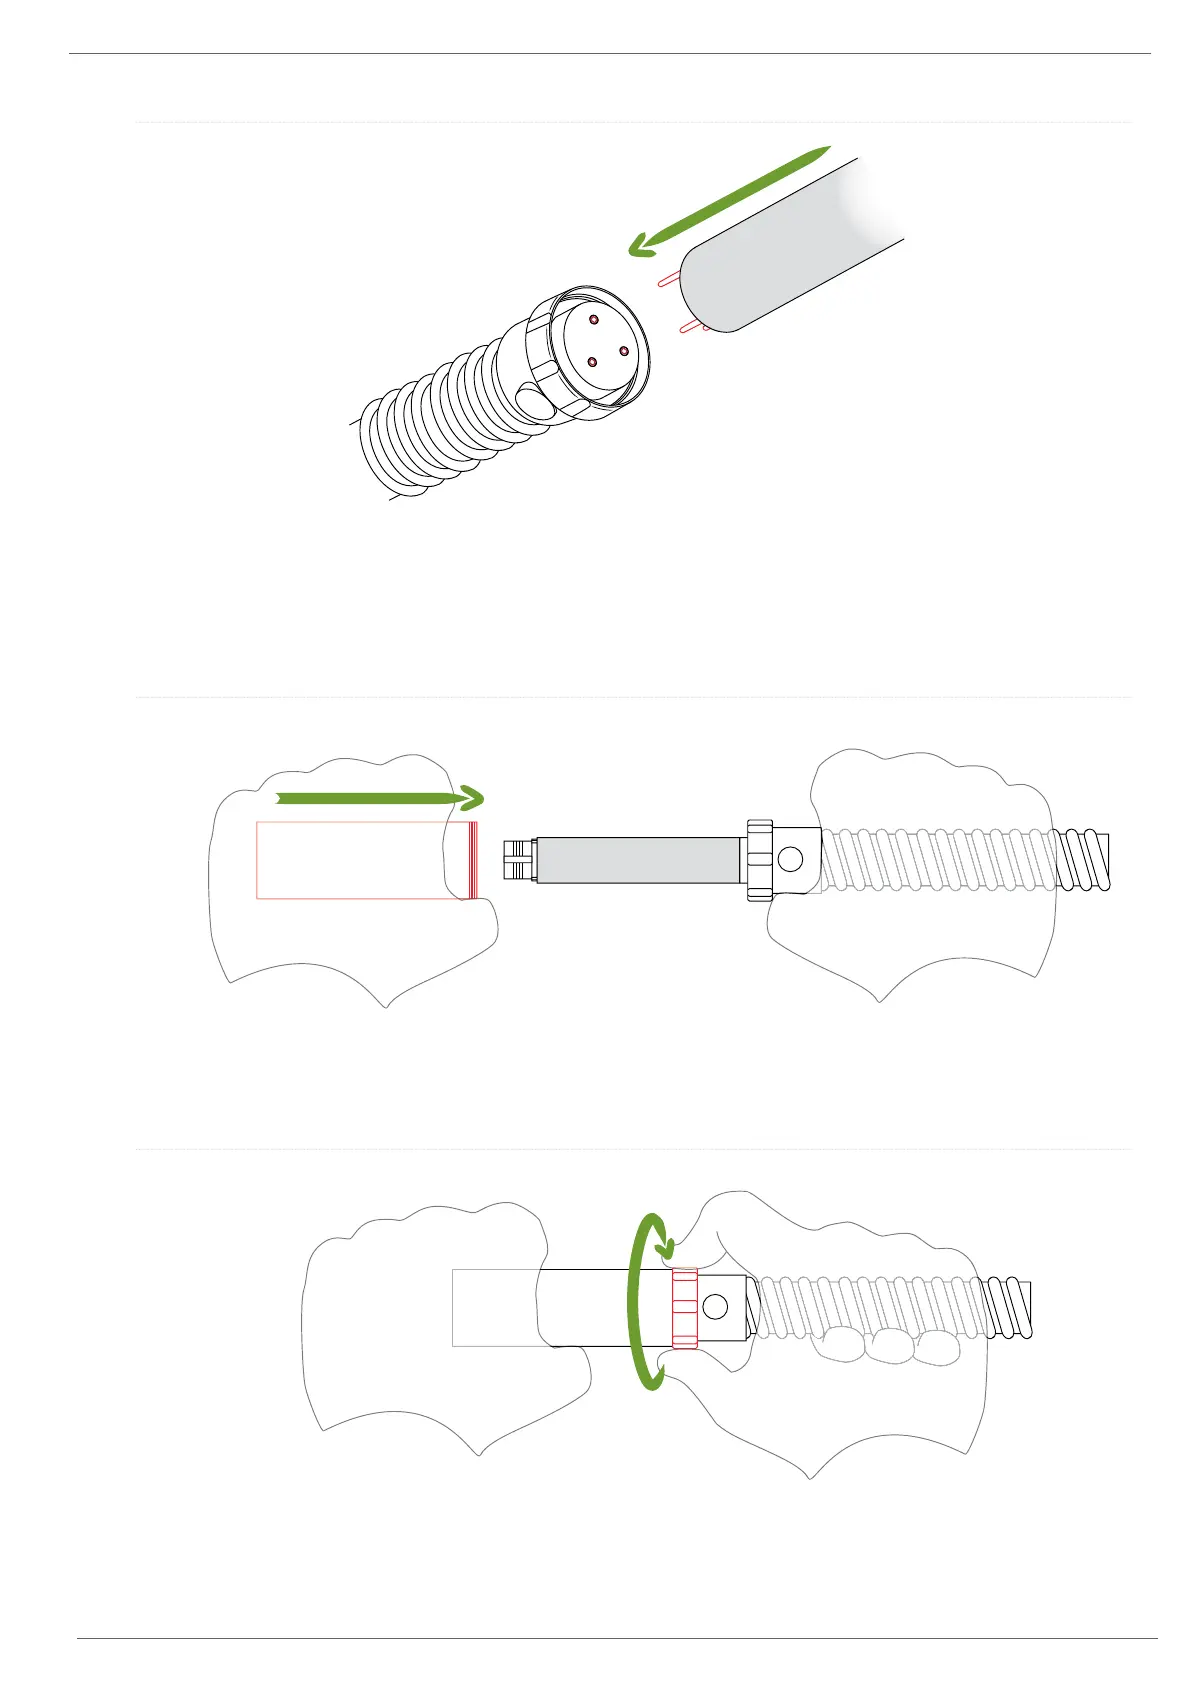
To re-assemble the Handpiece, carefully align the three “male” pins on the
Micro-motor to the three receiving “female” pins in the On/Off Switch
Assembly and push the motor all the way on.
Slide the Main Alloy Body over the Micro-motor.
Screw the Main alloy body on by turning only the Knurled Locking Nut with your
fingers. DO NOT twist or rotate the Vacuum Hhose or On/Off Switch Assembly
while doing this as ANY rotational pressure placed on the three power pins may result
in them being damaged, bent, or broken which will negate your
warranty and you will incur the cost of a replacement micro-motor.
Step 6
To re-assemble the Handpiece, carefully align the three “male” pins on the
Micro-motor to the three receiving “female” pins in the On/Off Switch
Assembly and push the motor all the way on.
Slide the Main Alloy Body over the Micro-motor.
Screw the Main alloy body on by turning only the Knurled Locking Nut with your
fingers. DO NOT twist or rotate the Vacuum Hhose or On/Off Switch Assembly
while doing this as ANY rotational pressure placed on the three power pins may result
in them being damaged, bent, or broken which will negate your
warranty and you will incur the cost of a replacement micro-motor.
Step 7
Step 8
9