Tools you’ll need: standard screwdriver (not included).
We recommend setting up your system on a countertop or other waterproof surface.
•
Wash your hands, stainless steel chambers and spigot before assembly to reduce the chances of contaminating the
system's components.
•
Be sure to keep all parts and original packaging in the unlikely event that your system needs to be returned to the manufacturer.
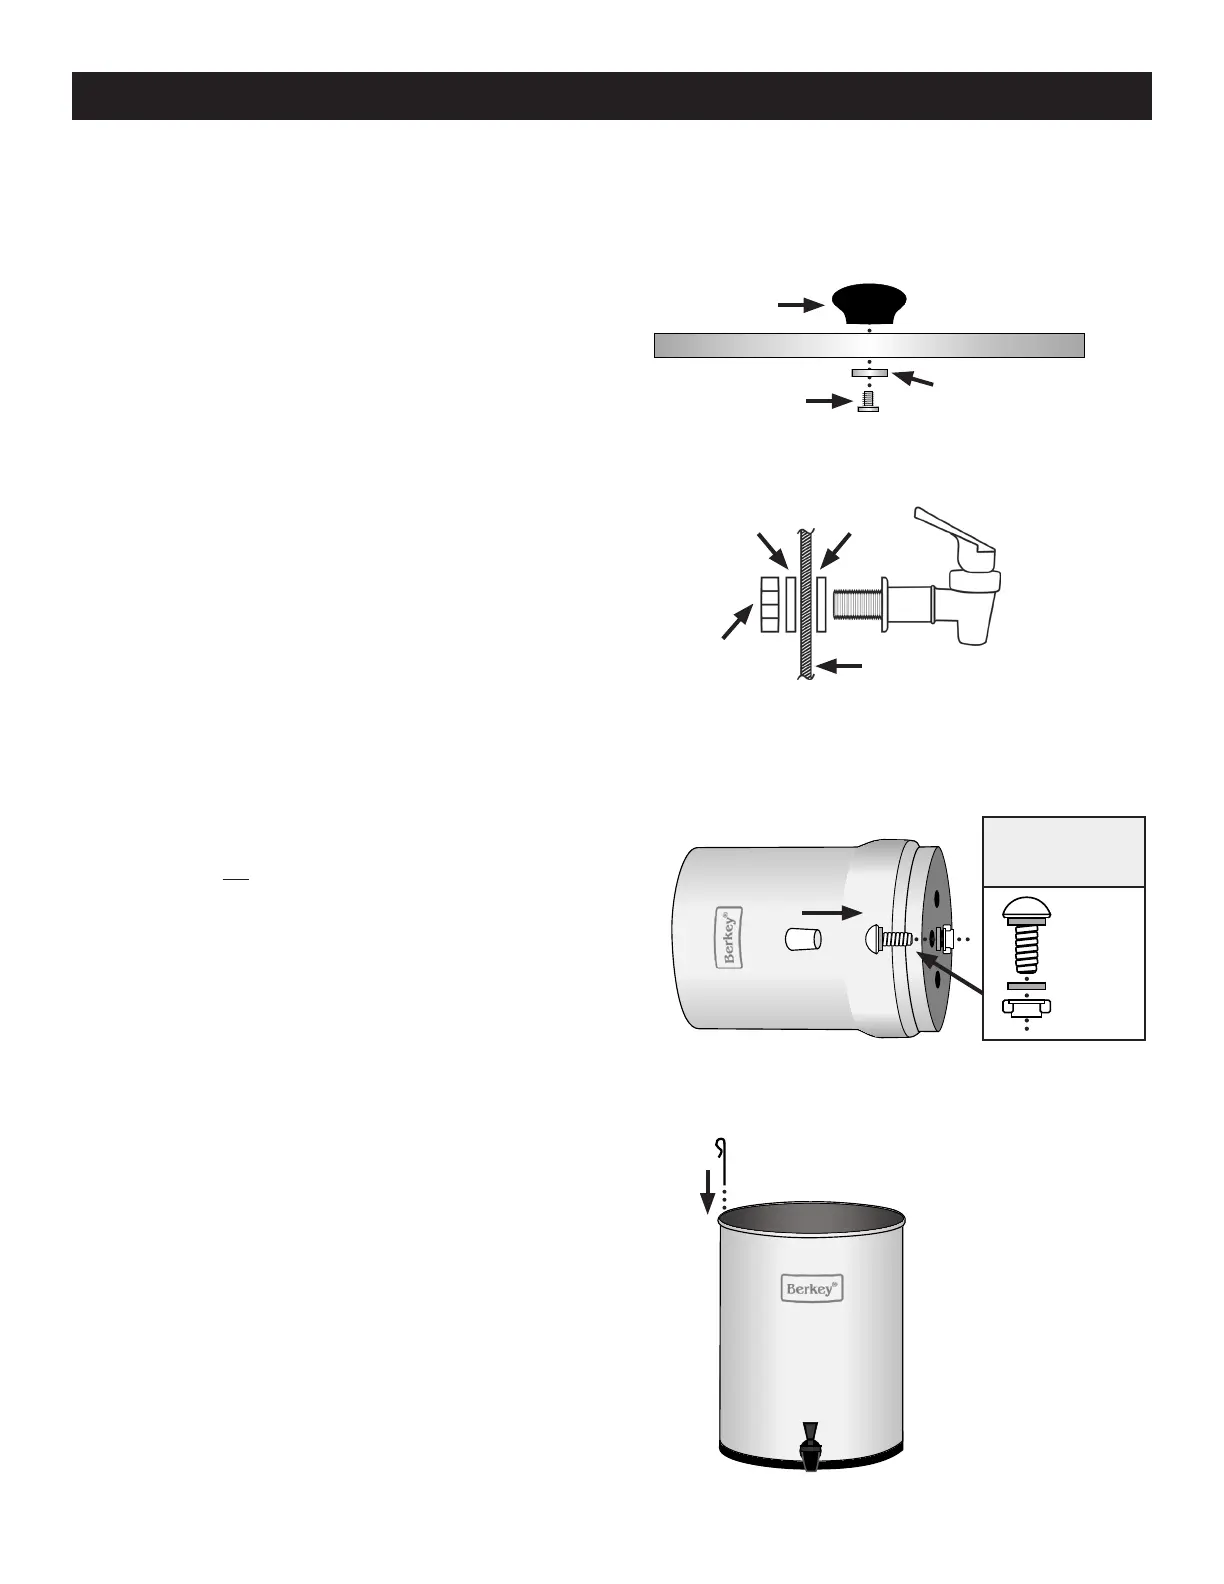
4. Install Vapor Lock Clip
Climate, elevation and other factors can create a tighter t, prevent-
ing air ow between chambers, which slows down or prevents water
ow (a natural phenomenon known as vapor lock). To prevent vapor
lock, create air ow by placing clip on edge of lower chamber, making
sure that the long portion of the airlock clip is hanging inside of the
lower chamber.
Note: All systems may not include a vapor lock clip. If you experience
vapor lock issues, contact an authorized Berkey
®
dealer to obtain a
vapor lock clip.
1. Attach Knob to Lid
Fit knob onto lid by inserting the knob screw up through the
washer into hole in the underside of lid, then screw on the knob.
Hex
nut (H)
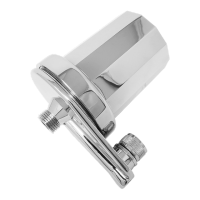
2. Assemble Spigot
To assure a proper seal, place one washer on stem of spigot. Insert
spigot into system and turn spigot counterclockwise to the 9 o’clock
position. Then, place the other washer on stem inside of the system,
then the nut, and hand-turn nut until it is tight while holding spigot at
the 9 o’clock position. Then, hold nut in place and rotate spigot clock-
wise until spigot is upright.
Washer
(I)
Washer (I)
Standard
spigot (G)
Berkey
®
System
lower chamber wall
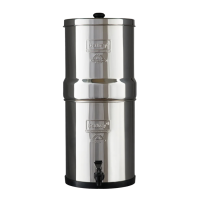
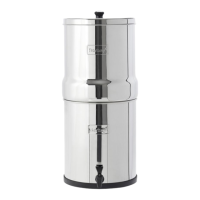
System Assembly
Knob
screw (E)
System lid (C)
Small metal
washer (D)
Lid knob
(F)
Berkey
®
System upper chamber (A)
(inside chamber)
or
Blocking
plugs (N)
Screw-type
blocking plug
assembly
Washer
Washer
Nut
Stem
Berkey
®
System
lower chamber
(B)
Vapor lock clip (R)
3. Insert Blocking Plugs
Use blocking plugs to ll remaining open holes in the upper cham-
ber where you will not be installing Black Berkey
®
Elements. For
push-in blocking plugs, simply press plugs into holes from inside
the upper chamber (smaller end rst). For screw-type blocking
plugs, place one washer on threaded stem, and insert plug (stem)
through one of the holes inside the system’s upper chamber. Place
other washer on the threaded stem outside of system, then the nut.
Hold plug securely with one hand inside system, and hand-turn nut
on outside of system until snug. Do not over-tighten. Repeat for
remaining plugs.
2
 Loading...