If you are going to be leaving the system unattended for 4-15 days and want to reduce the necessity of re-priming the ele-
ments, remove the elements from your system and place them in a sealable plastic bag (gallon-size or larger) while elements are still
damp (this allows the elements to stay wet, making priming unnecessary). Then, place the elements in your refrigerator where they will
not freeze. When ready, thoroughly rinse elements under cold water, then reinstall them in your system.
For longer-term storage, we recommend completely drying the elements rst.
Ensure they are bone-dry (zero moisture) before storing them long-term. Shake excess water from elements, then air-dry by leaving
them on a windowsill or other sunny location for 1-3 days until completely dry.
Once elements are bone-dry (zero moisture), store them in a sealable plastic bag (gallon-size or larger)—this prevents elements from
absorbing odors. When you are ready to re-use your elements, clean them by scrubbing the outside with a sti brush or a Scotch-Brite
®
pad under cold running water. Then re-prime the elements before putting them back in your system.
Alternatively, you can use a Berkey Primer™ (sold separately) which assists in both priming and purging. Purging speeds up the drying
process by pushing water out of the element before you place them in the sun or air dry to complete the process. Note: when purging,
valves on the Berkey Primer™ must be reversed.
Black Berkey
®
Element Storage
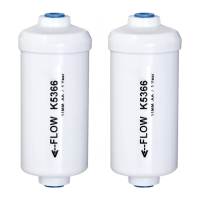
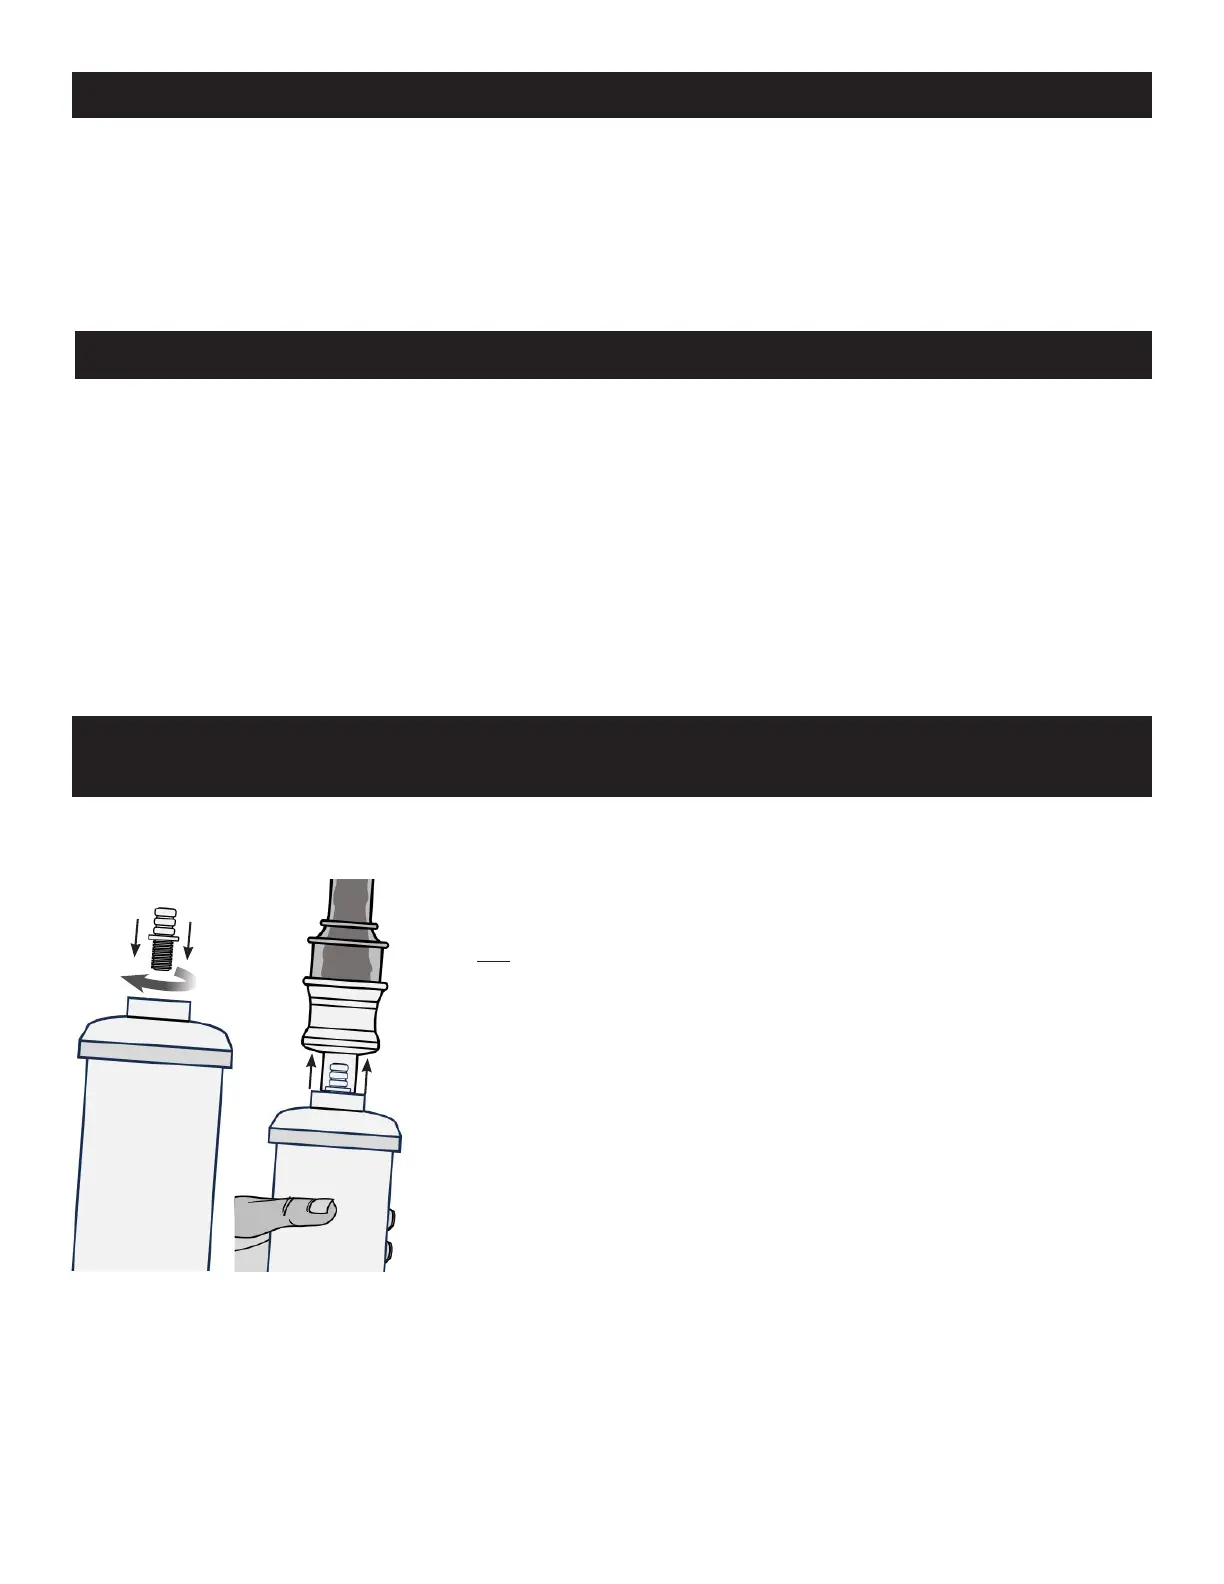
Priming Optional Berkey PF-2™ Fluoride and
Arsenic Reduction Elements (Sold separately)
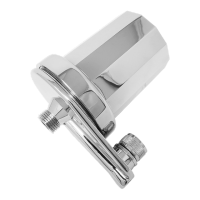
1. Attach blue Universal Primer (P) to faucet by stretching primer up and over the end
of faucet head to create a tight seal.
2. Screw Fluoride Element Adapter (Q) into threaded end of Berkey PF-2™ Fluoride
and Arsenic Reduction Element. Gently press other ends of Fluoride Element Adapt-
er into primer.
3. Keep one hand on element and use other hand to slowly turn on faucet. Use only
cold water. Do not allow element to dangle unsecured. Gradually increase water
pressure until moderate ow is reached. If primer inates like a bulb, immediate-
ly reduce water pressure.
4. Cover bottom end of element with nger (or provided blue cap) and let water ll
element for approximately 30 seconds, then turn water o. Remove element from
primer. Cover both ends of element with ngers (or blue caps). Shake element
vigorously for 1 minute.
5. Reattach element to primer and turn on cold water at low pressure once again. Slow-
ly increase pressure until there is a steady stream of water owing out from bottom
of element. Allow water to ow until it runs clear (about 2-3 minutes). Repeat steps
3-6 as necessary.
6. Element is now primed and ready for installation. Repeat steps 1-5 for remain-
ing elements.
7. Note: in some cases, the at priming button may work better depending on the size/
shape of your specic faucet. Refer to instructions included with your Berkey PF-2™
Fluoride and Arsenic Reduction Elements for more information.
Berkey
PF-2™
Element
(Q)
(P)
•
Avoid placing your system in direct sunlight or near a heat source such as a stove, indoor heater, etc. Excessive heat can create
conditions that facilitate microbiological growth inside the upper chamber.
•
When lower chamber is partially lled, be cautious not to overll upper chamber, as this could cause lower chamber to over-
ow. For example: if the lower chamber is 1/3 full, the upper chamber can be relled by 2/3. If the lower chamber is 1/2 full, the upper cham-
ber can be relled by 1/2, etc.
•
Never allow wet Black Berkey
®
Elements to freeze—exposure to freezing temperatures can expand the water into ice, which may
damage the elements and cause them to crack or break. Allowing elements to freeze will void your warranty.
Precautions
7
 Loading...