1
For installation by experienced service
technicians only.
Follow applicable codes.
BTNP-100-03
4
Operating Your Thermostat
5
Additional Operation Features
6
Thermostat Maintenance
Install your new BesTech thermostat in 5 basic steps:
1 InstalltheSub-Base
2 ProvidePower
3 ConnectYourWires
4 SetInstallerSwitches
5 AttachThermostattoSub-Base
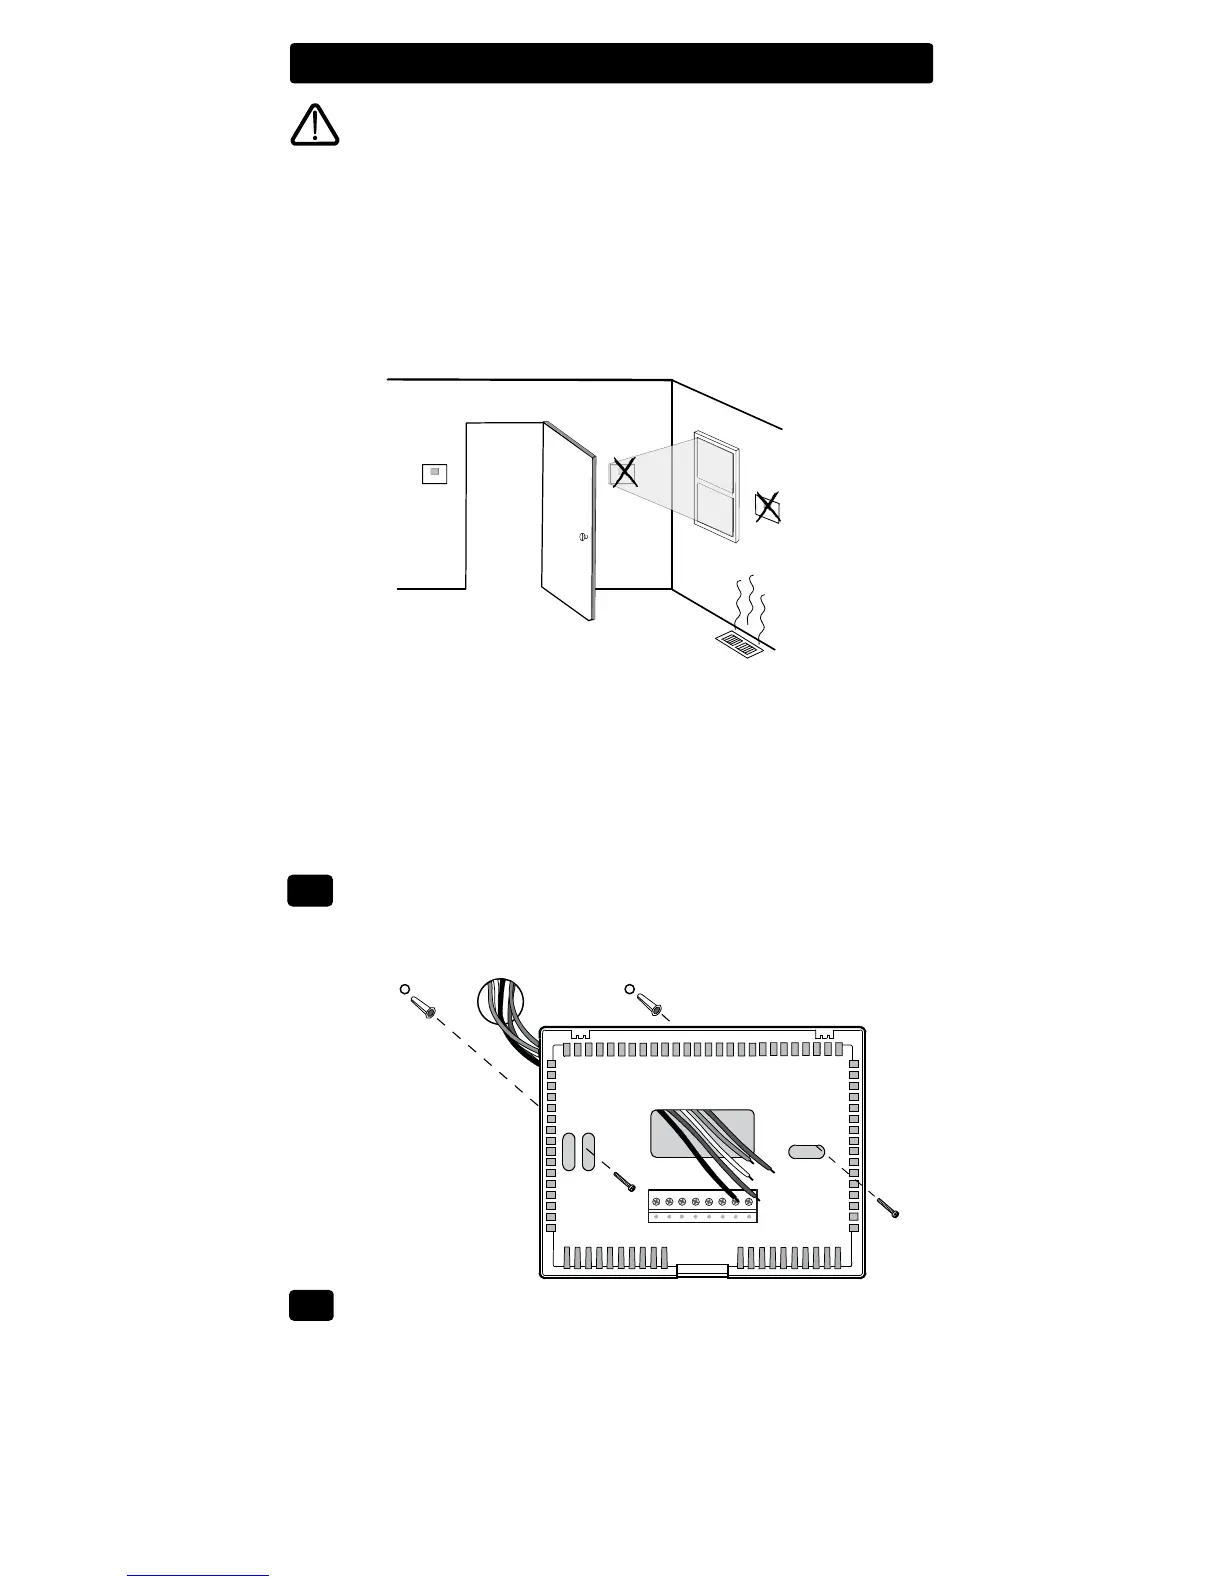
Install the Sub-Base:
•Removethesub-basefromthebodyofthethermostat.
•Mountthesub-baseasshownbelow:
1
2
Installation
Warning
Disconnect power before beginning installation.
Thermostat Location
Installthethermostatapproximately4-5feet(1.2-1.5m)abovetheoorin
anareathathasagoodamountofaircirculationandmaintainsanaver-
ageroomtemperature.
Avoidinstallationinlocationswherethethermostatcanbeaffectedby
drafts,deadairspots,hotorcoldairducts,sunlight,appliances,concealed
pipes,chimneysandoutsidewalls.
Drill 3/16” pilot holes in
your desired location.
Use supplied anchors for
drywall or plaster.
Provide Power
•For 24 Volt AC power,youmustconnectthecommonsideofthetrans-
formertotheCterminalonthethermostatsub-base.
•For primary or back-up power,insertthe2supplied“AA”typealkaline
batteriesintothebatterycompartmentlocatedonthefrontofthether-
mostatnearthebottom.MakesuretopositionthePositive(+)and
Negative(-)sides
ofthebatteriescorrectlywiththe+/-symbolsinthe
batterycompartment.
2
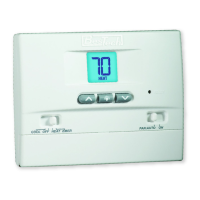
Non-Programmable Thermostats
BT11NP
Single Stage Heat Cool
ConventionalandHeatPump
BT21NP
Up to 2 Heat / 1 Cool
ConvencionalandHeatPump