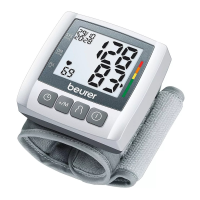
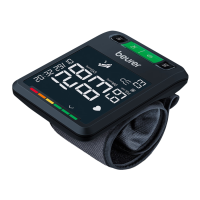
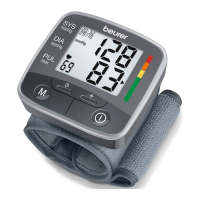
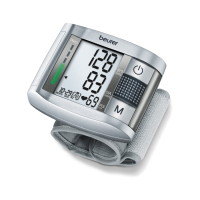
3. Fasten the cu with the hook-and-loop strip so that
the upper edge of the device is positioned approx.
½ inch (~1 cm) below the bottom of your hand. The
cu must fit snugly around your wrist but must not
constrict blood flow.
Blood pressure can vary between the right and left
arm, which may mean that measured blood pressure
values are dierent. Always perform the measurement
on the same arm. If the values between the two
arms are significantly dierent, consult your doctor
to determine which arm should be used for the
measurement.
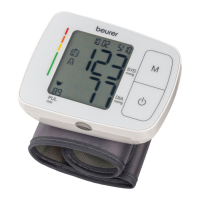
Correct Posture:
• Rest for at least five minutes
before each measurement.
•
P
erform the measurement either
sitting or lying down. Always
make sure that the cu is level
with your heart.
•
T
o perform a measurement, sit comfortably with
your arms and back supported. Place your feet flat
on the floor and do not cross your legs.
•
K
eep still during the measurement and do not talk.
Performing a Measurement:
1. With the unit attached properly and in a correct
posture, press the Start/Stop Button. All
LCD Display elements will briefly appear and
measurement will then begin after about three
seconds. To cancel a measurement at any time,
press the START/STOP Button.
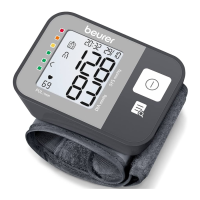
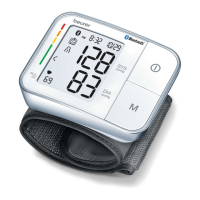
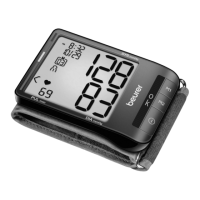
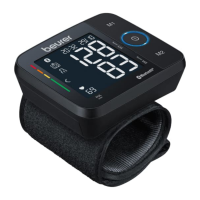
2. As a measurement concludes, air pressure in the
Cu will release. The pulse symbol (
) and pulse
rate will display, along with systolic and diastolic
pressure.
3. If a measurement is not performed properly, „ “
and a number will appear. Refer to the
„Troubleshooting Guide“ section for details about
specific error messages and then repeat the
measurement after you have resolved.
4. To store a measurement, select a user memory by
pressing the Memory Button M until the desired
user number displays. If no user memory is
selected, the measurement is stored in the most
recently used memory number.
5. Press the START/STOP Button to shut o the
blood pressure monitor. The device will also shut
itself o after about one minute.
6. Wait at least one minute before taking another
measurement.
15