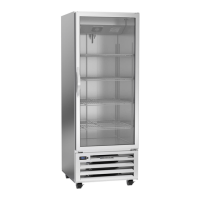
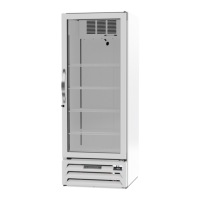
User Manual for BM Refrigerators Beverage-Air
Rev. 08/20Beverage-Air6
UNPACKING AND SET UP
Carefully inspect the shipping carton for damage. This is the only time that shipping damage may be claimed. If damage is
suspected, open the carton immediately and, if there is damage, retain the carton and contact the shipper to make a claim.
Do NOT contact the manufacturer.
Uncrating
Tools Needed: adjustable wrench, level, at head screw
driver, and box cutter.
1. Remove the cardboard top capping, all clear tape,
and all staples including those at the bottom of the
cardboard carton and skid.
2. Start from the top of the carton. Using the box cutter,
carefully make one continuous cut to the bottom of
the skid. Remove cardboard carton and discard.
3. Move unit as close to nal position as possible before
removing the skid.
Note: Remove the metal straps holding the unit onto the
skid. After removal, make sure to reinstall the screw
removed from the caster underneath the unit..
Do NOT tip unit on its front or sides. If tipped onto the
back, unit must not be started for 3 hours.
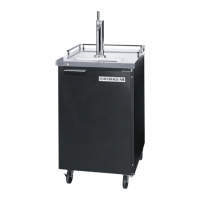
Installation of Draft Arms – BM Models
Place rubber washer over draft arm mounting holes in
cabinet top and put beer line connector down through the
hole. Secure each draft arm with the four bolts provided.
Place air hose clip over beer line and insert one inch
plastic hose in draft arm being careful not to disturb
insulation. Remove top cover of draft arm and attach
air hose clip to the ¼” stainless steel elbow at faucet
connection. Replace top cover. This clip assures that the
air hose remains in place to keep the beer faucet cold.
CO2 Line Routing
To retain complete mobility of the BarMobile, the
accessory CO2 tank (Up to ve lb. size) can be placed in
the cooler. .
Skid Removal
Tip the unit forward and remove the skid.
Risk of personal injury.
Unit must be securely supported
while attaching casters or legs.
WARNING
1. Remove the shipping bolts using the adjustable
wrench while cabinet is held in one direction. Repeat
the process while the cabinet is held in the opposite
direction
Leveling:
Cabinet must be installed on a level surface. Failure
to install on a level surface may result in the door not
sealing, not closing correctly, or condensed water not
draining properly.
Do NOT loosen casters to level the cabinet. Casters MUST
be tightly secured to cabinet for full strength.
Install or attach any accessories that will be used
Remove any plastic covering the stainless steel.
CAUTION
 Loading...