8
VI. Fitting the saddle
Use the multifunctional tool supplied.
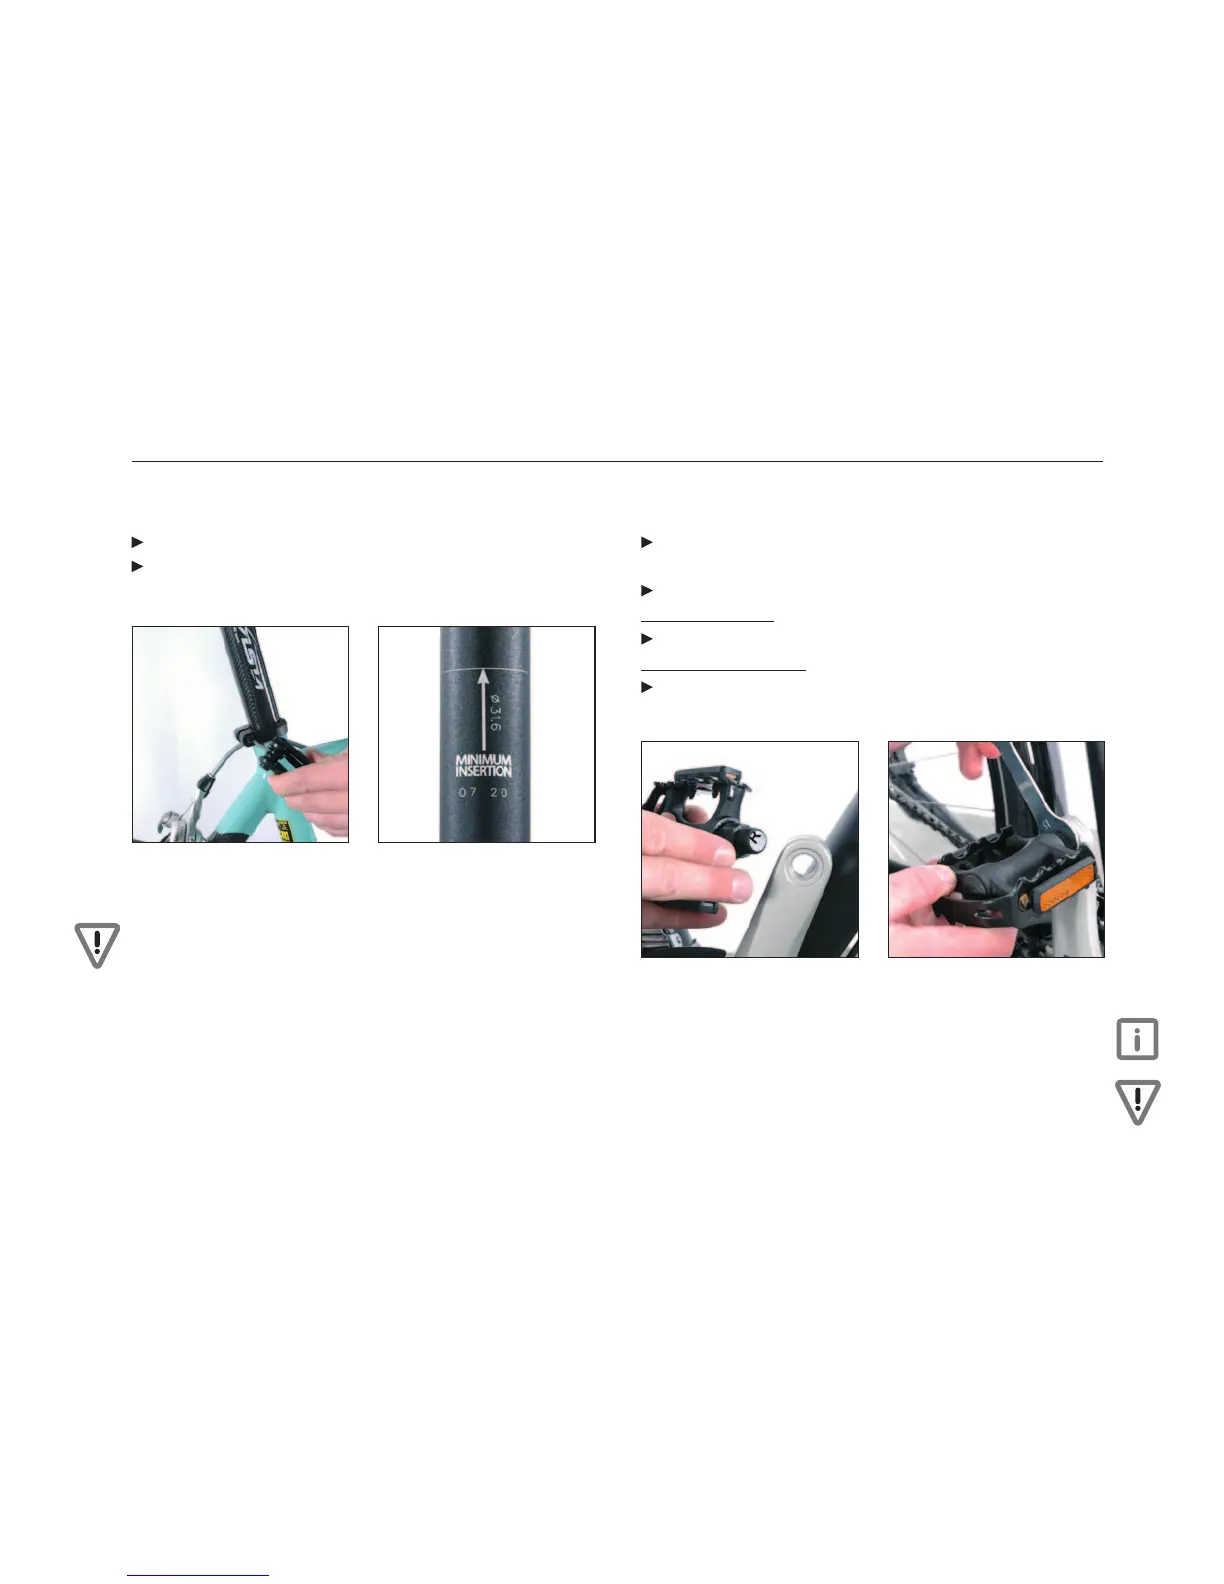
Insert the seat pin into the seat tube and adjust the height of
the saddle (g. 14)
Fig. 14 Fig. 15
Attention: Ensure when adjusting the height of the saddle that
the seat pin is not pulled out further than the maximum height!
Failure to comply with this can result in serious material defects
or accidents! (Fig. 15)
VII. Fitting the pedals
Take out both pedals from the box of accessories, should they
have been ordered.
Identify the right-hand pedal and screw it in a
clockwise direction to the right-hand crank (Fig. 16)
Screw on the left-hand pedal in the same way in an
anti-clockwise direction to the left-hand crank
Tighten both pedals with a 15 mm spanner and, after a few
miles, check once again that they are still tightly tted (Fig. 17)
Fig. 16 Fitting the right-hand pedal
to the right-hand crank
Fig. 17 Tighten the right-hand
pedal in a clockwise direction
Important: The right-hand crank is always on the side of the
chainset.
Attention: Failure to note the markings on the pedals or tting
the pedals with force will inevitably damage the threads!



 To Next Page