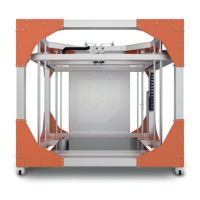
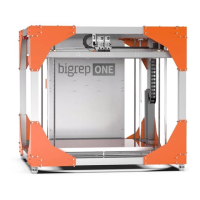
IV. Setup BigRep
IV-I Pre Autoleveling
* 2016-04-07
Leveling/Calibration: Setting up Lasersensor
1. Check table mounting
Angled ==> Z-Min sensor bottom edge = 10m
Straight ==> Z-Min sensor bottom edge = 65mm
2. Home Z
3. Start PRO-Mode by pressing „Down“ for 3 Seconds at lasersensor
4. Look for option „SenS2 and confirm by pressing „Teach“
5. Change to the Komparativ-Mode (N2) with „up“ and „down“ and confirm by
pressing „Teach“
Leveling/Calibration: Printbed
Note
It can be possible that u need to change the z-height (calibration height) from
6.5mm to max 8mm. (G1 X100 Y100 Z8 F5000)
Straight Table Holder:
1. Heat the bed to 60° - Important!
2. Check z-min sensor height - between lower edge z-sensor-holder and or-
ange iron sheet you need 65mm with STRAIGHT TABLE HOLDER, 10mm with
ANGLED TABLE HOLDER
3. Turn the extruders adjusting screws clockwise to the highest possible posi-
tion
4. Home all axis
5. Drive now to the 4 positions to calibrate the table - on all 4 measure points
you need to li up/down the table till the „lasersensor AWLS“ shows +4900
-G1 X100 Y100 Z6.5 F5000
-G1 X100 Y980 Z6.5 F5000
-G1 X1000 Y980 Z6.5 F5000
-G1 X1000 Y100 Z6.5 F5000
-Counter the screw nuts to each other and check the +4900 again
Angled Table Holder:
Follow the same procedure like straight table holder except the distance between
Z-min sensor bottom edge and orange iron sheet which is by 10mm!
Leveling/Calibration: Lasersensor AWLS
1. Check the printer position in z, it must be the same value from „leveling bed“
(6.5mm to max 8mm --> same height you used before)
2. Drive to the position G1 X100 Y100 with F5000
IV-I 1/2
 Loading...