8
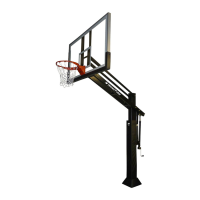
3) Anchor Assembly
Thread one 5/8” Hex Nut (L) to the bottom on
each 5/8” Anchor J-bolt (K). Place these
J-bolts through the holes on the Anchor
Template (N) and install 5/8” J-Bolt Hex Nuts
(L) on top and tighten.The bottom of the
J-bolts should be positioned as shown.
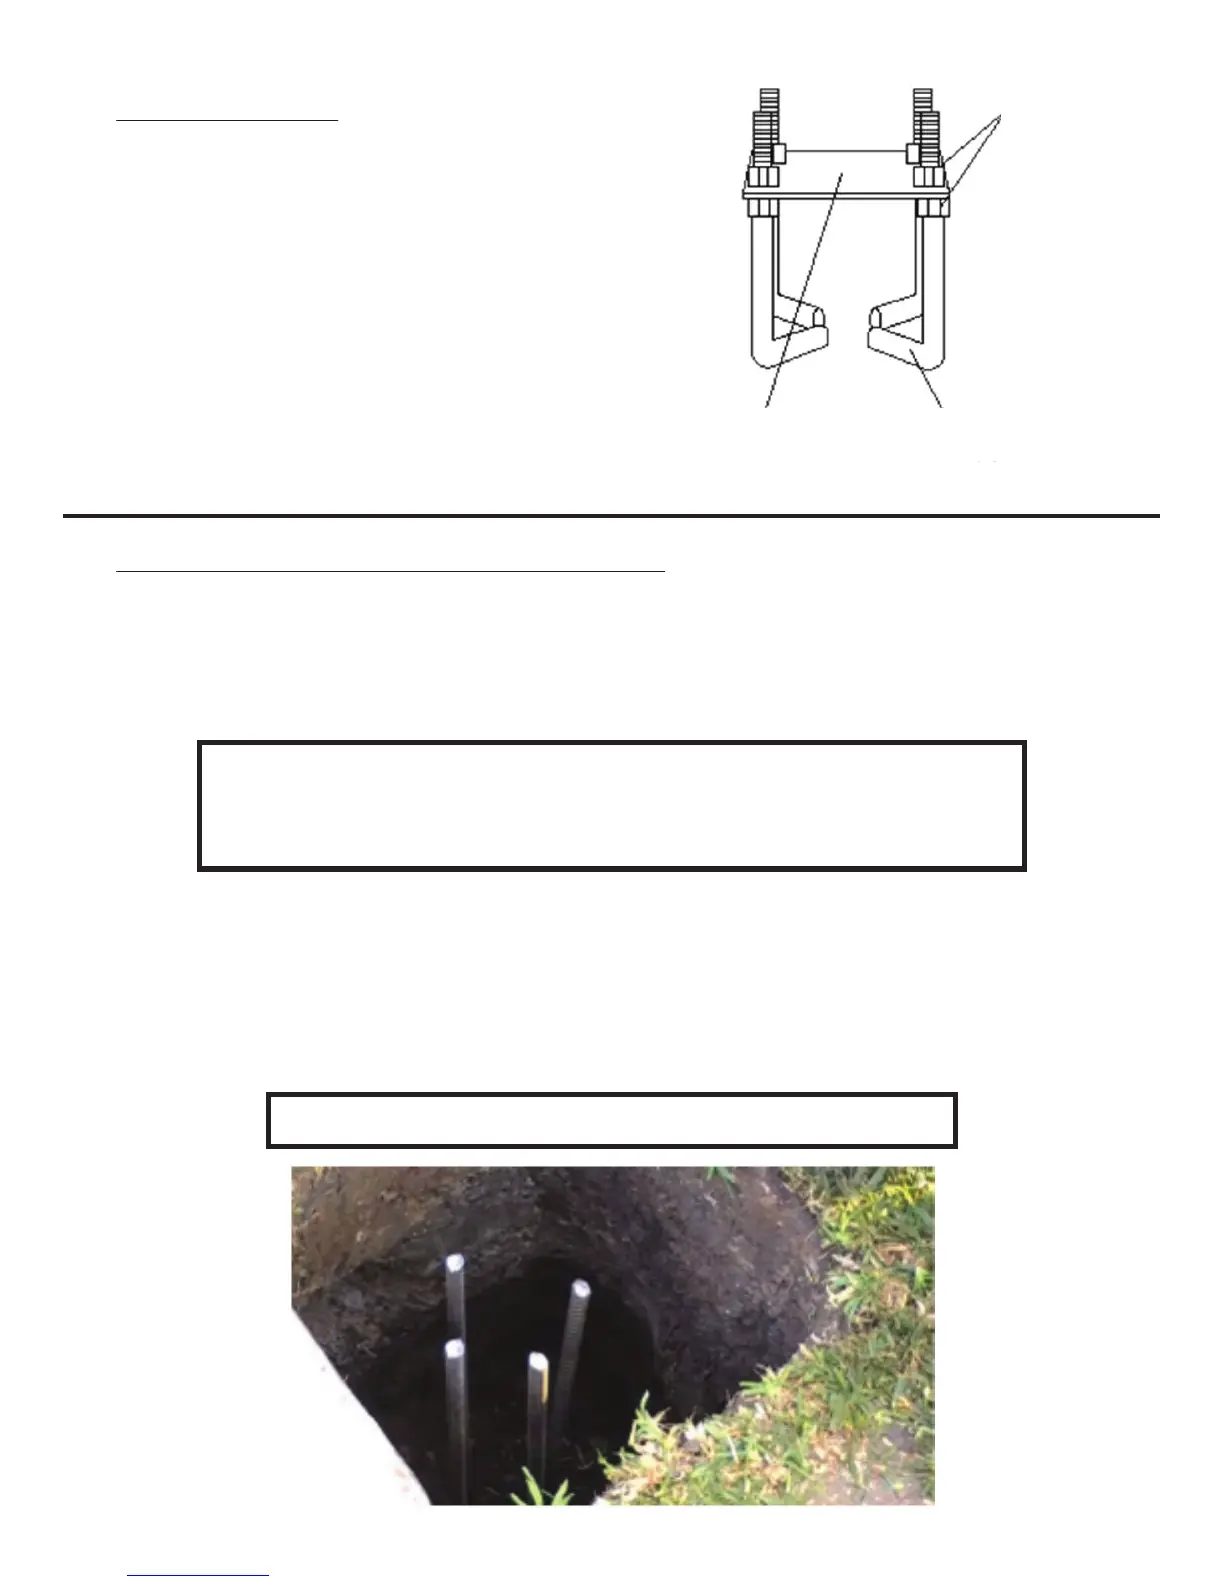
4) Pouring Concrete and Setting Footing Base
For this step you will need: level, broomstick and tape measure. The 48" x 24"
anchor footing will require a little over a 1/2 yard of 3000 psi concrete (20-25 80
pound sacks of premix concrete). More will be needed if you dig a larger hole.
Mix (20-25) 80 lbs. bags of concrete in wheelbarrow or cement mixer and pour
in pre-dug hole about half full. Agitate concrete with shovel or broomstick to
ensure proper fill. Place (4) Pieces of #4 Rebar (M) in the middle of the hole
about 8” apart to create a square in the middle of the hole. Top of rebar needs
to be approximately 3” from the top of the hole.
NOTE: Make certain that you have enough concrete to finish
the job. Allowing a portion to dry while you purchase more
concrete will weaken the footing.
NOTE: It is better to mix concrete slightly too wet than too dry.
Anchor Template
(N)
5/8” Anchor
J-Bolts (K)
5/8” J-Bolt
Hex Nuts (L)
REV. 10/10/17