◈ Information
This Installation Guide includes a brief outline of information necessary for product
installation. For more detailed installation information, please refer to the user manual in the
enclosed CD. The contents of the CD include the following.
1. Manual: User Manual, Code Chart, Control Commands
2. Drivers: Windows Drivers, OPOS Drivers
We at BIXOLON maintain ongoing efforts to enhance and upgrade the functions and quality
of all our products. In following, product specifications and/or user manual content may be
changed without prior notice.
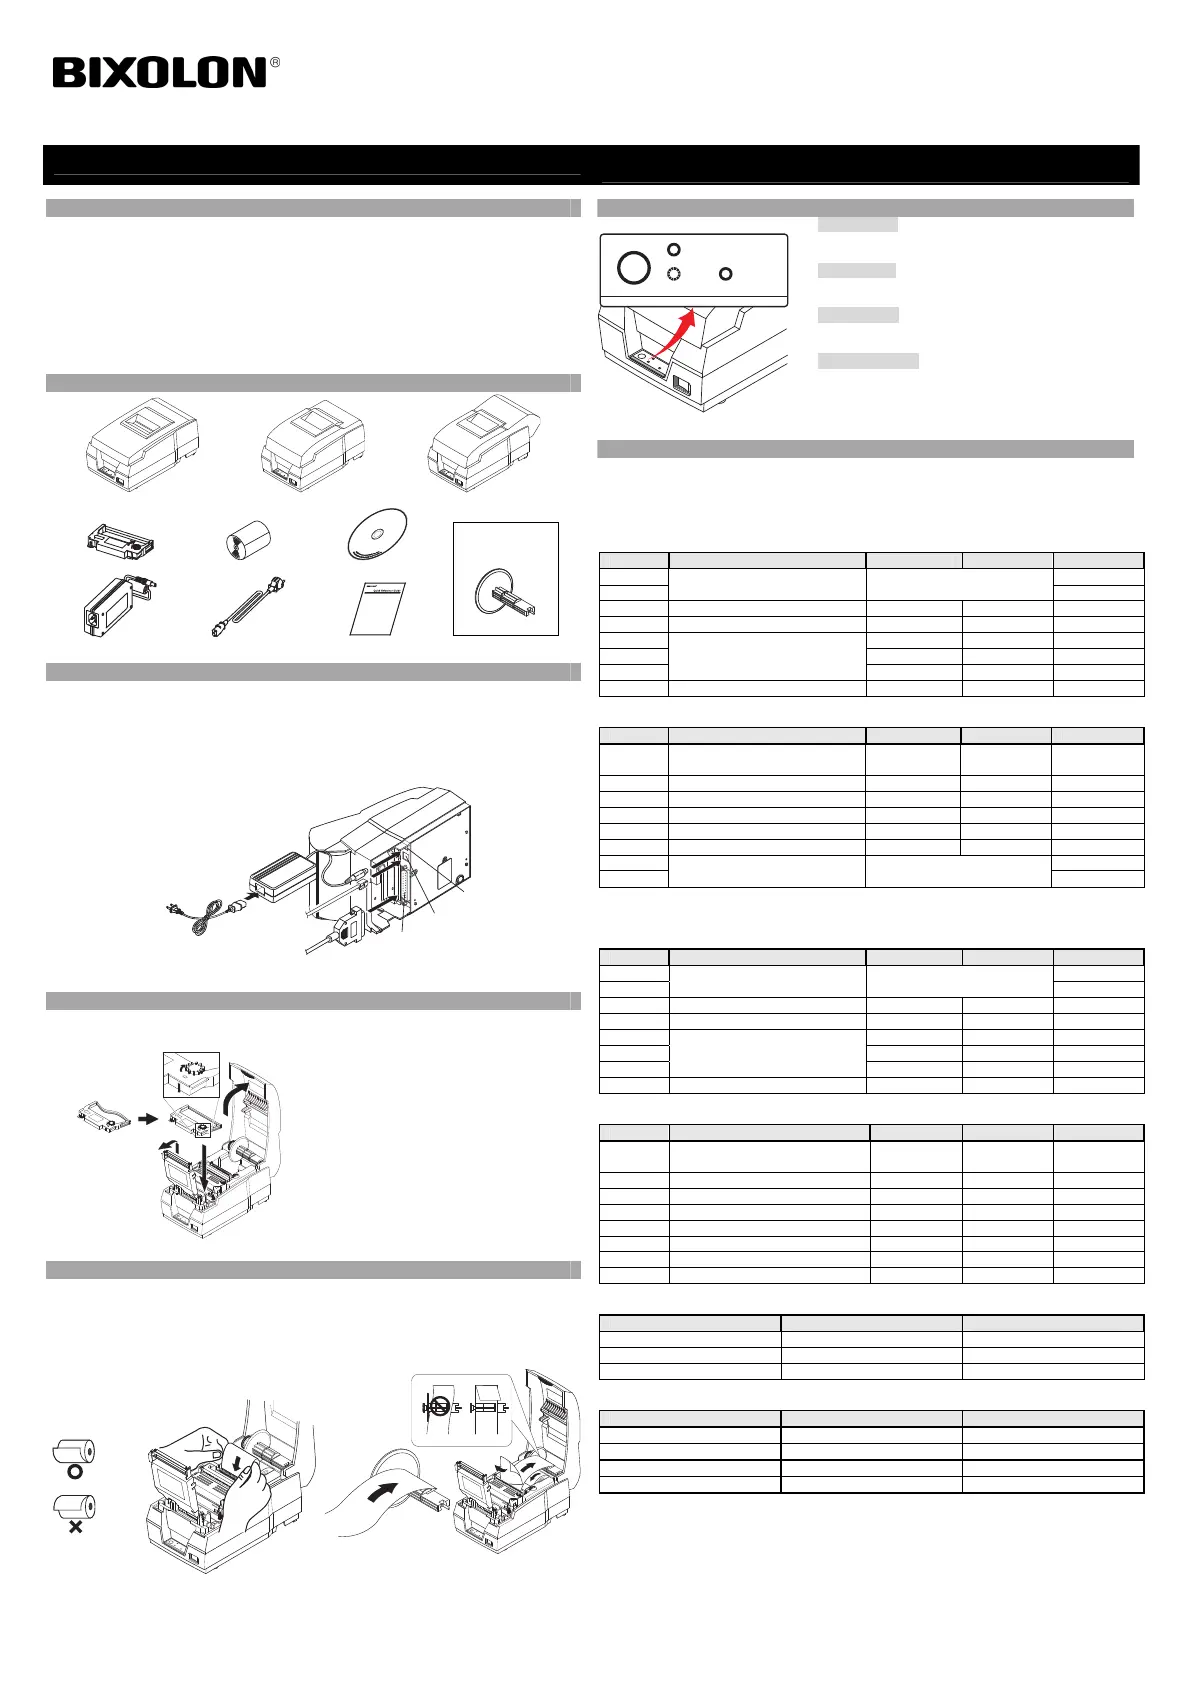
◈ Components
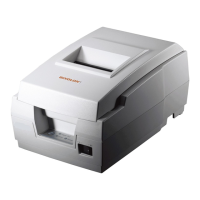
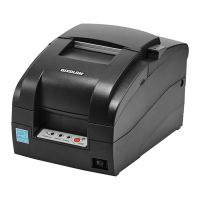
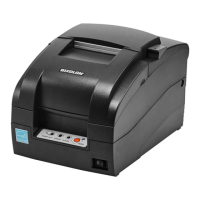
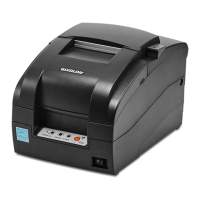
SRP-270A
SRP-270C
SRP-270D
Ribbon Cartridge
Paper Roll
Procuct Installation CDProcuct Installation CD
CD
Exclusive for
SRP-270D
Spool
AC/DC Adaptor
Power cord
Installation Guide
◈ Connecting the cables
1. Turn off the printer and the host ECR (host computer).
2. Plug the power cord into the Adaptor, and then, plug the Adaptor into the power connector of the
printer.
3. Check the interface cable (Serial, Parallel, USB, or Ethernet), and connect the interface connector
cable accordingly.
4. Plug the drawer kick-out cable into the drawer kick-out connector on the printer.
※ Do not use an adapter that was not supplied with the printer.
◈ Installing the Ribbon Cartridge
1. Before inserting the ribbon cartridge, turn the knob clockwise to prevent twisting of the ribbon.
2. Open the front cover of the printer and remove the old ribbon cartridge, if any.
3. Insert the ribbon cartridge as shown in the figure
so that the ribbon is aligned to the rear of the
printer head.
4. To allow the ribbon to move freely within the
cartridge when inserting the ribbon cartridge,
turn the knob clockwise once more.
5. Close the front cover of the printer.
※ Note
Using unauthorized ribbon cartridges may result in
oor printing quality or malfunction and will void
the warranty.
Refer to the User Manual to learn more about the
ribbon cartridge.
◈ Installing the Paper Roll
1. Open the printer cover and insert the new paper
roll in the correct direction.
Insert the end of the paper roll into the entrance.
(The SRP-270 C and D types automatically enter
and cut the paper.)
* SRP-270 A and C types: Uses single-ply paper
rolls
* SRP-270 D type: Uses double-ply paper rolls
2. Installing the Double-Ply Paper Roll in the
SRP-270 D type:
After inserting the end of the paper in the
groove on the roller wheel, wrap the paper
around the groove 2~3 times. Place the roller
wheel in the slot within the case.
3. Push and lock the automatic cutter cover, and close the printer cover.
4. When the 'ERROR' indicator lamp is lit and the 'PAPER' lamp blinks, press the 'FEED' button to
complete preparations for printing.
◈ Using the Operation Panel
• FEED (Button)
Press the FEED button once to discharge extra paper.
• PAPER (RED)
When the printer is out of paper, a red LED will be lit.
• ERROR (RED)
When an error occurs, a red LED will be lit.
• POWER (GREEN)
When turning on the power, a green LED will be lit.
◈ Setting the DIP switches
Changing Dip Switch settings must be done when the printer is off. Any changes done while
the printer is on will not be processed.
1. Serial Interface
• DIP Switch 1
SW Function ON OFF Default
1-1
Emulation Refer to the following table 1
OFF
1-2 ON
1-3 Auto Cutter Enable Disable ON
1-4 Font Space 2 3 OFF
1-5
Function for Service Engineer
-
1-6 -
1-7 OFF
1-8 Type of Korean Combination Completion OFF
• DIP Switch 2
SW Function ON OFF Default
2-1 Auto Line Feed
Always
enable
Always
disable
OFF
2-2 Hexadecimal Dumping Yes No OFF
2-3 Handshaking XON/XOFF DTR/DSR OFF
2-4 Data Length 7 bits 8 bits OFF
2-5 Parity Check Enable Disable OFF
2-6 Parity Selection EVEN ODD OFF
2-7
Baud Rate Selection Refer to the following table 2
OFF
2-8 OFF
2. Parallel / USB Interface
• DIP Switch 1
SW Function ON OFF Default
1-1
Emulation Refer to the following table 1
OFF
1-2 ON
1-3 Auto Cutter Enable ON ON
1-4 Font Space 2 3 OFF
1-5
Function for Service Engineer
-
1-6 -
1-7 OFF
1-8 Type of Korean Combination Completion OFF
• DIP Switch 2
SW Function ON OFF Default
2-1 Auto Line Feed
Always
Enable
Always
Disable
OFF
2-2 Hexadecimal Dumping Yes No OFF
2-3 Reserved - - OFF
2-4 Reserved - - OFF
2-5 Reserved - - OFF
2-6 Reserved - - OFF
2-7 Reserved - - OFF
2-8 Reserved - - OFF
• Table 1 – Emulation Selection
1-1 1-2 Mode
OFF OFF EPSON
OFF ON Citizen
ON OFF Star
• Table 2 – Baud rate (bps) Selection
Transmission Speed 2-7 2-8
19200 ON ON
2400 OFF ON
4800 ON OFF
9600 OFF OFF
Printer Installation Guide
IMPACT PRINTER SRP-270
Adapto
Power connector
Power cord
Drawer kick-out
connector
Interface
connector
Drawer kick-ou
cable
Interface cable
(Serial/Parallel/USB/Ethernet)
PAPER
ERROR POWER
FEED
 Loading...