Do you have a question about the Black & Decker CST1200 and is the answer not in the manual?
Charge battery for a minimum of 24 hours before using your trimmer.
The guard must be installed before trimming; if not, the motor will overheat and void your warranty.
Pull the lock-off button back to activate the trigger.
Use only 0.065 in. diameter ROUND line for best results.
Basic safety precautions for electric gardening appliances.
Product contains chemicals known to cause cancer, birth defects, or reproductive harm.
Includes eye protection, guard usage, proper attire, line clearance, child safety, and projectile hazards.
Covers not forcing the tool, using the right appliance, avoiding overreaching, and checking for damage.
Keep guards in place, keep hands/feet away from cutting area, avoid wet locations for charging.
Do not incinerate, open, or mutilate battery; handle carefully to avoid burns or leaks.
Use only specified Black & Decker battery (244373-12V) and charger (244374).
Ensure the guard is firmly attached before operation for motor cooling and warranty.
Charge the lead-acid battery for a minimum of 24 hours before first use.
Always wear eye protection and inspect the area for wires or cords.
How to turn the trimmer on and off using the lock-out button and trigger.
Use Black & Decker replacement spool Model No. AF-100 and .065 in. diameter nylon monofilament line.
Possible cause: Battery not charged. Solution: Charge for at least 12 hours.
| Brand | Black & Decker |
|---|---|
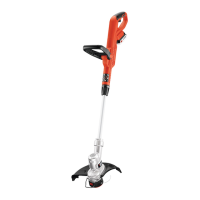
| Model | CST1200 |
| Category | Trimmer |
| Language | English |