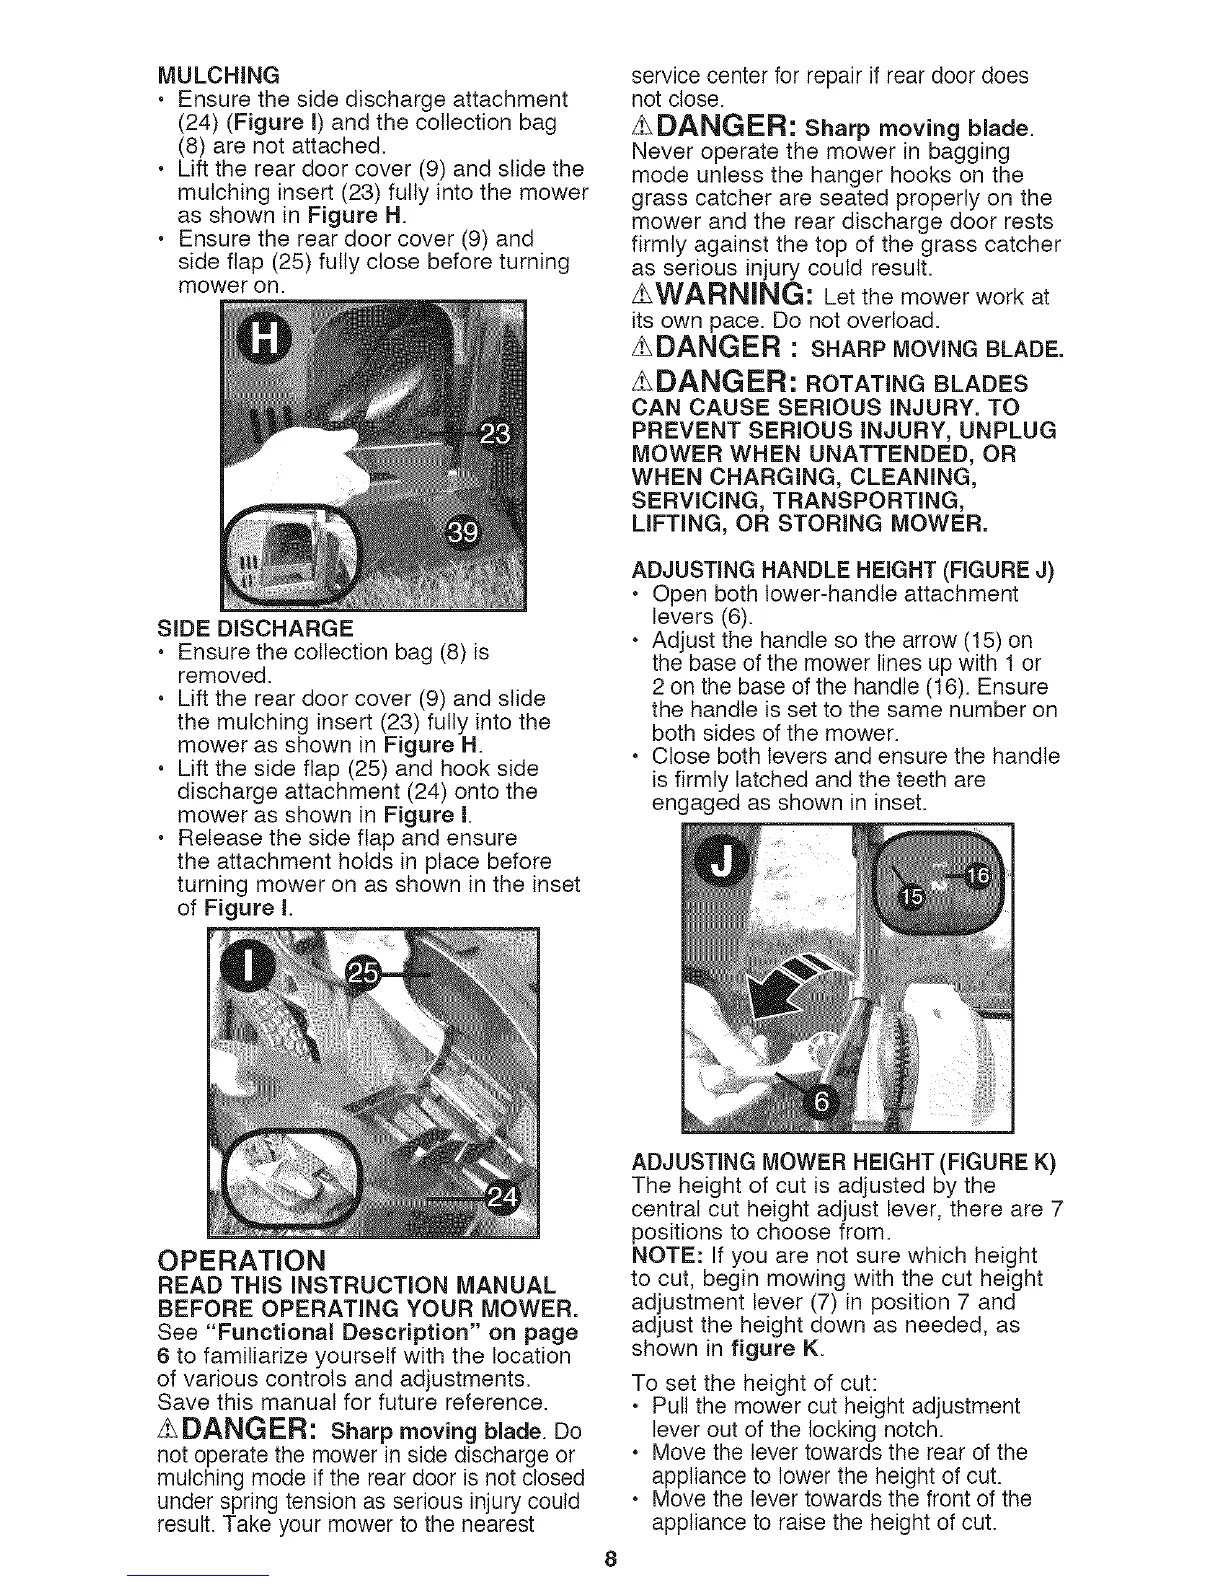
MULCHING
• Ensurethesidedischargeattachment
(24)(FigureI)andthecollectionbag
(8)arenotattached.
• Liftthereardoorcover(9)andslidethe
mulchinginsert(23)fullyintothemower
asshowninFigureH.
• Ensurethereardoorcover(9)and
sideflap(25)fullyclosebeforeturning
moweron.
SiDEDISCHARGE
• Ensurethecollectionbag(8)is
removed.
• Liftthereardoorcover(9)andslide
themulchinginsert(23)fullyintothe
mowerasshowninFigureH.
• Liftthesideflap(25)andhookside
dischargeattachment(24)ontothe
mowerasshowninFigureI.
• Releasethesideflapandensure
theattachmentholdsinplacebefore
turningmoweronasshownintheinset
ofFigureI.
servicecenterforrepairifreardoordoes
notclose.
zLDANGER: Sharp moving blade.
Never operate the mower in bagging
mode unless the hanger hooks on the
grass catcher are seated properly on the
mower and the rear discharge door rests
firmly against the top of the grass catcher
as serious injury could result.
zLWARNING: Let the mower work at
its own pace. Do not overload.
ADANGER " SHARP MOVING BLADE.
zLDANGER: ROTATING BLADES
CAN CAUSE SERIOUS iNJURY. TO
PREVENT SERIOUS iNJURY, UNPLUG
MOWER WHEN UNATTENDED, OR
WHEN CHARGING, CLEANING,
SERViCiNG, TRANSPORTING,
LIFTING, OR STORING MOWER.
ADJUSTING HANDLE HEIGHT (FIGURE J)
• Open both lower-handle attachment
levers (6).
• Adjust the handle so the arrow (15) on
the base of the mower lines up with 1 or
2 on the base of the handle (16). Ensure
the handle is set to the same number on
both sides of the mower.
• Close both levers and ensure the handle
is firmly latched and the teeth are
engaged as shown in inset.
OPERATION
READ THiS iNSTRUCTiON MANUAL
BEFORE OPERATING YOUR MOWER.
See "Functional Description" on page
6 to familiarize yourself with the location
of various controls and adjustments.
Save this manual for future reference.
zLDANGER: Sharp moving blade. Do
not operate the mower _nside discharge or
mulching mode if the rear door is not closed
under spring tension as serious injury could
result. Take your mower to the nearest
ADJUSTING MOWER HEIGHT (FIGURE K)
The height of cut is adjusted by the
central cut height adjust lever, there are 7
positions to choose from.
NOTE: If you are not sure which height
to cut, begin mowing with the cut height
adjustment lever (7) in position 7 and
adjust the height down as needed, as
shown in figure K.
To set the height of cut:
• Pull the mower cut height adjustment
lever out of the locking notch.
• Move the lever towards the rear of the
appliance to lower the height of cut.
• Move the lever towards the front of the
appliance to raise the height of cut.

 Loading...