Do you have a question about the Black & Decker SPACEMAKER and is the answer not in the manual?
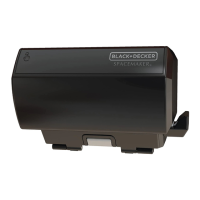
Lists the components included in the mounting kit for installation.
Initial steps before installing the can opener, including unpacking and registering.
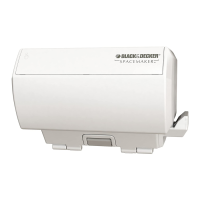
Guidance on selecting an appropriate and safe location for mounting the appliance.
Instructions to identify compatible cabinet types for secure and proper installation.
Detailed steps for marking and preparing the cabinet for mounting from the underside.
Detailed steps for marking and preparing the cabinet for mounting from the top side.
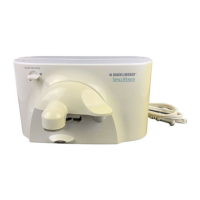
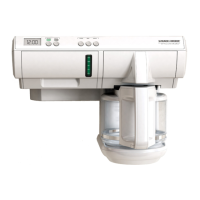
Step-by-step guide on how to operate the can opener to open cans safely and efficiently.
Instructions for using the built-in knife sharpener for blade maintenance.
Guide on how to utilize the integrated bottle opener feature.
Instructions for operating the built-in bag cutter for opening packaged goods.
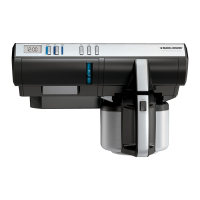
Procedure for safely detaching the blade assembly for cleaning.
Steps to correctly reattach the blade assembly after cleaning.
Details of the product's warranty coverage, duration, and terms.
| Mounting Type | Under Cabinet |
|---|---|
| Power Source | Electric |
| Color | White |
| Brand | Black & Decker |
| Category | Can Opener |
| Material | Plastic |
| Voltage | 120V |
| Additional Features | Knife Sharpener (on some models) |
| Model | EC600 (common), EC650 (common), EC700 (common) |