CHAPTER 4: BASIC OPERATIONS
36
-or-
Double-click on a server’s name or port.
-or-
Press Alt and the number of the server you wish to scan. You can select up to 16 servers
from the entire list.
4. In the Scan Time box, type the number of seconds (from 3 to 99) of desired time
before the scan moves to the next server in the sequence.
5. Click OK.
To remove a server from the scan list:
1. In the Scan dialog box, deselect the checkbox next to the server to be removed.
-or-
Double-click on the server’s name or port.
-or-
Click the Clear button to remove all servers from the scan list.
2. Click OK.
To start the scan mode:
1. If the OSD interface is not open, press Print Screen. The Main dialog box will
appear.
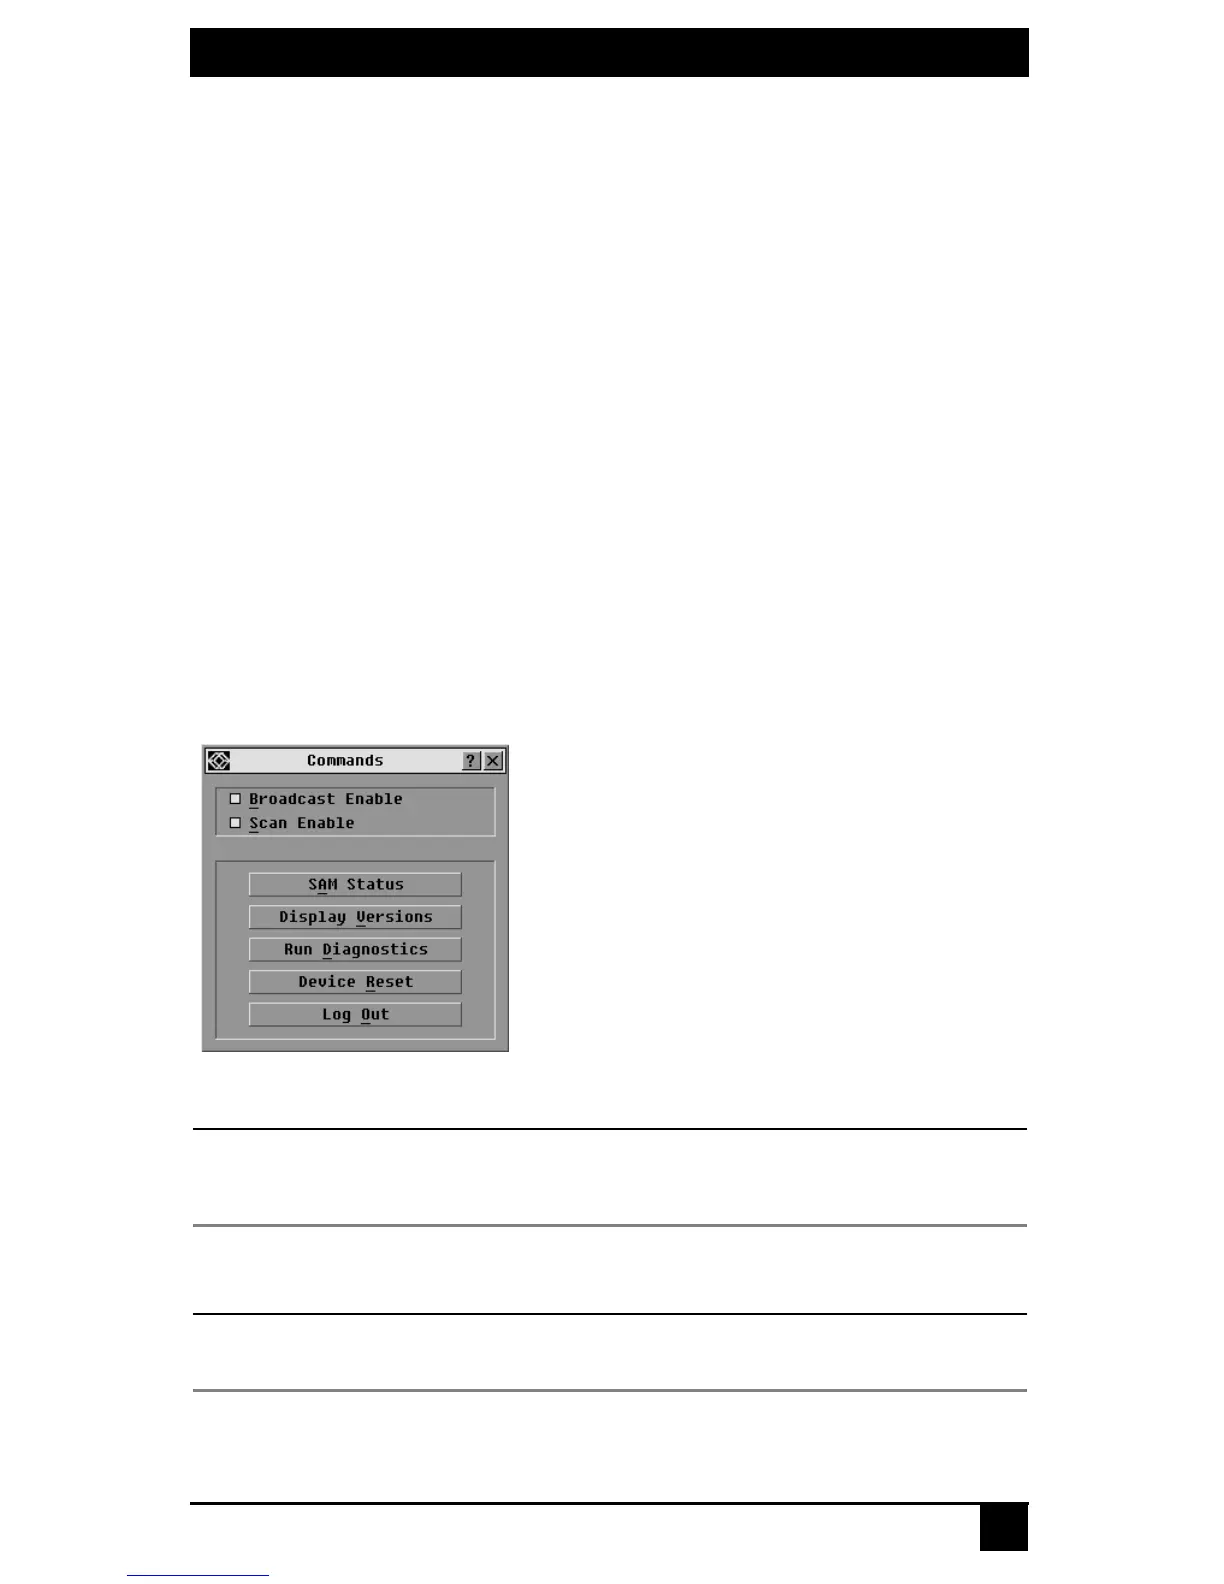
2. Click Commands. The Commands dialog box displays.
Figure 4-15. Commands Dialog Box
NOTE:
Figure 4-15 shows the Commands screen for the administrator and local user when the Enable User
Accounts feature is turned off. The restricted user will only have access to the Display Versions, Device
Reset and Log Out buttons.
3. Select Scan Enable in the Commands dialog box.
4. Click X to close the Commands dialog box.
NOTE:
Scanning will begin when the Main dialog box or flag is displayed. Scanning is inhibited in any other OSD
interface dialog box.