Do you have a question about the Black Box ServSwitch Duo KV6104SA and is the answer not in the manual?
Covers regulatory compliance and video standards supported by the device.
Describes connection types, video standards, and maximum display resolution.
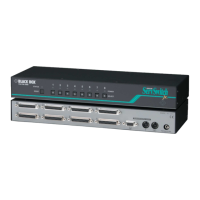
Explains front-panel controls, buttons, and status indicator LEDs.
Highlights key functionalities and advantages for users.
Lists all the components included with the ServSwitch Duo unit.
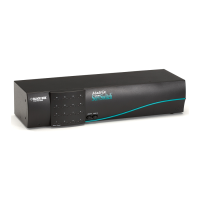
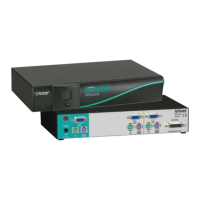
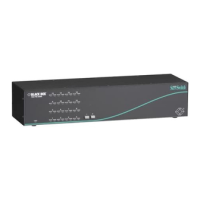
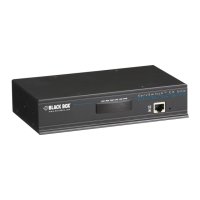
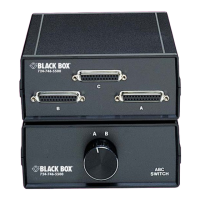
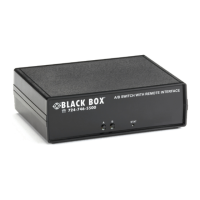
Shows diagrams of the front, rear, and side panels of the device.
Outlines crucial safety precautions for installation and proper use of the device.
Lists the necessary cables, hardware, and peripherals for installation.
Explains how to mount the unit in a standard 19-inch equipment rack.
Details the procedure for connecting keyboards, monitors, and mice to the switch.
Provides instructions on how to connect the power supply and turn on the unit.
Instructions for setting up connected computers for compatibility.
Details how to access and modify the switch's internal settings.
Describes the methods to access the device's configuration interface.
Configures the duration before the screen-saver activates.
Sets up automatic scanning of connected computers and pause duration.
Determines the idle time before switching control between ports.
Configures mouse emulation and channel switching via mouse.
Customizes keyboard shortcuts for controlling switch functions.
Tools for checking firmware, restoring mouse, and resetting to defaults.
Adjusts menu colors and confirmation message display time.
Enables password protection to secure the ServSwitch Duo.
Instructions on how to leave the configuration interface.
Describes how to check the current power state of the device.
Explains the meaning of the various status indicator LEDs on the unit.
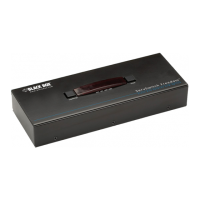
Details the use of front-panel buttons and the optional remote control module.
Interprets the information shown on the 7-segment front-panel display.
Explains how to connect and utilize the two distinct control ports.
Important notes on PC boot sequence, mouse characteristics, and mode handling.
Provides a comprehensive guide to controlling the switch using keyboard shortcuts.
Details how to use the on-screen menu to select connected computers.
Instructions for adding new computer entries with names and port numbers.
Procedure for removing existing computer entries from the menu.
How to modify the name or port number of an existing menu entry.
Select computers, exit menu, configure appearance, and reference menu keys.
Using a three-button mouse for channel selection.
Steps to recover mouse functionality after accidental disconnection.
Managing device connections and PS/2 mouse recovery during operation.
Methods for controlling the switch using its serial RS-232 port.
Instructions on connecting multiple switches for expanded port capacity.
General troubleshooting steps for video, mouse, and keyboard issues.
Guidance on contacting technical support with problem details.
Recommendations for packaging and shipping the unit for repair or return.
Specifics on connecting peripherals to the switch's ports.
Details on connecting the switch to computers via various cables.
Information regarding the DB15 expansion port for RS-232 devices and RCM.
| Device Type | KVM Switch |
|---|---|
| Model | KV6104SA |
| Number of Ports | 4 |
| Number of Users Supported | 2 |
| Video Interface | VGA |
| Audio Support | Yes |
| Power Supply | External power adapter |
| Switching Method | Push Button, Hotkey |
| Connectors | USB |
| Compatibility | Mac |