N
Nathaniel SimsJul 30, 2025
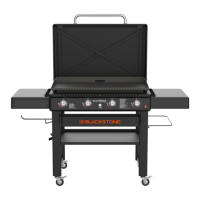
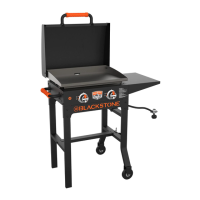
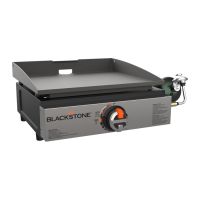
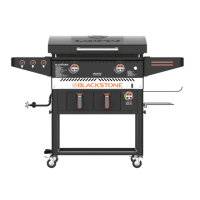
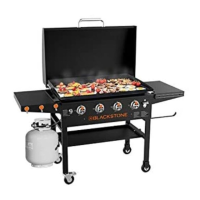
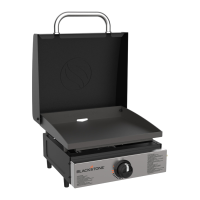
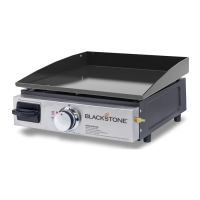
Why can I ignite my Black Stone Griddle with a match but not with the ignitor?
- SSamuel Carter Jr.Jul 30, 2025
If you can ignite your Black Stone Griddle with a match but not with the ignitor, it could be due to several reasons. One possibility is that the ignitor wire is misaligned. Ensure that the ignition needle is positioned 1/8" to 1/4" away from the burner tube and is above a burner hole. Another potential cause is damage to the ignition system.