ENGLISH
BLACKSTONEPRODUCTS.COM/SUPPORT
OWNER’S MANUAL | USING YOUR BLACKSTONE
❶
Push the control knob in to
start gas flowing.
❷
Turn the control knob
counter-clockwise to activate
the starter.
❸
Adjust the temperature to
desired level.
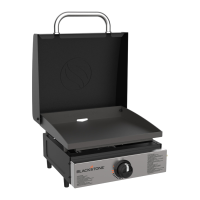
2. PIEZO-ELECTRIC GRIDDLE IGNITION
DO NOT lean over the appliance while lighting.
IGNITION INSTRUCTIONS
1. CHECK VALVES
STEP 01
Turn knob to OFF position.
STEP 02
Push in knob and release. Knob should spring back.
If knobs
DO NOT
spring back, replace valve assembly before using appliance.
spring back, replace valve assembly before using appliance.
STEP 03
Rotate knob to LOW then turn back to OFF. Knob should
turn smoothly.
❷
❶
❸
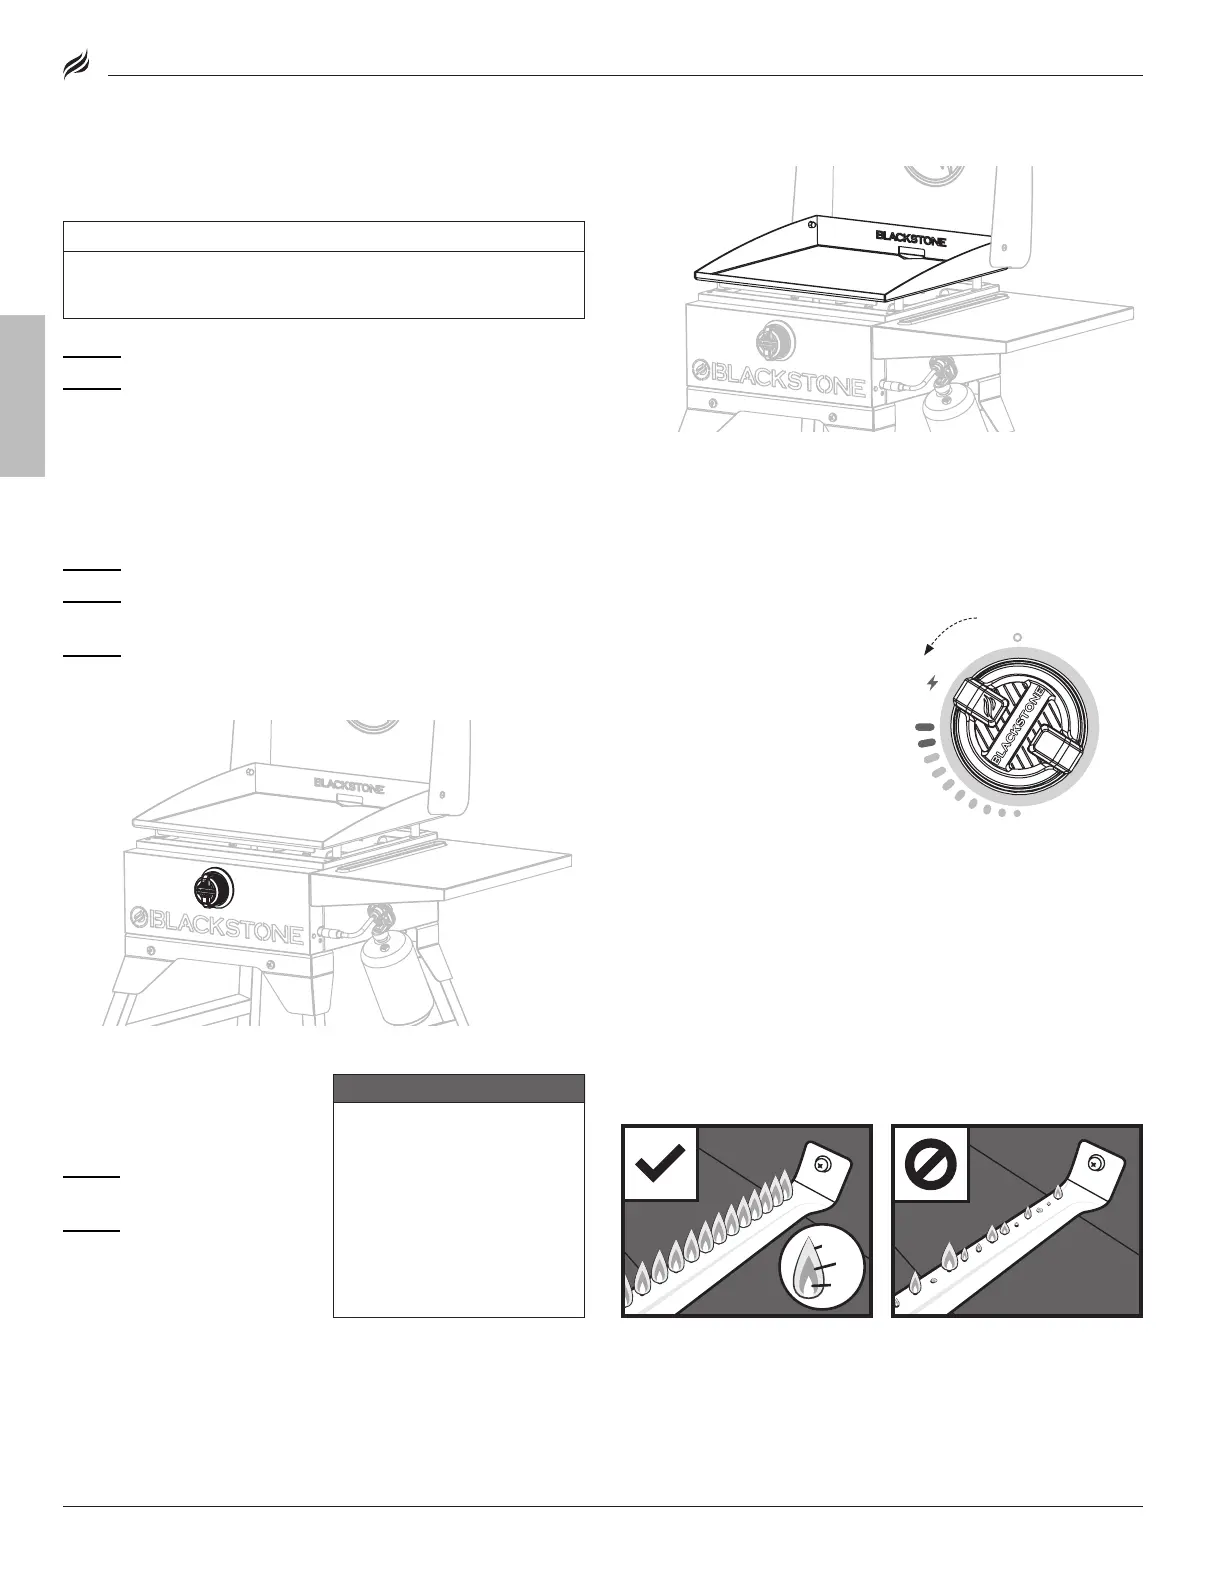
HEALTHY BURNER FLAME
PATTERN
HEALTHY BURNER FLAME
PATTERN
BURNER FLAMES ARE YELLOW
OR IRREGULAR
BURNER FLAMES ARE YELLOW
OR IRREGULAR
3. CHECK BURNER FLAME
Always check burner flame
before use.
STEP 01
Light burners and rotate
knobs from HIGH to LOW.
STEP 02
Look below the cooking
top to view burners. When knob
is at HIGH, flames should be
larger than when knob is at LOW.
3. CHECK BURNER FLAME
Always check burner flame
before use.
STEP 01
Light burner and rotate
knob from LOW to HIGH.
STEP 02
Look below the turntable
to view burner. When knob is at
HIGH, flames should be larger
than when knob is at LOW.
❶
❶
Flickers of yellow color.
❷
Dark blue color.
❸
Vibrant blue.
❶❶
Flickers of yellow color.
❷❷
Dark blue color.
❸❸
Vibrant blue.
WARNING
A clogged burner can
lead to a fire beneath the
appliance.
Burner should be removed
and cleaned annually or
whenever heavy build-up
or insects/insect nests are
found.
WARNING
A clogged burner can
lead to a fire beneath the
appliance.
Burner should be removed
and cleaned annually or
whenever heavy build-up
or insects/insect nests are
found.
If there is a sudden drop or low
flame issue, please reference the
Troubleshooting chapter.
If there is a sudden drop or low
flame issue, please reference the
Troubleshooting chapter.
❶
❷
❸
FIRST TIME CLEANING
CLEANING YOUR GRIDDLE TOP
NOTICE
Soap will ruin a seasoned griddle. This is the only time you
should use soap on the griddle cooking surface.
STEP 01
Wash the griddle cooking surface with hot, soapy water.
STEP 02
Rinse and dry completely.
CLEANING YOUR GRIDDLE TOP
Clean griddle top after each use, while still warm.
• DO NOT use soap on the griddle top. This will destroy the griddle’s
seasoning.
• The grease cup must be removed and emptied after each use.
CAUTION
Grease cup will be hot during and after use. DO NOT remove
the grease cup until the griddle has completely cooled.
STEP 01
Push loose food debris
into the grease cup with spatula
or straight metal scraper.
STEP 02
Wipe down griddle top
with paper towel.
STEP 03
Apply a few tablespoons
of water to the griddle surface,
then scrape the water and debris
into the grease cup.
(For stuck-on food residue, use a
bit of coarse salt.)
STEP 04
Wipe again with a paper
towel and dry completely.
STEP 05
Apply thin coat
of cooking oil to maintain
seasoning and protect the
griddle top.
VIDEO TUTORIAL
How to Clean your Blackstone Griddle
youtube.com/watch?v=-Iedu9z6NPY
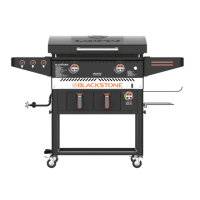
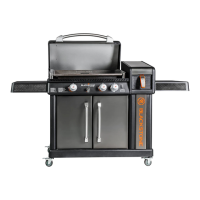
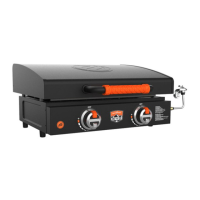
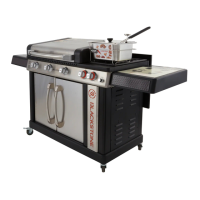
MODELS:
 Loading...