BLACKSTONEPRODUCTS.COM/SUPPORT
ENGLISH
| OWNER’S MANUALUSING YOUR BLACKSTONE
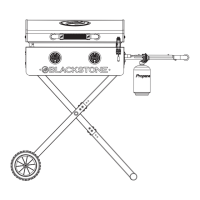
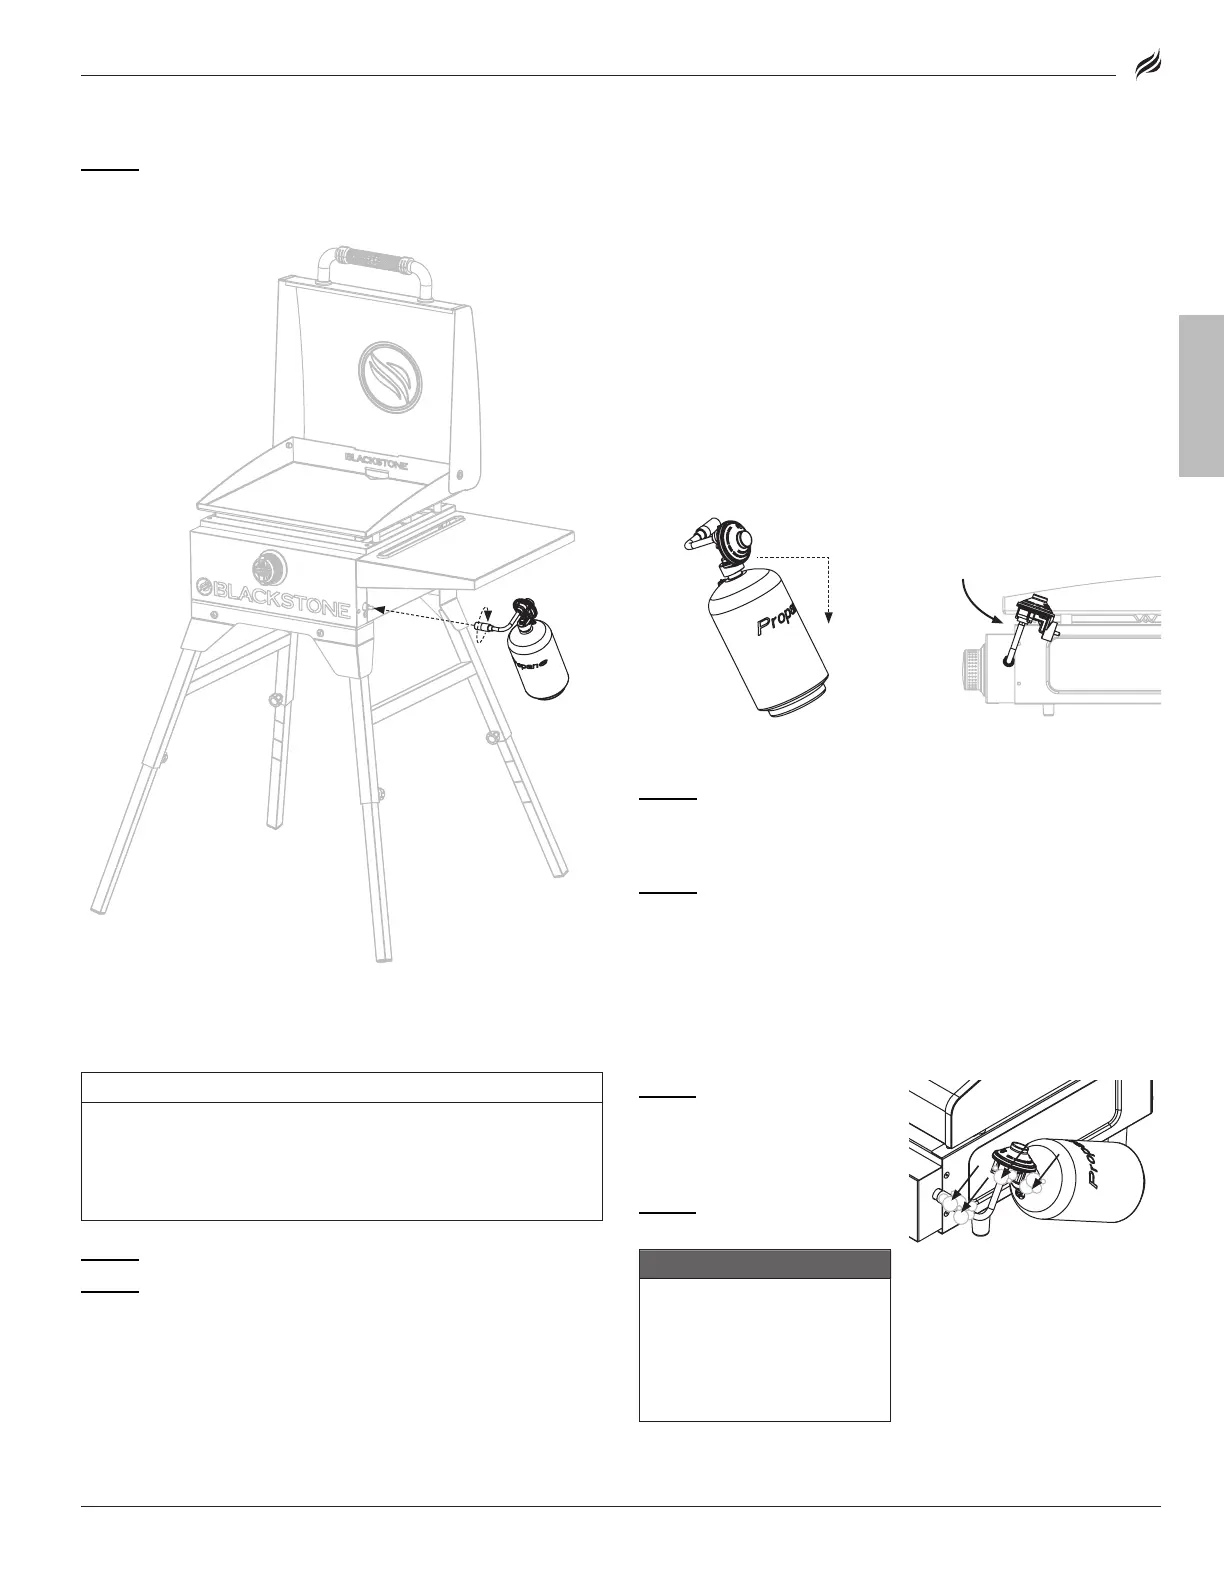
STEP 02
Insert the regulator and LPG cylinder into the gas line of the
appliance. Turn the collar of the regulator clockwise to secure it to
the gas line.
LPG CYLINDER SAFETY
• The LPG supply cylinder to be used must be constructed and
marked in accordance with the specifications for LP gas cylin-
ders, U.S. Department of Transportation (DOT) or the Standard for
Cylinders, Spheres and Tubes for the Transportation of Dangerous
Goods, CAN/CSA-B339.
• Only LPG cylinders marked “propane” shall be used.
• The cylinder used, if in excess of 2.2 Ib (1.00 kg) propane capacity,
must include a collar to protect the cylinder valve.
• The LPG cylinder supply system must be arranged for vapor
withdrawal.
Always keep new LPG cylinders in upright position during use, transit or
Always keep new LPG cylinders in upright position during use, transit or
storage.
Ensure that the LPG cylinder is positioned below the regulator.
(If the liquid level of the propane is above the regulator, the regulator will frost.)
(If the liquid level of the propane is above the regulator, the regulator will frost.)
IF FROSTING PERSISTS AFTER BOTTLE IS ANGLED CORRECTLY:
STEP 01
Turn o the appliance and disconnect LPG cylinder
immediately.
This indicates a problem with the LPG cylinder and it should not be used on any
This indicates a problem with the LPG cylinder and it should not be used on any
product.
STEP 02
Return LPG cylinder to supplier.
LEAK TEST INSTRUCTIONS
NOTICE
DO NOT use household cleaning agents. Damage to gas valve
and regulator components may result.
Use a clean paintbrush and a 10/90 mild soap and water
solution to perform the leak test.
STEP 01
Turn the control knobs to OFF.
STEP 02
Connect the LPG cylinder to the regulator. Connect the
regulator to the appliance.
The regulator may make a humming or whistling noise during operation. This
The regulator may make a humming or whistling noise during operation. This
will not aect safety or use of the appliance.
will not aect safety or use of the appliance.
STEP 03
Brush soapy solution
onto joint areas of valves and
regulator.
Leaks are indicated by growing
Leaks are indicated by growing
bubbles.
STEP 04
If growing bubbles
appear, re-tighten connections.
WARNING
If leaks cannot be stopped,
DO NOT try to repair.
Regulator must be replaced
with a Blackstone approved
model.
The gas regulator is intended to be
The gas regulator is intended to be
used at an angle towards the rear of
used at an angle towards the rear of
the appliance.
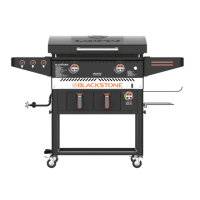
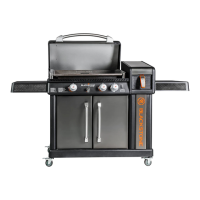
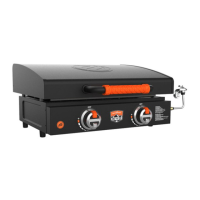
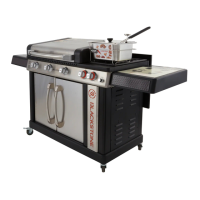
MODELS: