BLACKSTONEPRODUCTS.COM/SUPPORT
ENGLISH
| OWNER’S MANUALASSEMBLY GUIDE
Make sure the front pins are fully
seated in the holes, then push
the griddle top back to lock the
griddle in place.
Place the two front pins into the
front locking holes and push the
griddle top and hood back. Then,
set the two rear pins into the
rear holes.
Place the two front pins into the
front locking holes and push the
griddle top and hood back. Then,
set the two rear pins into the
rear holes.
Make sure the front pins are fully
seated in the holes, then push
the griddle top back to lock the
griddle in place.
Make sure the front pins are fully
seated in the holes, then push
the griddle top forward to lock
the griddle in place.
Make sure the front pins are fully
seated in the holes, then push
the griddle top forward to lock
the griddle in place.
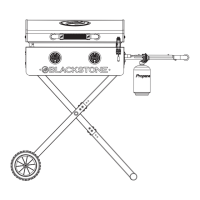
MODELS:
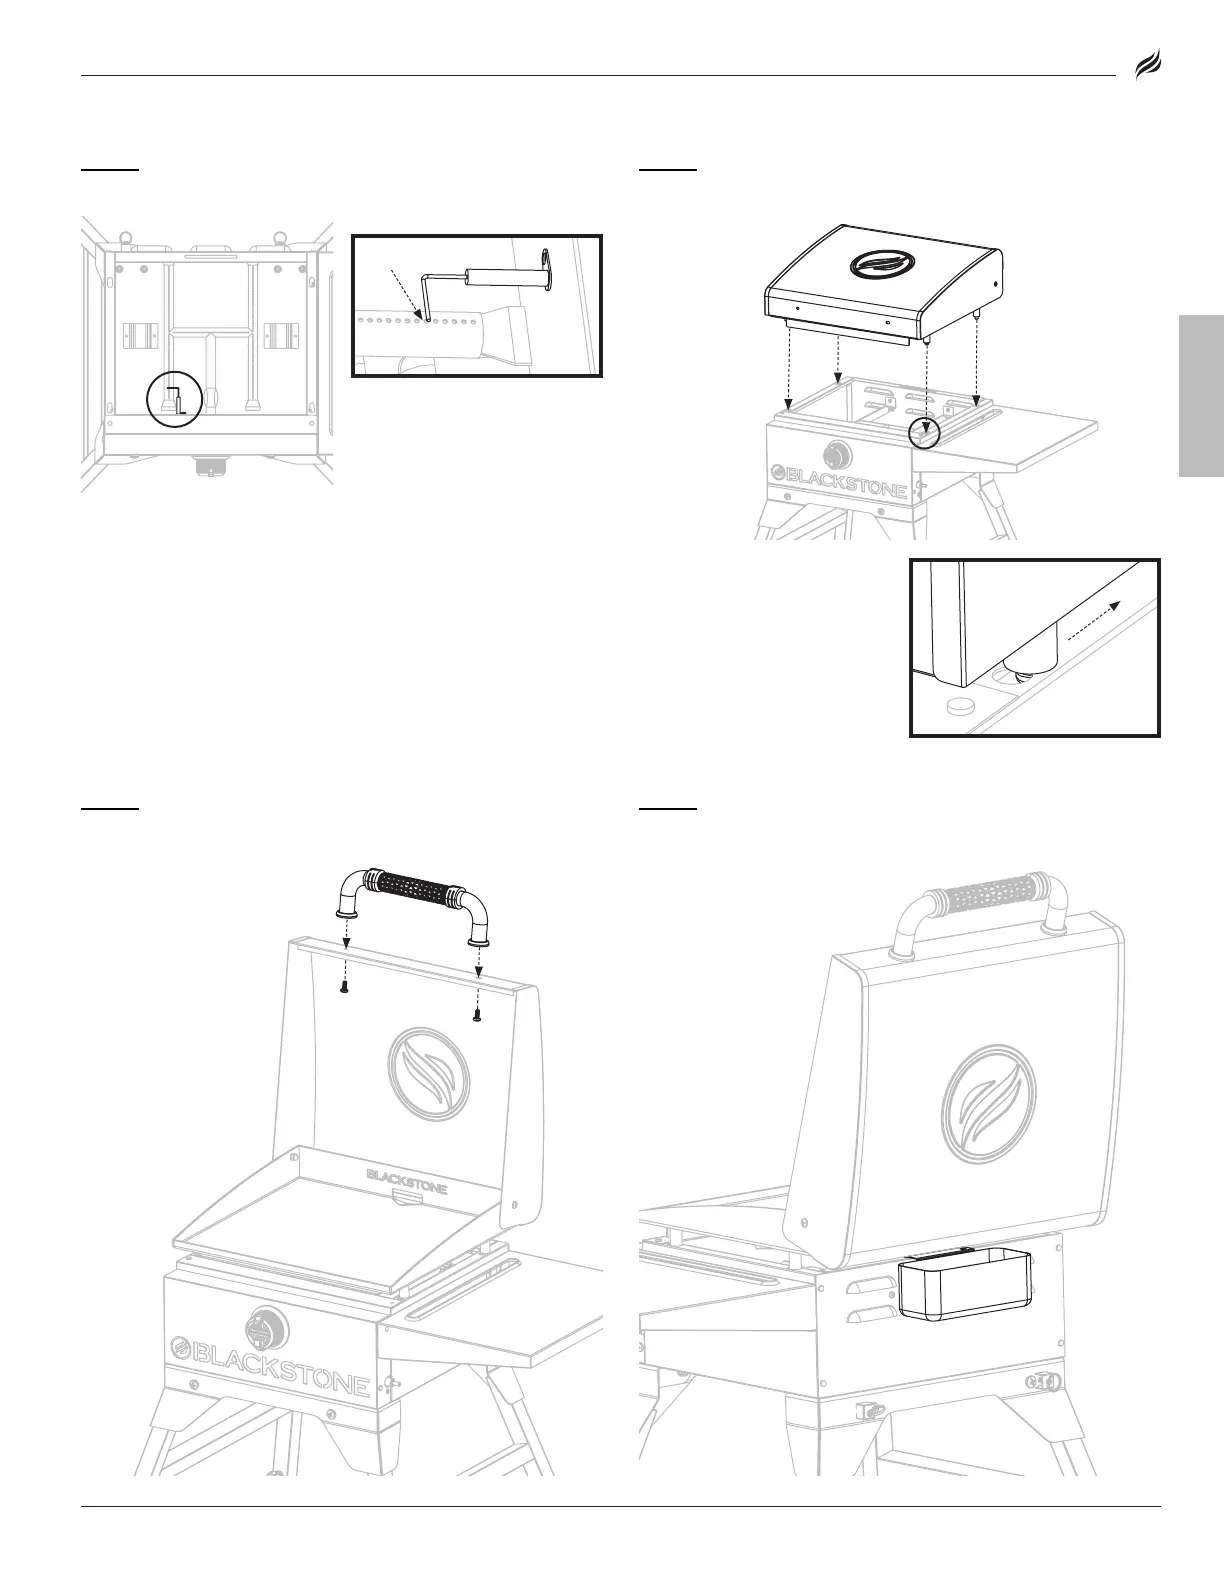
STEP 07
Ensure that the ignition needle is set 3-7mm above the
burner tube.
STEP 08
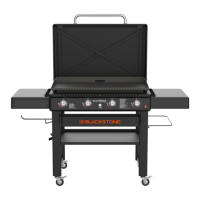
place the griddle top on the main body by aligning the 4 pins
to the holes of the body.
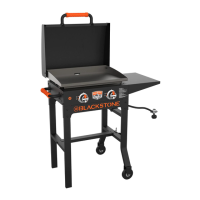
STEP 09
Use the two (2) M6 screws and grommets pre-installed in
the handle to install the handle to the front of the hood.
STEP 10
Hang the grease cup in the slot on the back of the
griddle body.
3-7mm