BLACKSTONEPRODUCTS.COM/SUPPORT
ENGLISH
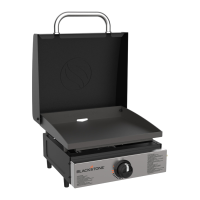
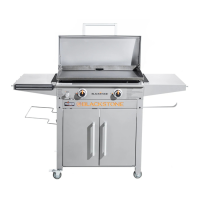
| OWNER’S MANUALUSING YOUR BLACKSTONE
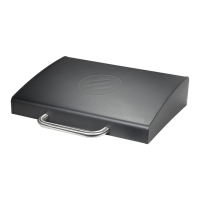
APPLIANCE STORAGE
WARNING
DO NOT move the appliance when in use. Allow the appliance
to cool to 115°F (45°C) before moving or storing.
Storage of an appliance indoors is only permissible if the gas supply
is disconnected and removed from the appliance.
COVER FIT GUIDE
Always cover your appliance when stored outdoors.
To find a cover that will fit your appliance, visit
BlackstoneProducts.com/support.
CLEANING YOUR APPLIANCE
WARNING
Grease build up can cause a fire. Clean any part of the
appliance that gets hot and experiences grease build up after
each use.
CAUTION
All cleaning and maintenance should be carried out when the
appliance is cool and with the fuel supply turned OFF at the
LPG cylinder.
• DO NOT use abrasive pad on areas with graphics.
• If a bristle brush is used to clean any of the cooking surfaces,
ensure no loose bristles remain on cooking surfaces prior
to cooking.
PLASTIC PARTS & PAINTED SURFACES:
Wash with warm soapy water and wipe dry with a non-abra-
sive cloth.
NOTICE
DO NOT use Citrisol, abrasive cleaners, or a concentrated
cleaner on plastic parts. This may result in damage to and
failure of parts.
CUSTOMER SUPPORT
Visit us online at blackstoneproducts.com/support
for assistance concerning appliance use, replacement parts, or
your warranty.
CUSTOMER SUPPORT HOURS:
Monday – Friday
7:00 am – 5:00 pm (MST)
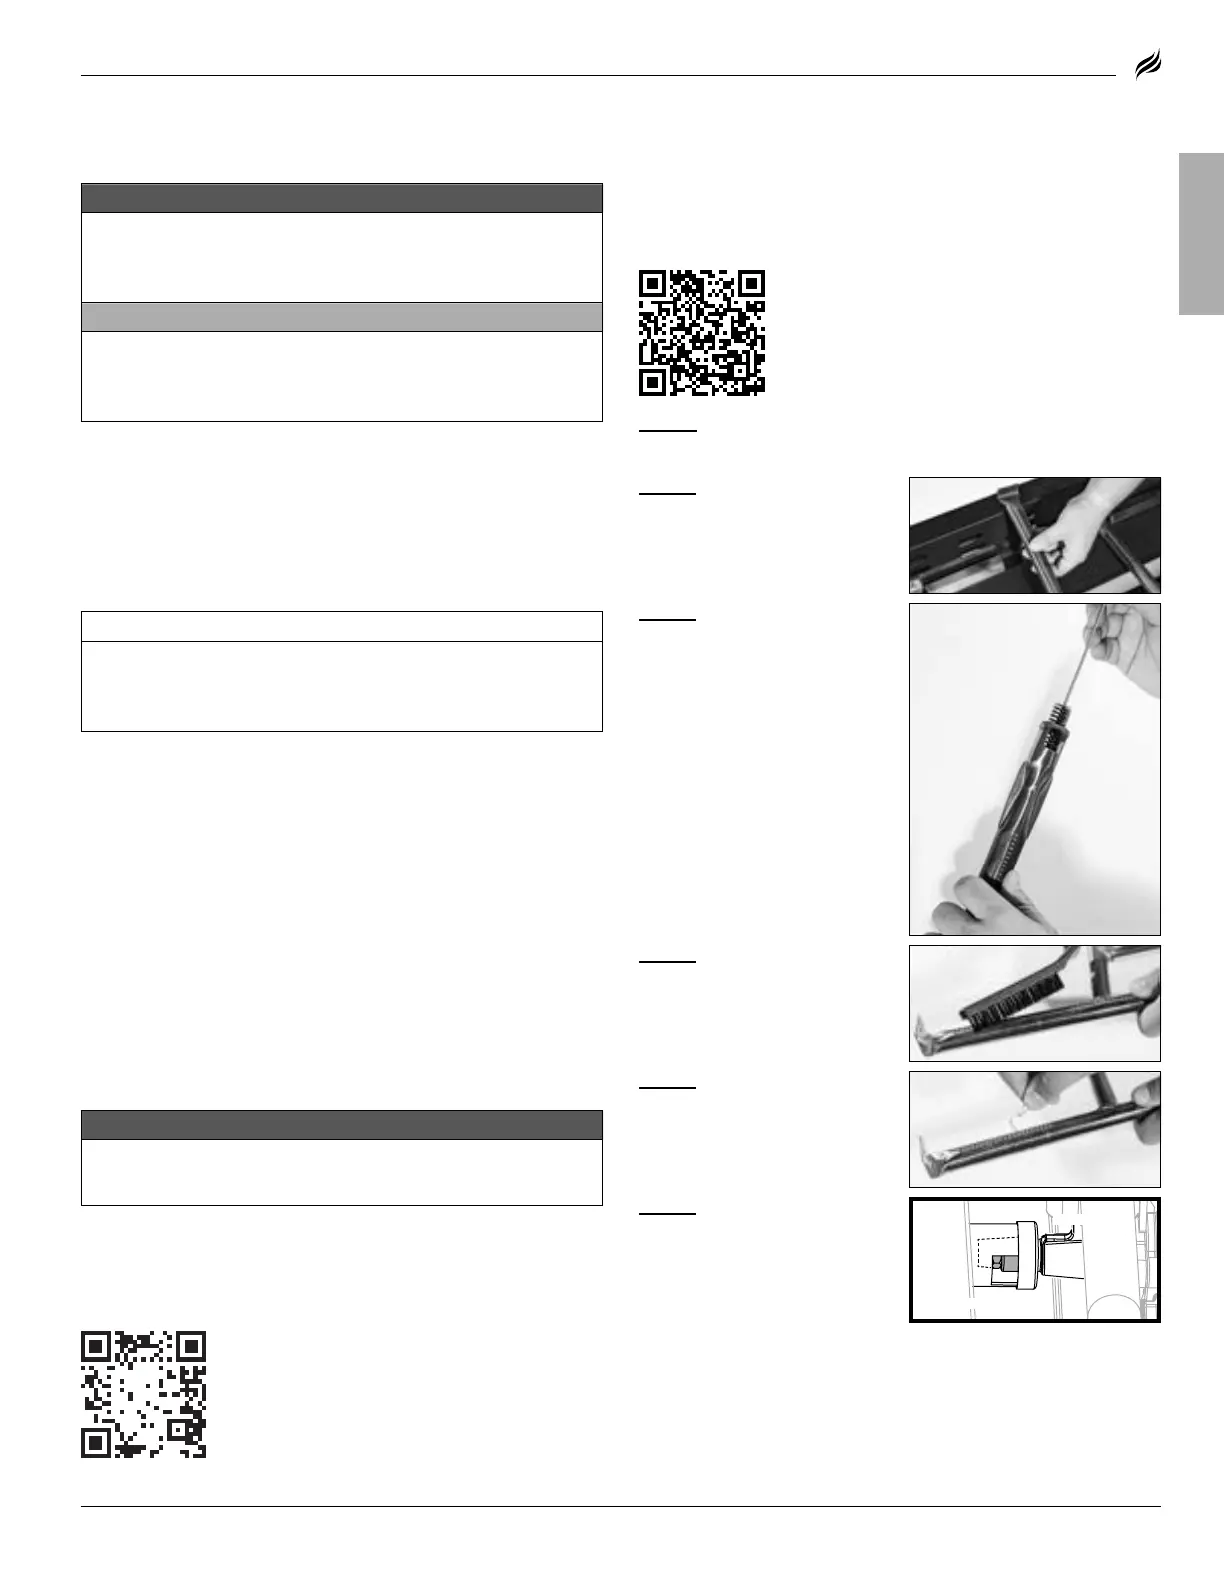
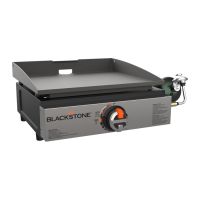
STEP 06
Carefully replace
burners and reattach, with
attention to the location of the
ignition needle.
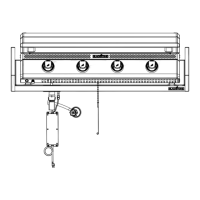
STEP 01
Ensure that the gas is turned OFF at control knobs and gas
supply. Remove the griddle top.
CLEANING THE BURNER ASSEMBLY
To reduce chance of “flash-back” the procedure below should be
followed at least once a month when spiders are most active or
when your appliance has not been used for a period of time.
STEP 02
Carefully detach and
remove the burner.
STEP 03
Clean the inside of
the burner:
• Run a narrow bottle brush
through each burner tube
several times. (DO NOT use
wire brushes)
• Run a sti wire bent into a small
hook through each burner tube
several times.
• Use compressed air to blow
through the burner tube and
out the burner ports. Check that
air blows through each hole.
(Wear eye protection)
STEP 04
Brush entire
outer surface of burner to
remove grime.
STEP 05
Clean any blocked ports
with sti wire such as an open
paper clip.
VIDEO TUTORIAL
How to Clean Your Burner Tube
youtube.com/watch?v=xKQTCrFCzf8
The gas rail fuel nozzle
must be reengaged within the
burner opening.
Fuel nozzle
Burner opening
MODEL: