19
ENGLISH
(Original instructions)
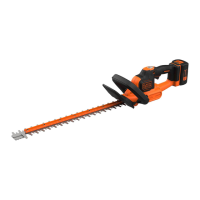
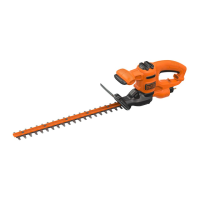
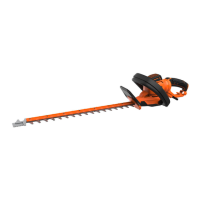
Installing the Guide Bar and Saw Chain (g. B1, B2,
B3, B4, B5)
Warning! Sharp chain. Always wear protective gloves when
handling the chain. The chain is sharp and can cut you when
it is not running.
If the saw chain (14) and guide bar (13) are packed separately
in the carton, the chain has to be attached to the bar, and both
must be attached to the body of the tool.
u Place the saw on a at, rm surface.
u Rotate the bar adjust locking knob (31a) counterclockwise
as shown in gure B1 to remove sprocket cover (31).
u Wearing protective gloves, grasp the saw chain (14) and
wrap it around the guide bar (13), ensuring the teeth are
facing the correct direction (see gure B5)
u Ensure the chain is properly set in the slot around the
entire guide bar.
u Place the saw chain around the sprocket (32) while lining
up the slot on the guide bar with the bolt (33) in the base
of the tool as shown in gure B2.
u The tensioning knob must be rotated counterclockwise till
its stop. Arrows on the sprocket cover and tensioning knob
must align before the cover is replaced. Once in place,
hold the bar still, replace sprocket cover (31).
u Make sure tool-free tension assembly bolt hole on the
cover lines up with the bolt (33) in the main housing as
shown in gure B3.
u Rotate the bar adjust locking knob (31a) clockwise until
snug, then loosen knob one full turn, so the saw chain can be
properly tensioned.
Note: If the cover does not t correctly, check that the tab for
the tool free tensioner on the bar aligns with the slot on the
inside of the sprocket cover.
u While holding the bar adjust locking knob (31a), rotate
the chain tensioning knob (34) anti clockwise to increase
tension as shown in gure B3. Make sure the saw chain
(14) is snug around the guide bar (13).
Adjusting Chain Tension (g. B4, B5)
u With the saw on a at, rm surface, check the saw chain
(14) tension. The tension is correct when the chain snaps
back after being pulled 3 mm away from the guide bar (13)
with light force from the index nger and thumb as shown
in gure B4. There should be no “sag” between the guide
bar and the chain on the underside as shown in Figure B5.
u To adjust saw chain tension, loosen bar adjust locking
knob (31a) one full turn and follow instructions for
“Installing the Guide Bar and Saw Chain.”
u Do not over-tension the chain as this will lead to excessive
wear and will reduce the life of the bar and chain.
u Once chain tension is correct, securely tighten bar adjust
locking knob.
u When the chain is new, check the tension frequently (after
removing battery) during the rst 2 hours of use as a new
chain stretches slightly.
Replacing the Saw Chain (g. B6)
u Rotate the bar adjust locking knob (31a) counterclockwise
to release chain tension.
u Remove sprocket cover (31) as described in “Installing the
Guide Bar and Saw Chain” section.
u Lift the worn saw chain (14) out of the groove in the guide
bar (13).
u Place the new chain in the slot of the guide bar, making
sure the saw teeth are facing the correct direction by
matching the arrow on the chain with the graphic on the
sprocket cover (31) shown in gure B6.
u Follow instructions for “Installing the Guide Bar and Saw
Chain.”
u Replacement chain and bar are available from your
nearest BLACK+DECKER service center.
Transporting Saw (g. B7)
u Always remove the battery from the tool and cover the
guide bar (13) with the guide bar cover (15) see gure B7,
when transporting the saw.
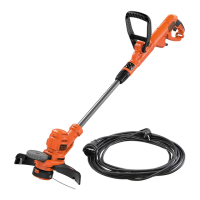
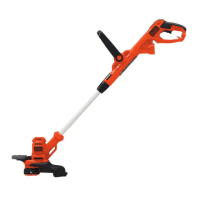
Installing and removing chainsaw attachments. (g
B8, A6)
u To t an attachment or the extension pole to the base unit
(1), align the attachment/pole base with the power head
as shown in gure B8 and A6.
u Firmly push the attachment or extension pole onto the
base unit until it snaps into place and an audible
click is heard.
Note: Attachments t onto the extension pole in the same
manner as the base unit.
Note: Base mode, requires the guard (11) to be upright. Press
the guard lock button (12) and lift the guard into position as
shown in gure B9.
Pole mode, requires the kickback guard (11) to be in the
stored position. Press the kickback guard release button (12)
and lower the guard into position as shown in Fig. B9
u Ensure attachment is securely attached to the base unit or
extension pole by gently pulling it away. The attachment or
the extension pole should remain in place.
u To remove an attachment or extension pole, depress
the release button (10) or (22) located on the side of
the attachment or extension pole and pull attachment or
extension pole away from the base unit or extension pole.
Note: Only use attachments that are specically designed for
and are compatible with the power head.