ENGLISH
9
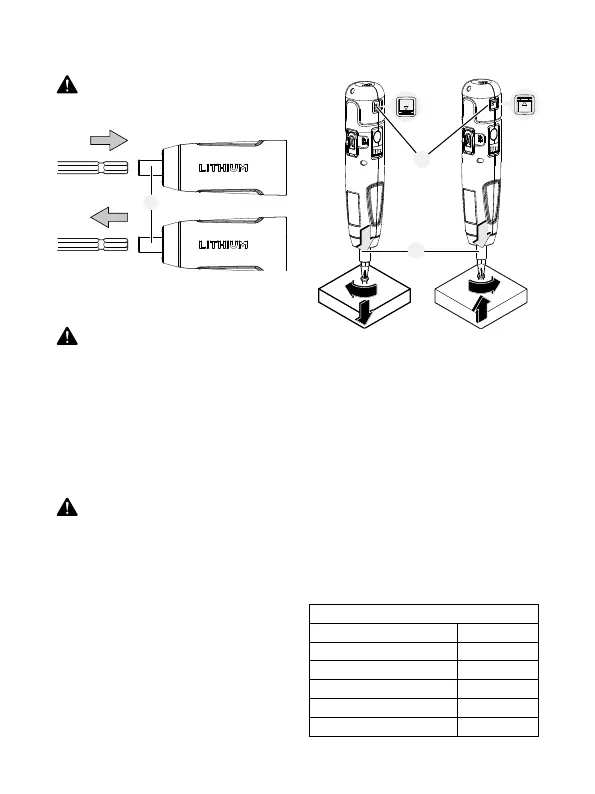
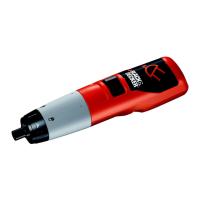
2. To remove a bit, pull the bit shaft out of the bit holder 7
WARNING! Slide the rotational direction switch to the
middle position before fitting or removing the bits.
Fig. B
7
OPERATION
WARNING! Let the tool work at its own pace. Do not
overload.
• Clockwise rotation: To drive in (tighten) screws, slide the
rotational direction switch forwards.
• Counter-clockwise rotation: To drive out (loosen) screws,
slide the rotational direction switch backwards.
Locking the Spindle in Place
To lock the spindle in place, slide the rotational direction switch
to the middle position.
Note: This allows the tool to be used as a manual screwdriver
when the battery is empty.
WARNING: Slide the rotational direction switch to the
middle position when the battery is empty.
Fig. C
1
7
Setting the Torque (E-clutch)
The torque selection button lets you choose between 5
different torque positions. . The tool stops automatically as
soon as the set torque is reached. There are 5 lights above the
torque selection button indicating the amount of torque being
applied, from position 1 (one light on, for lowest torque) to
position 5 (five lights on, for highest torque). Press the button
one time for position one (one light on). Press two times for
position two (two lights on). Press three times for position
three (three lights on). Press four times for position four (four
lights on). Press five times for position 5 (five lights on).
• Position 1: Lower torque for driving screws with small
diameter or into soft materials.
• Position 5: Higher torque for driving screws with large
diameter or into hard materials.
NOTE: See the following chart for the relation between the
number of torque setting and fastening torque rate. The
fastening torque rate will be different depends on materials.
Make a test fastening to get the desired torque before
operation.
GUIDELINE FOR TORQUE CHOOSE
Torque setting Fastening torque
1 Approx. 0.5 N·m
2 Approx. 0.85 N·m
3 Approx. 1.25 N·m
4 Approx. 1.60 N·m
5 Approx. 2.50 N·m